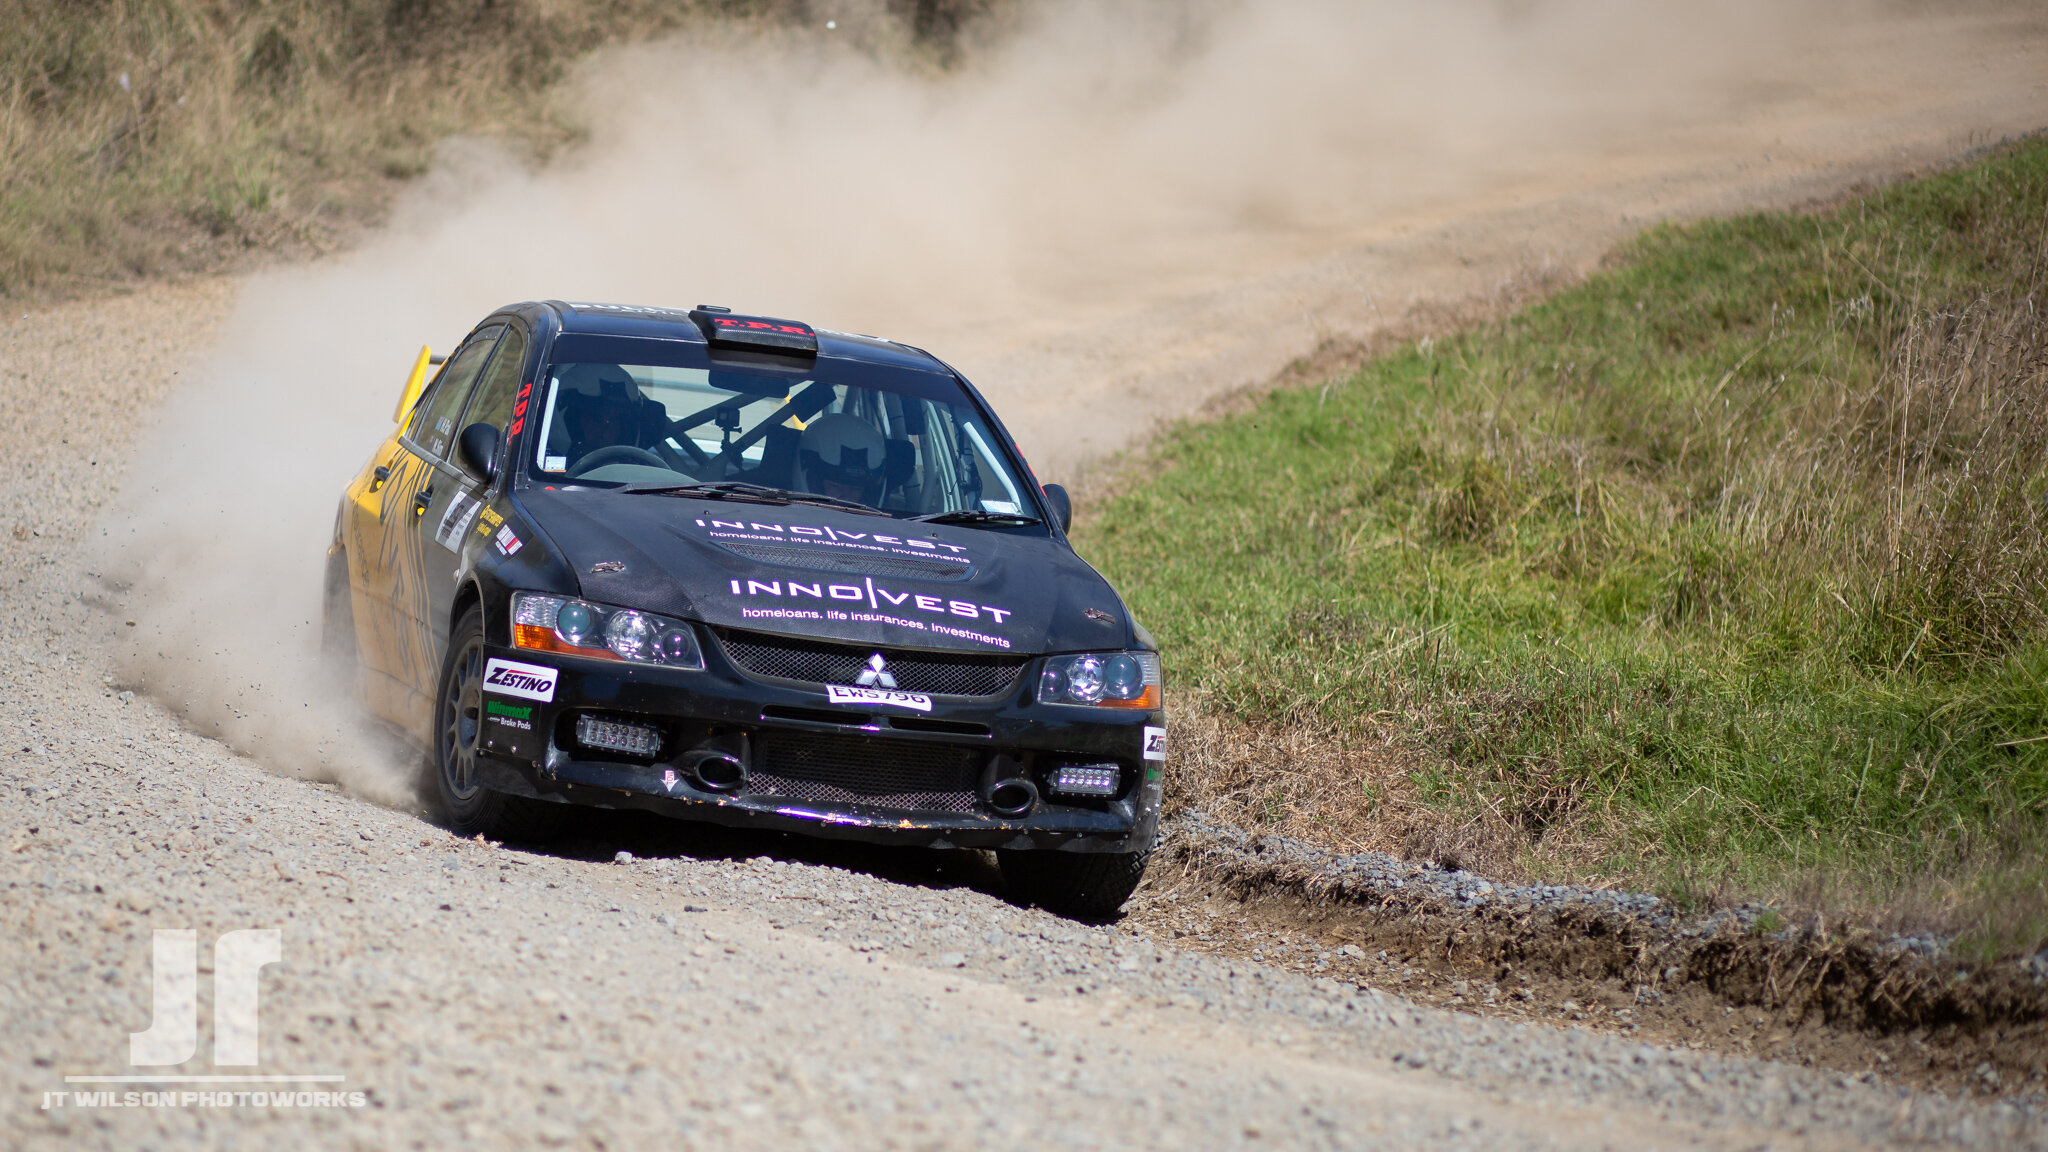
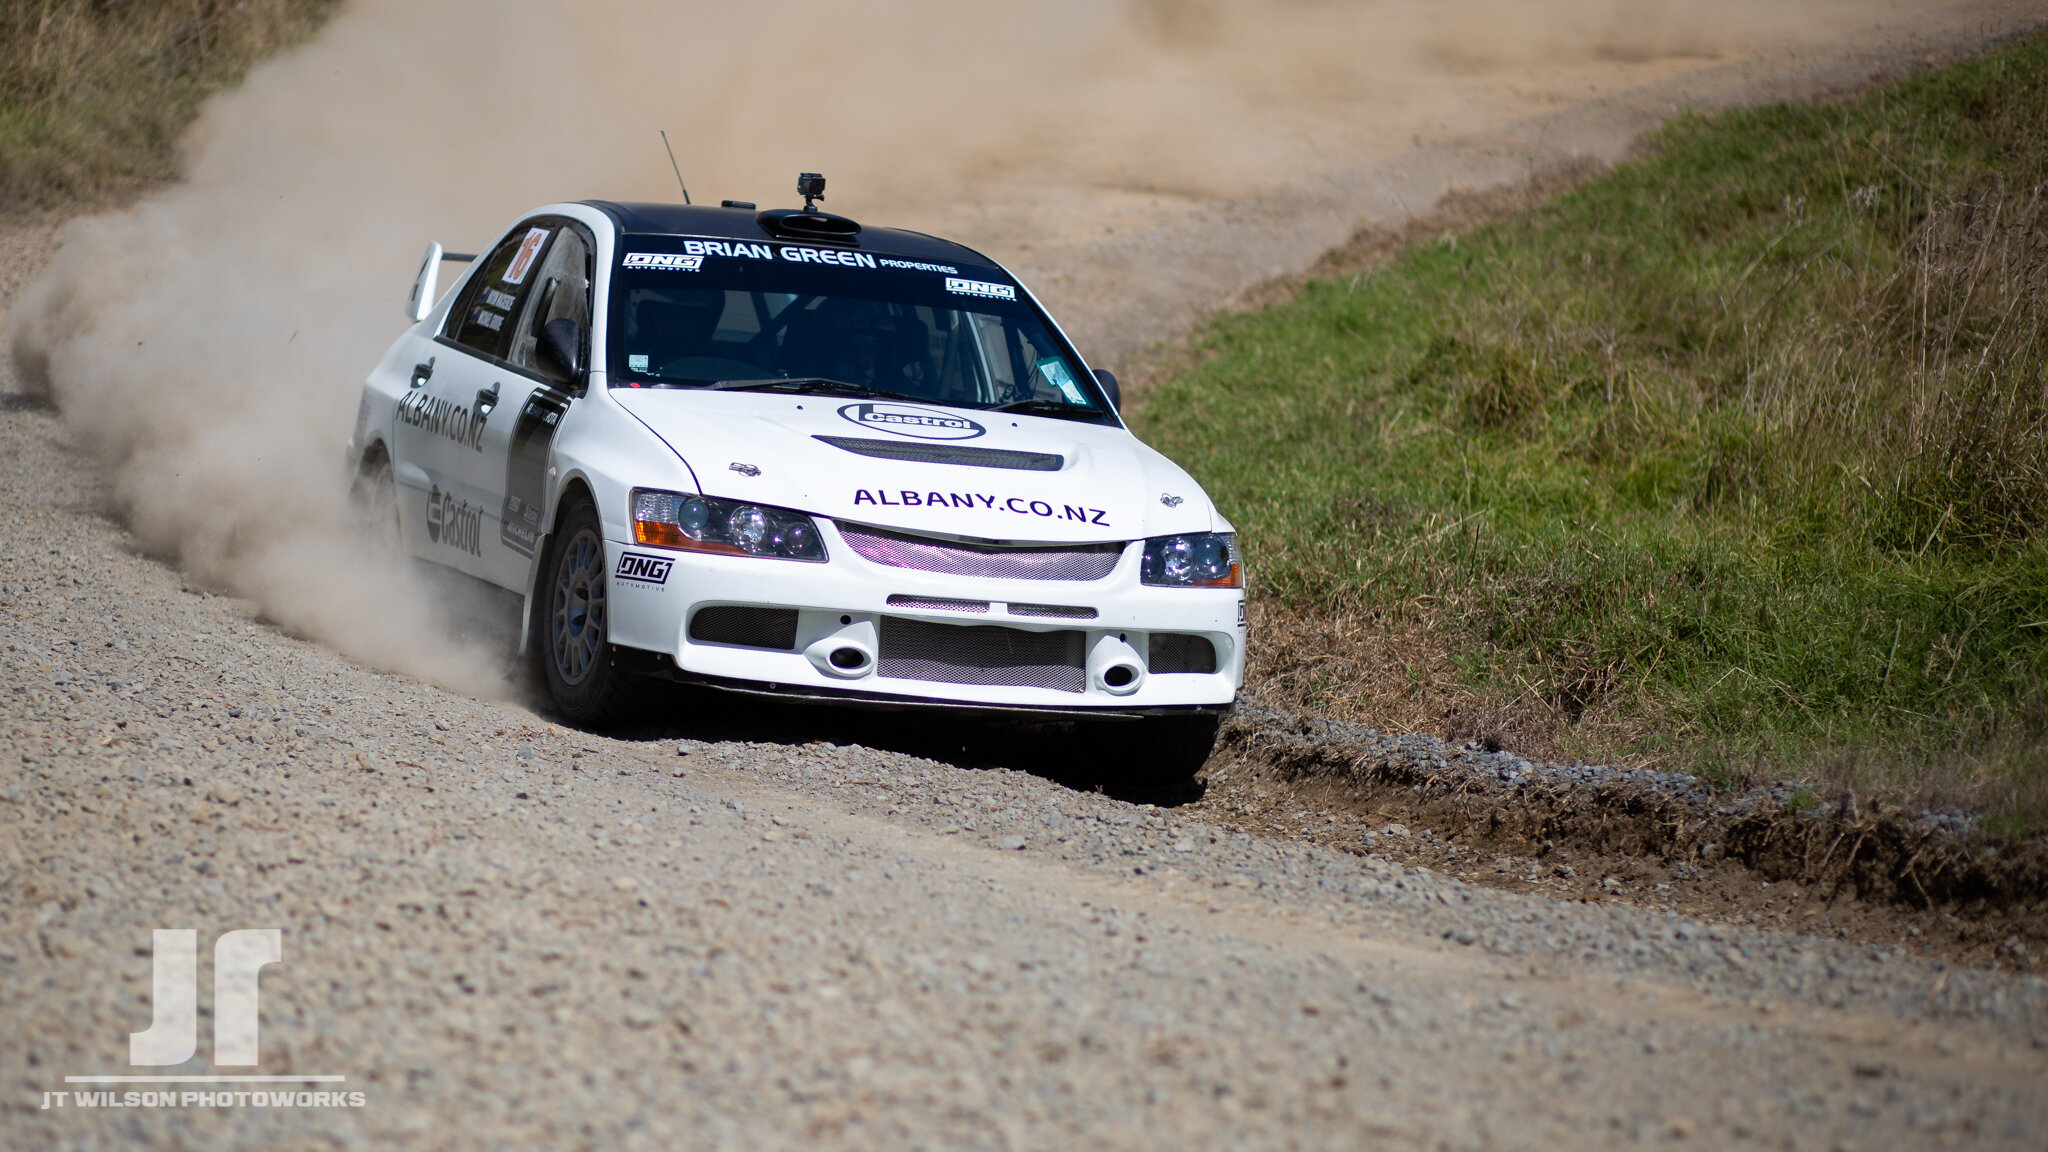
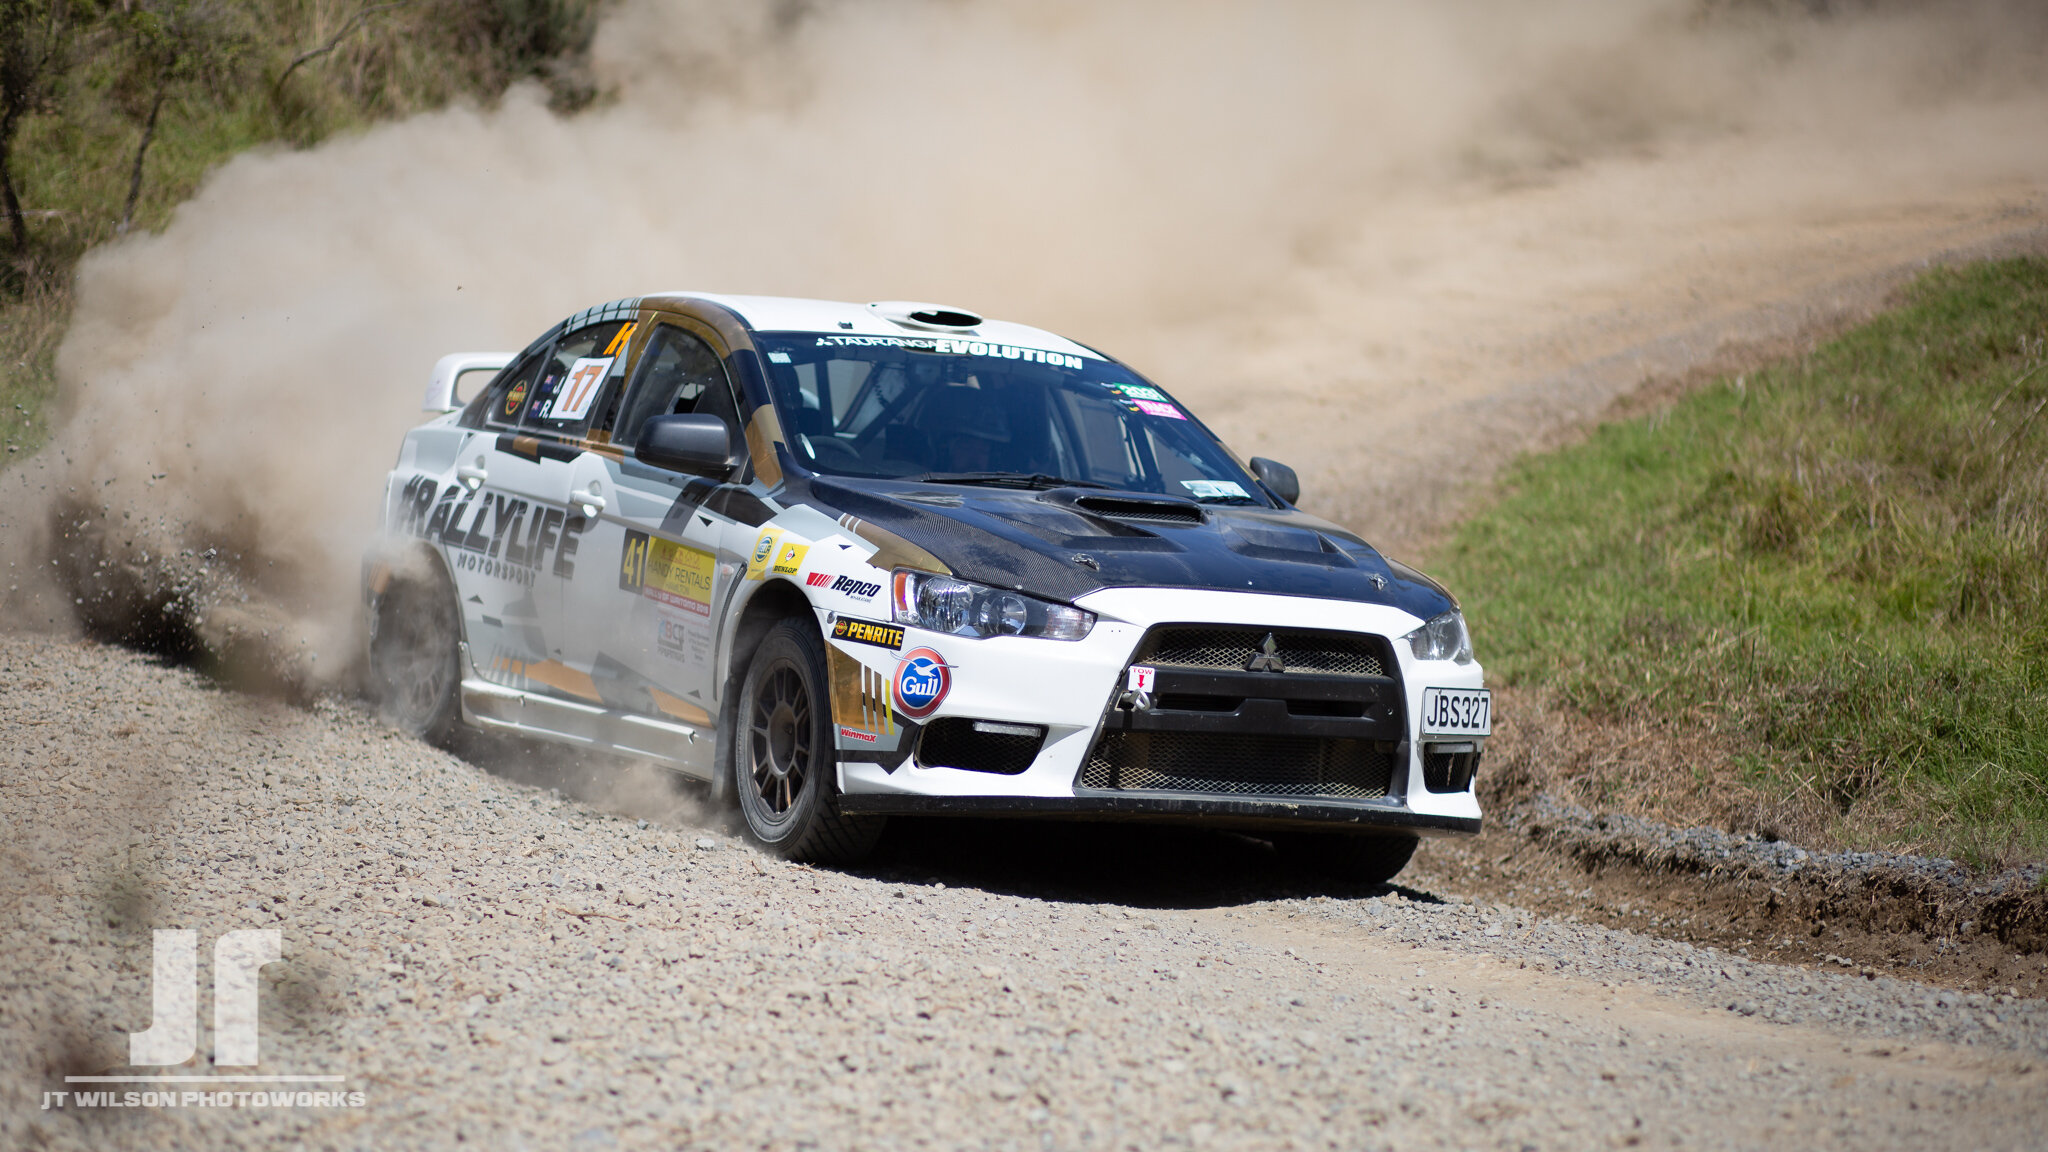
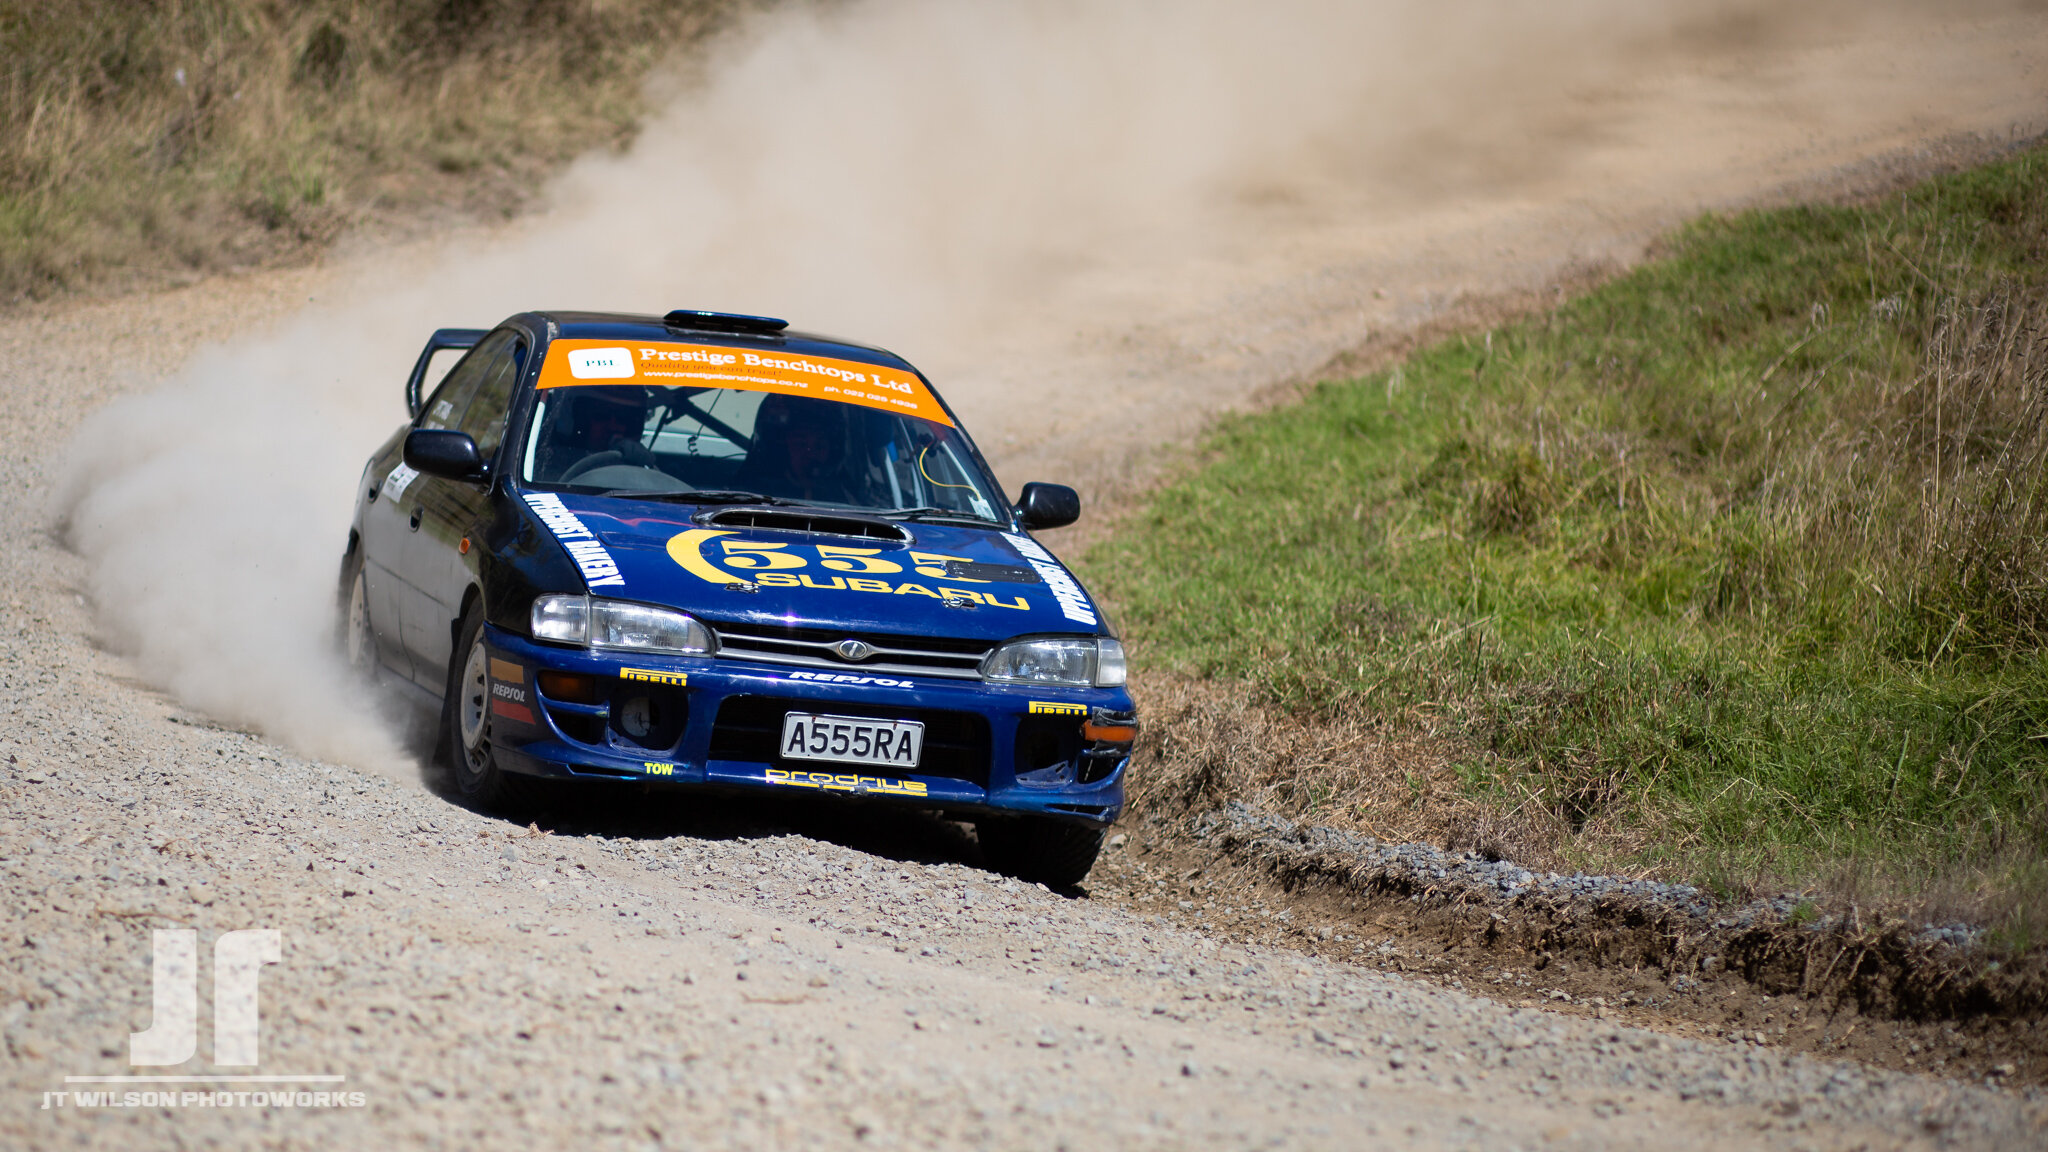
Bye Bye Store - the future of prints here at JT Wilson Photoworks.

So today I disabled the store here on the website and from now on I won’t be selling prints in this way. To be fair they’re not something I sell a lot of and so it makes sense to do things differently.

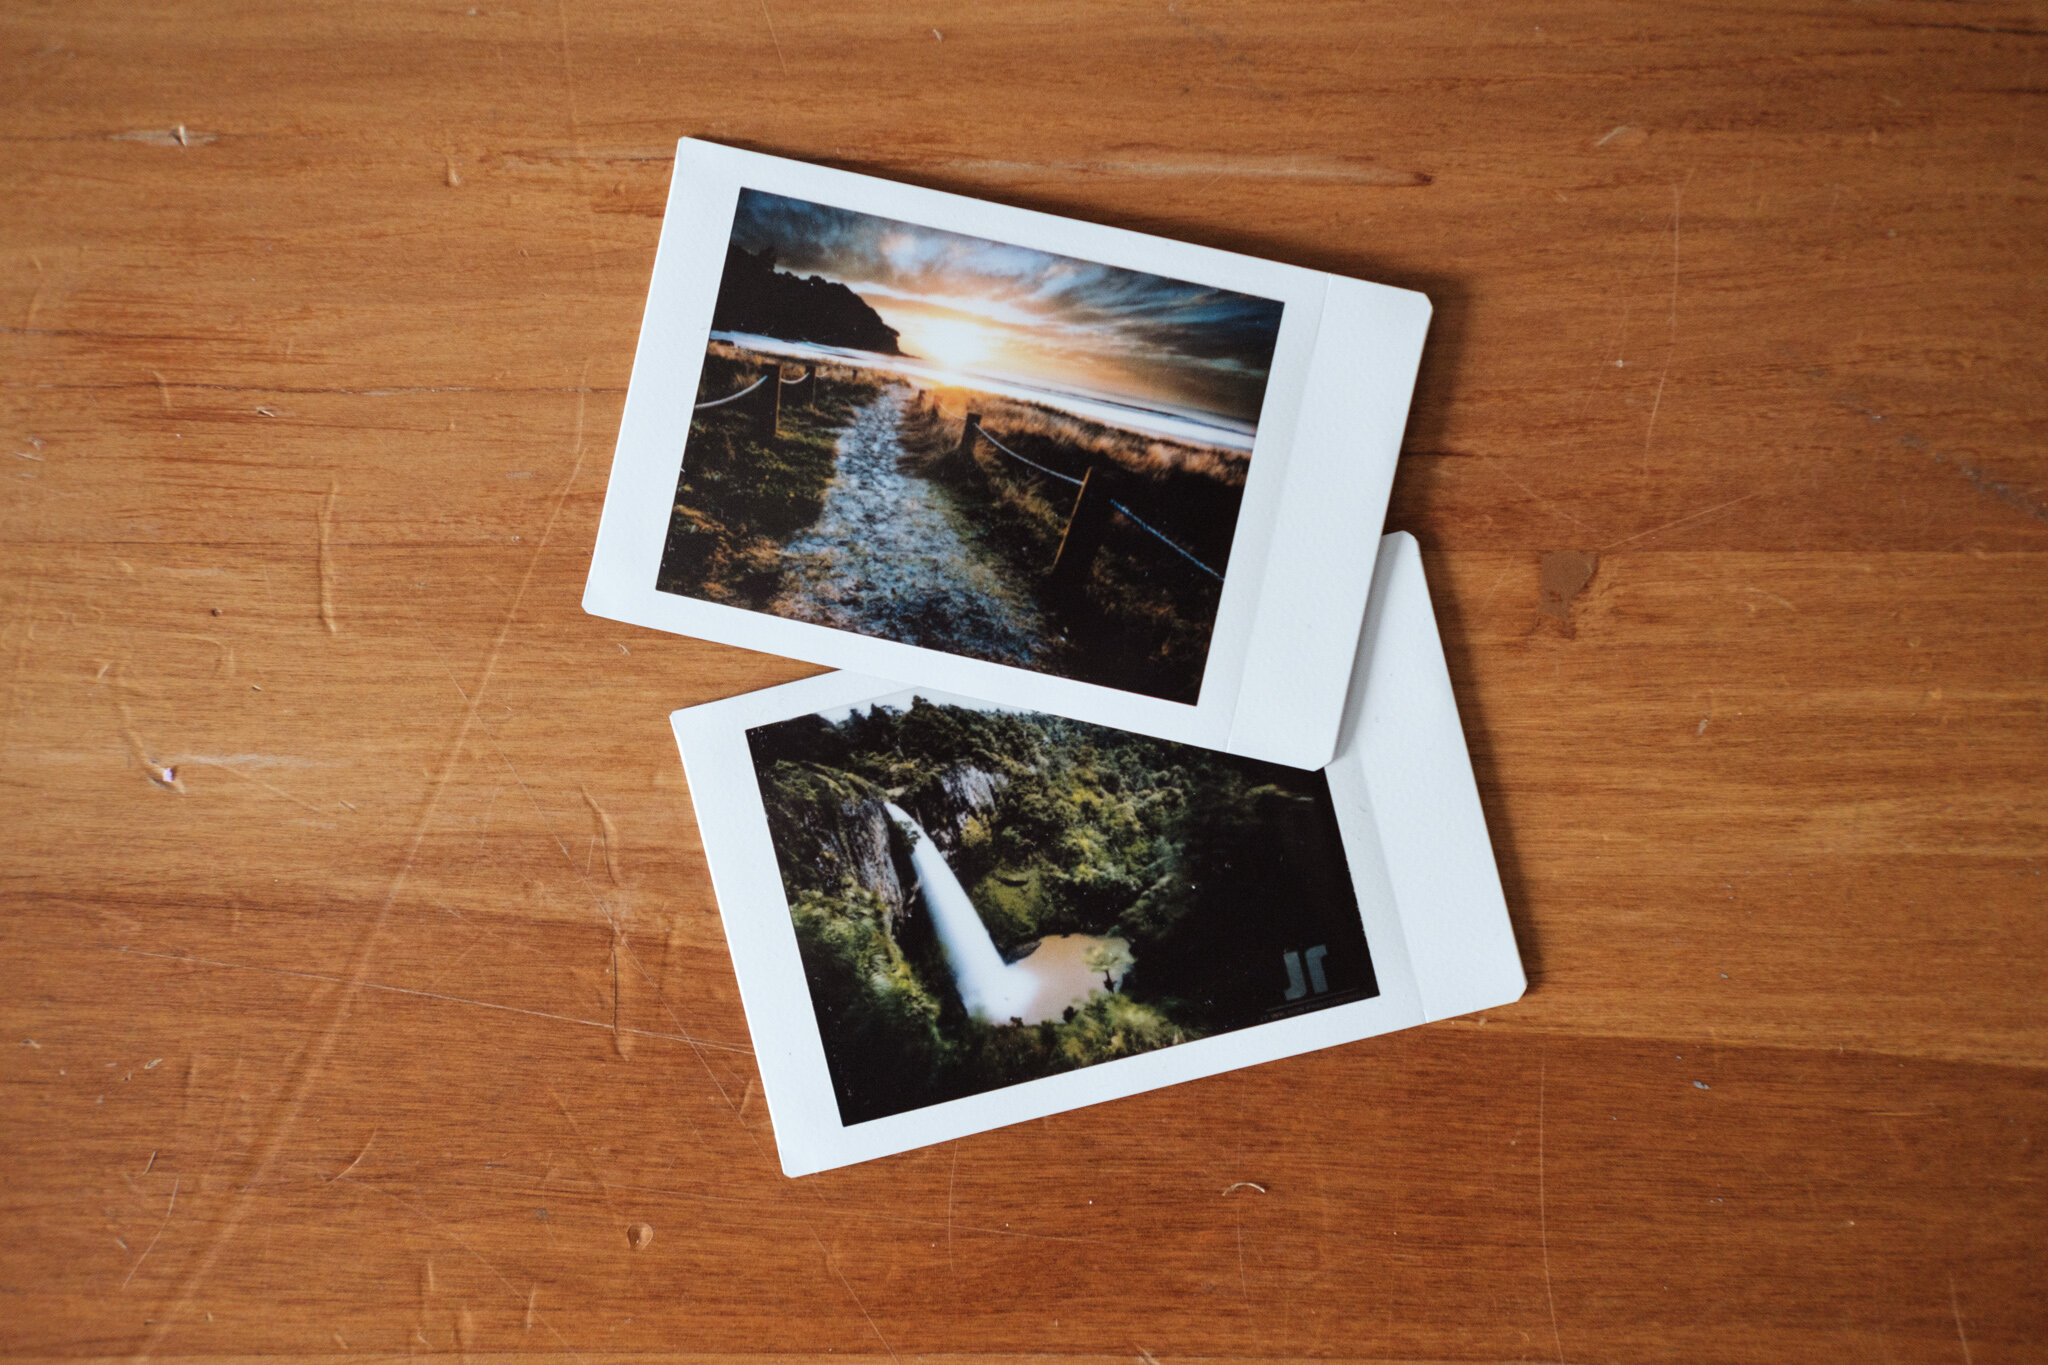
Recently I announced a limited 36x12” print run of the shot taken out at Raglan. Limited to ten, numbered, dated and signed without a frame at $140 each (You can contact me via email or on facebook/Instagram DMs if you’re interested in one for yourself, there are only five left). Once the ten sell out - this shot will be retired and not printed again. That way the people who invested in the print retain some exclusivity for their money :)

RMW 1x3 Rocks FB.jpg

I decided I quite like the idea of selling prints in this way, and so after much consideration i’m going to continue with this method of selling prints moving forward. I felt that this a neat way to give some exclusivity to those that support me pursuing this as a career and a way to motivate me to go out an get those print-worthy shots. Once one print run sells out and is with all the new owners, i’ll announce the next print run and its quantity/size/format. The quantity will largely depend on the size and type of print. The more expensive the print, the fewer there will be.

Not all prints will be on paper - some might go on fine art paper, others on metal. Canvases are something I no longer see myself selling, I find paper prints in a frame give a much more “quality” feel. The Metal prints are pretty cool though so i’ll keep those as an option.

Each new print run will be announced here on the website - and via Facebook/Instagram stories. So keep an eye out!

What shot do you want to be part of the next print run? Comment below!

Facebook

Landscapes Instagram

Portraits and Products Instagram

YouTube


Switching to the Fujifilm X-T3

So, I tripped, fell over and sold all my camera gear.

Well, not quite, just the Canon 5D Mark III and the lenses I had be using for several years... Just before we went into full level 4 lockdown here in New Zealand, I had finally set my sights on getting myself back into the Fuji system once again. Alos just before we went into Lockdown, Fuji announced the X-T4 with an April (lol) release. With the announced improvements coming in the X-T4 I knew there would definitely be some X-T3s coming on the market. Long story short, once we came out of lockdown, the Canon gear all sold pretty quick and I got my hands on my ideal Fuji kit moving forwards.

So! Up first we have the Fuji X-T3:

Welcome back to Instagram. Sign in to check out what your friends, family & interests have been capturing & sharing around the world.

This guy has a 26 megapixel sensor (Up from 22 in the 5D) and a bunch of “quality of life” improvements over the old Canon - most exciting of which is the tilt screen. My old destroyed tired knees will be thanking me! While the sensor is a smaller APS-C size compared to the older but bigger 35mm (“Full frame”), sensor in the 5D - I felt the ISO performance of the more modern sensor is now probably on par or better than the 2012 spec canon job. It’s a much smaller body to lug around and has some impressive video features on top of the stills.

Now onto the lenses. Before I get to these i’ll talk about the Canon lenses I sold off in favour of this kit and then rationalize my choice in Fuji equivalents.

The Canon Kit:

Sigma 24mm f/1.4 (Wide angle for Landscapes)

Canon 50mm f/1.8 STM (Standard lens for shooting products, food, knives etc)

Canon 85mm f/1.8 (portrait lens, also handy for food and knives)

Canon 70-200mm f/2.8 (Bazooka for wildlife, and motorsport)

So, now the Fuji Stuff. Here we have ton factor in a 1.5x crop due to the smaller sensor size of the Fuji. This is what I mean by “equivalent” next to the focal length as it would have the same field of view as the equivalent focal length due to the crop factor.

Fuji 16mm f/1.4 WR (24mm equiv - landscapes and astro)

Fuji 35mm f/2 WR (50mm equiv - products, food knives etc)

Fuji 56mm f/1.2 (Portraits, food, knives etc)

Now you’ll notice that I no longer have a bazooka equivalent. Sadly in order to get the preferred wide and portrait lenses, I had to sacrifice having a tele zoom. That said, I don’t shoot motorsport or wildlife all that often and rarely used the 70-200 for landscapes (though it is handy for that sometimes) so I was happy to forgo having an equivalent or something in the more telephoto end of the spectrum for the time being. \

Both the 16mm and 35mm are WR lenses which means weather resistant. The body itself also being weather resistant means a bit of rain won’t mean I rush to cram all the gear back into the bag and hightailing it back to the car.

Ideally Id have something in the ultrawide category, and the 10-24mm was tempting having owned one back in the day when I had a Fuji X-T1, but the temptation of a weather resistant f/1.4 16mm was too much. Not sure i’d bother with it now, but instead i’ll add Fujis 8-16mm f/2.8 to the wishlist for ultrawide angle goodness. I wont be holding my breath though because its a $3k+ lens. The other lens on the wishlist is Fujis 50-140mm f/2.8 (a 70-200mm equiv) as a “would be nice to have’ lens (also $3k+), that said I’d be pretty happy with the 90mm f/2 (135mm equiv) instead.

I have expensive hobbies :(

Photo 4-06-20, 12 15 52 PM.jpg


Mini/Smartphone tripods

Back at the end of 2018 I picked up a lil mini tripod set up for smartphones. I liked it so much I did some wheeling and dealing (heh) on Alibaba and bought 10 of them intending on having them as rewards for Patrons on a specific tier over on Patreon (RIP).

Since then I’ve used a couple here and there and I have eight left. These guys will be added to the store for $25 each incl shipping :)

These things are handy if you need a steady place for your smartphone if you’re videoing or even watching youtube videos. They fold up neatly and the smartphone mount simply unscrews from the tripod. Nice and light for packing :)

IMG_6133.jpg
Meg.jpg

Not only stationary in tripod mode, but also with the legs folded up and held in your fist with a much more secure and steady grip while videoing

1.jpg

They have the standard “1/4 20” tripod mount and will fit any camera with a standard tripod mount on board. This makes it a handy solution for any point and shoot camera too! Can they be used for full sized DLSRs? Yes. Should they? Only in an emergency Hah

IMG_6131.jpg

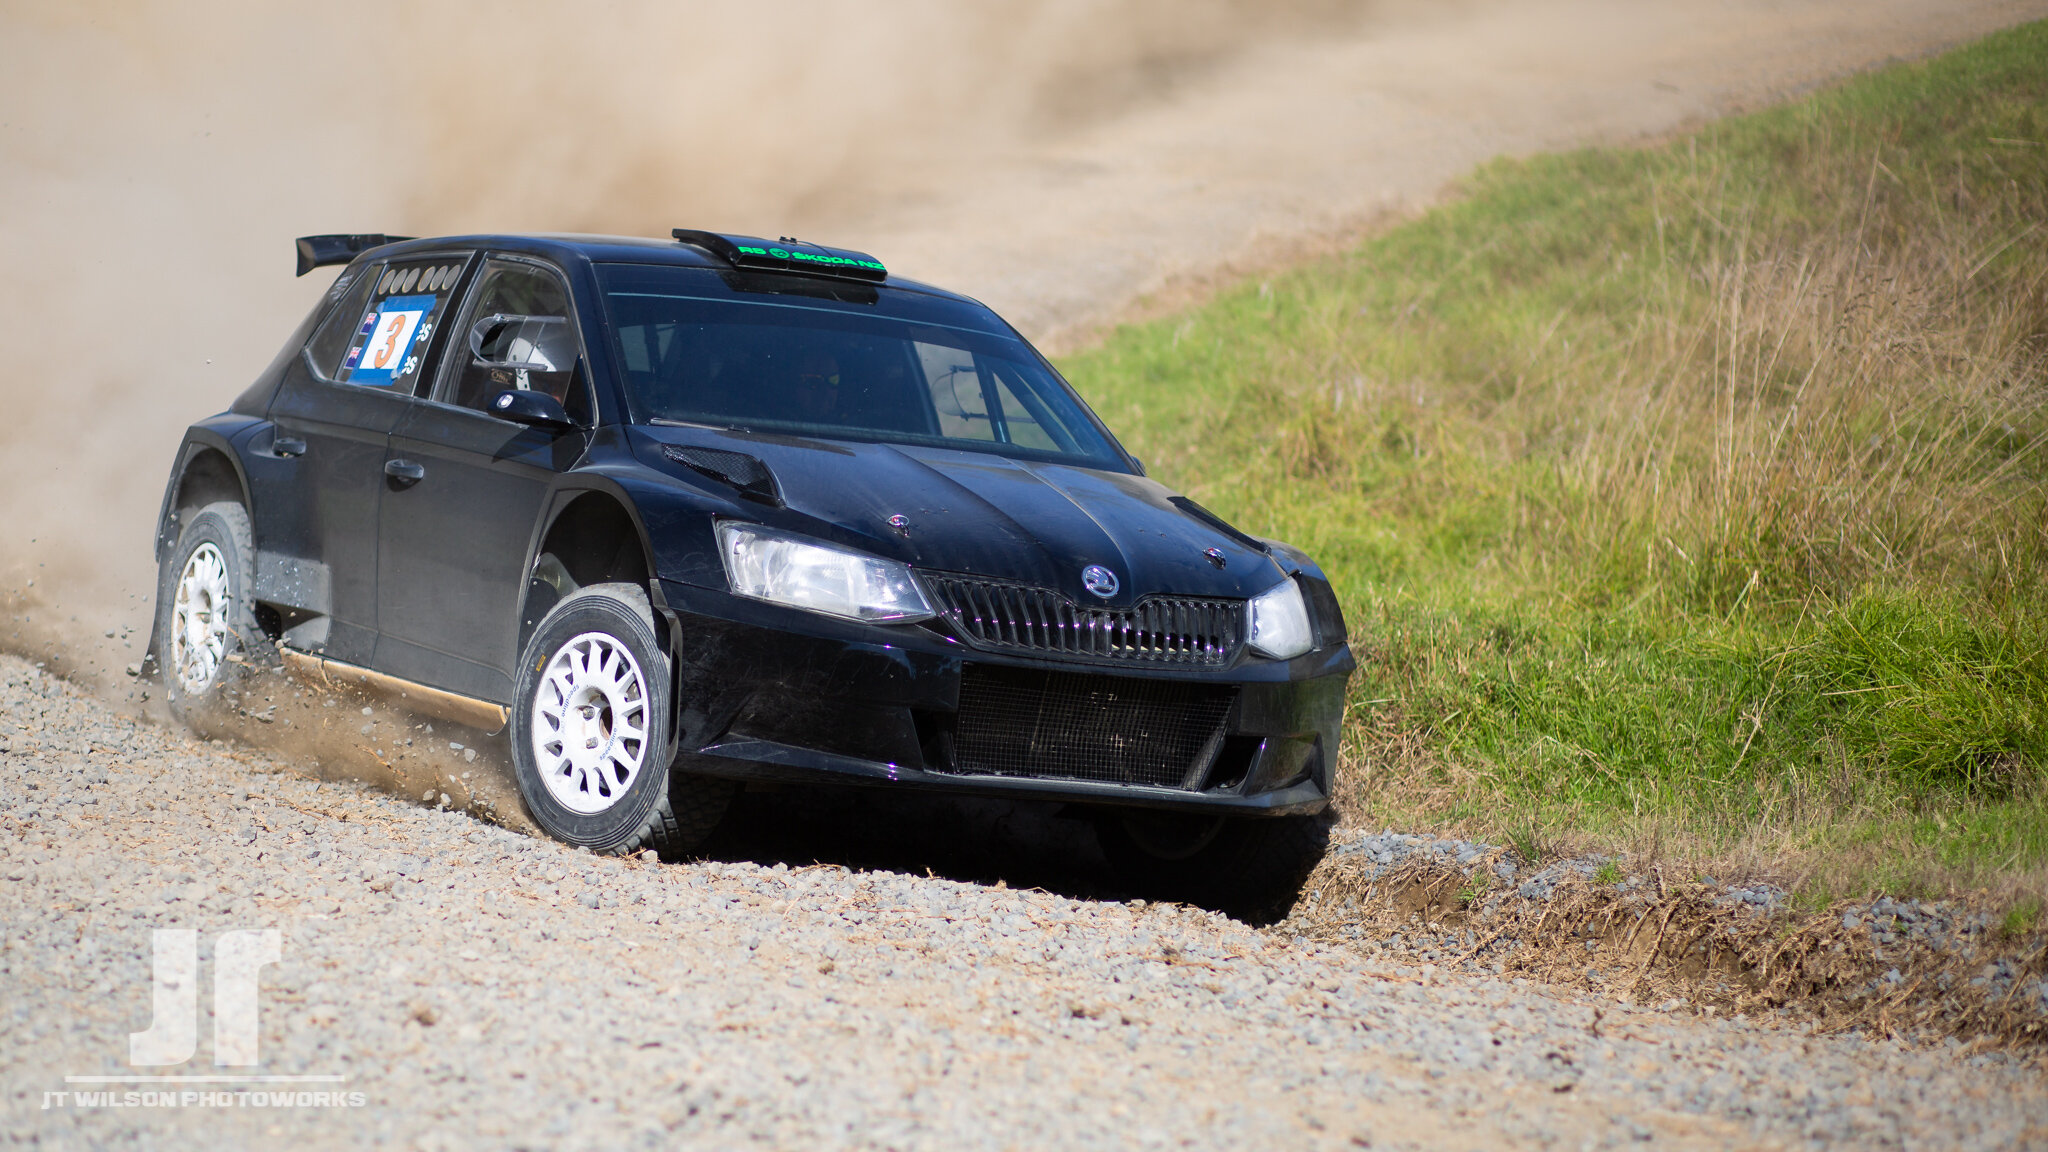
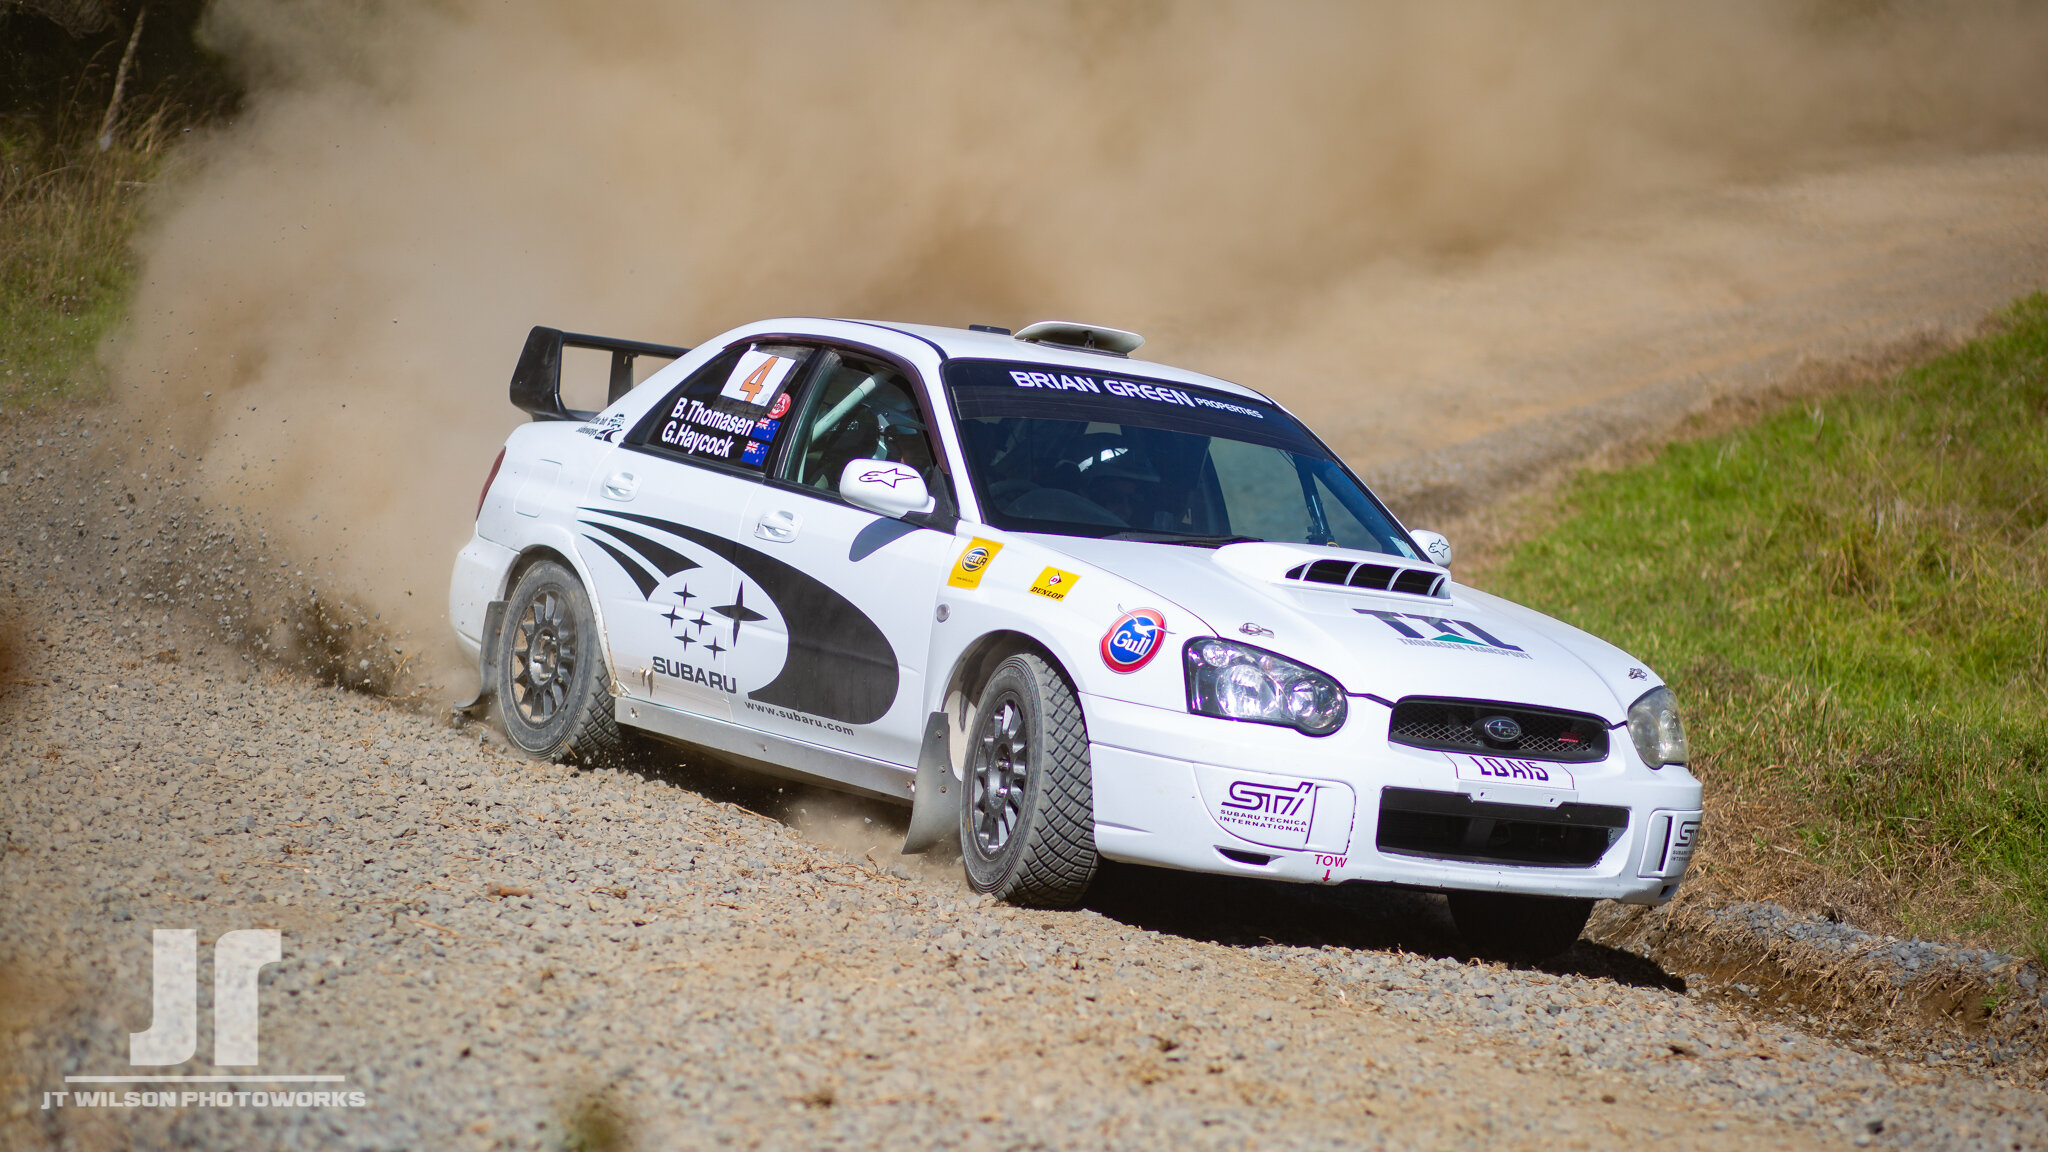
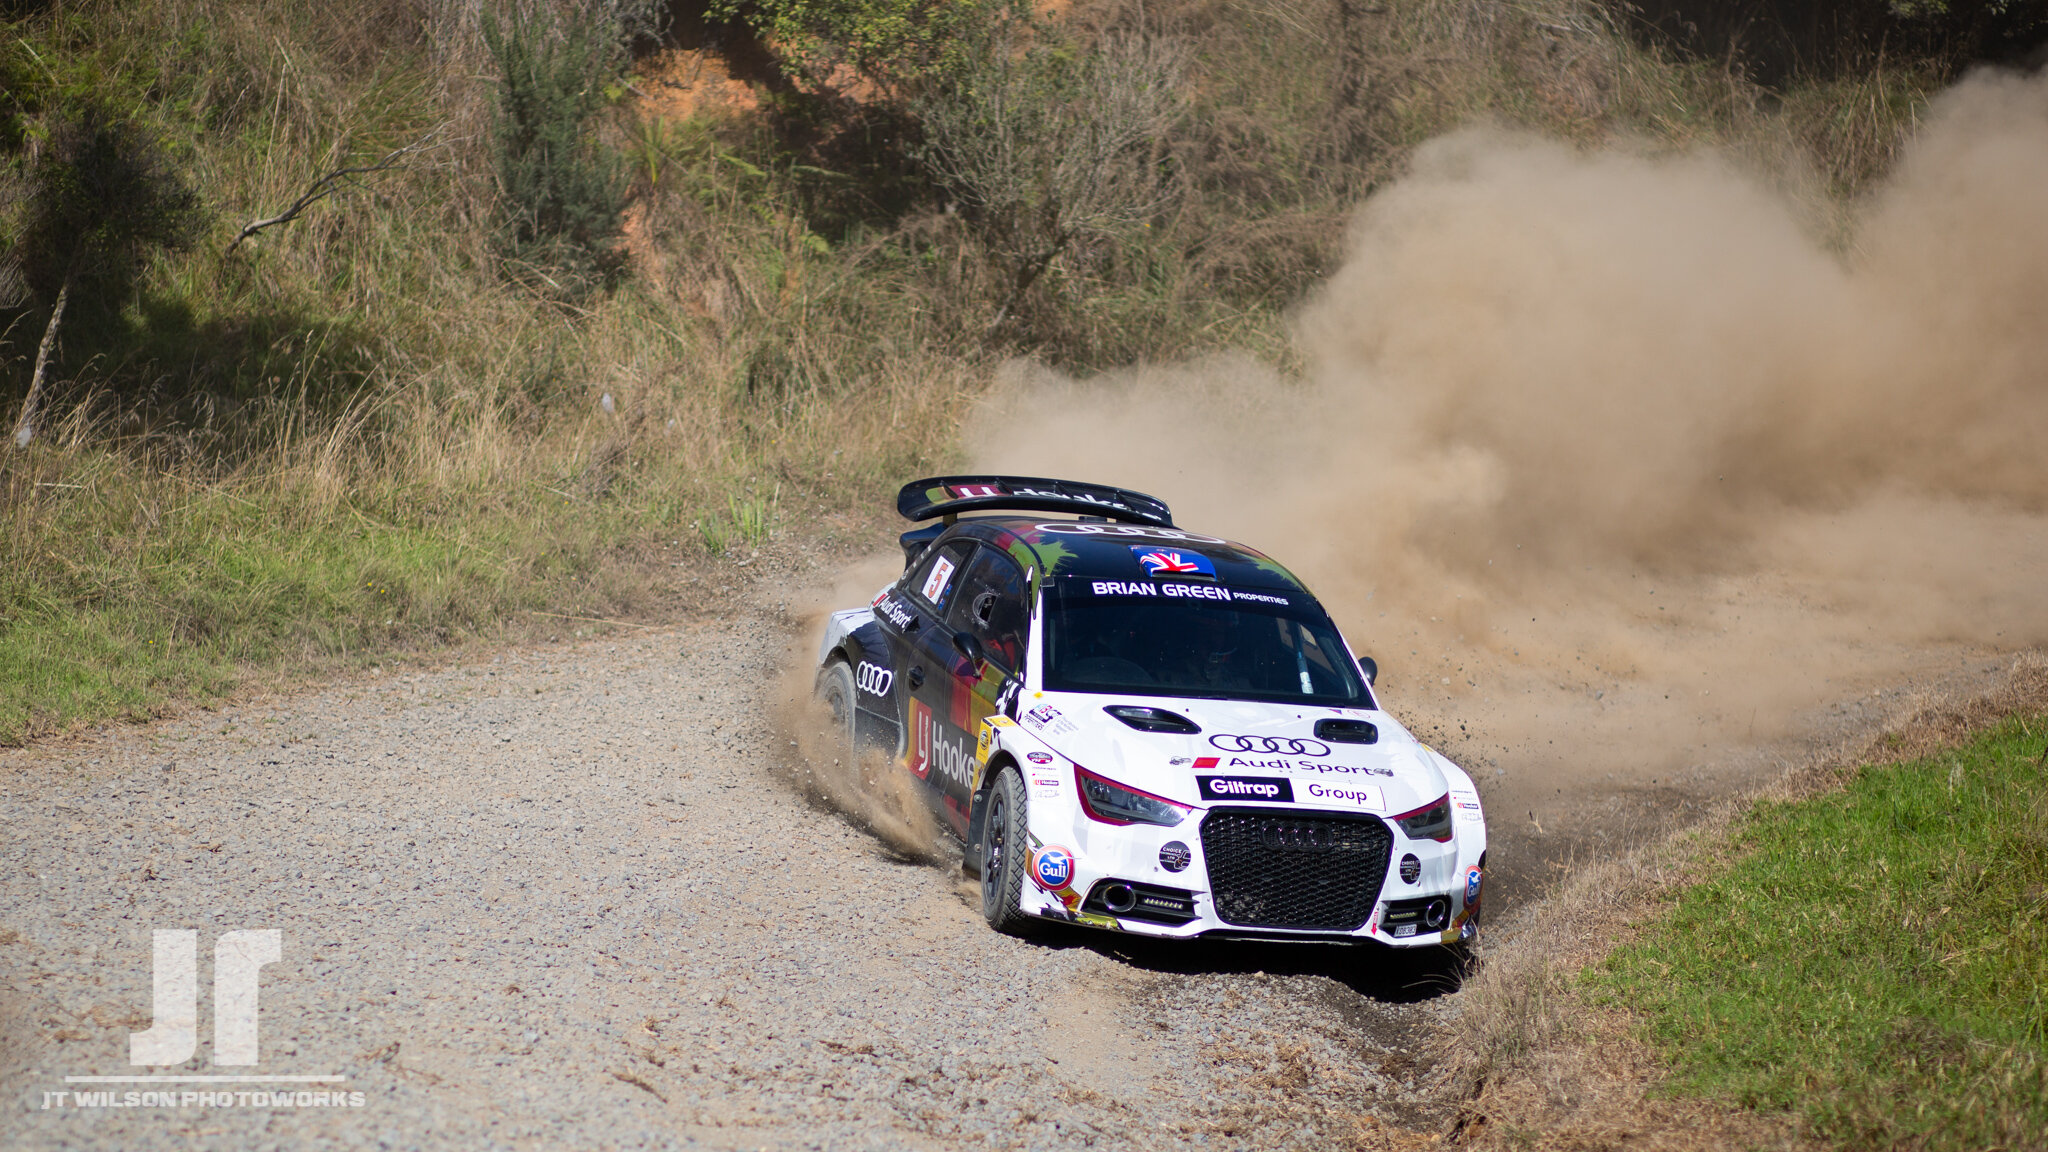
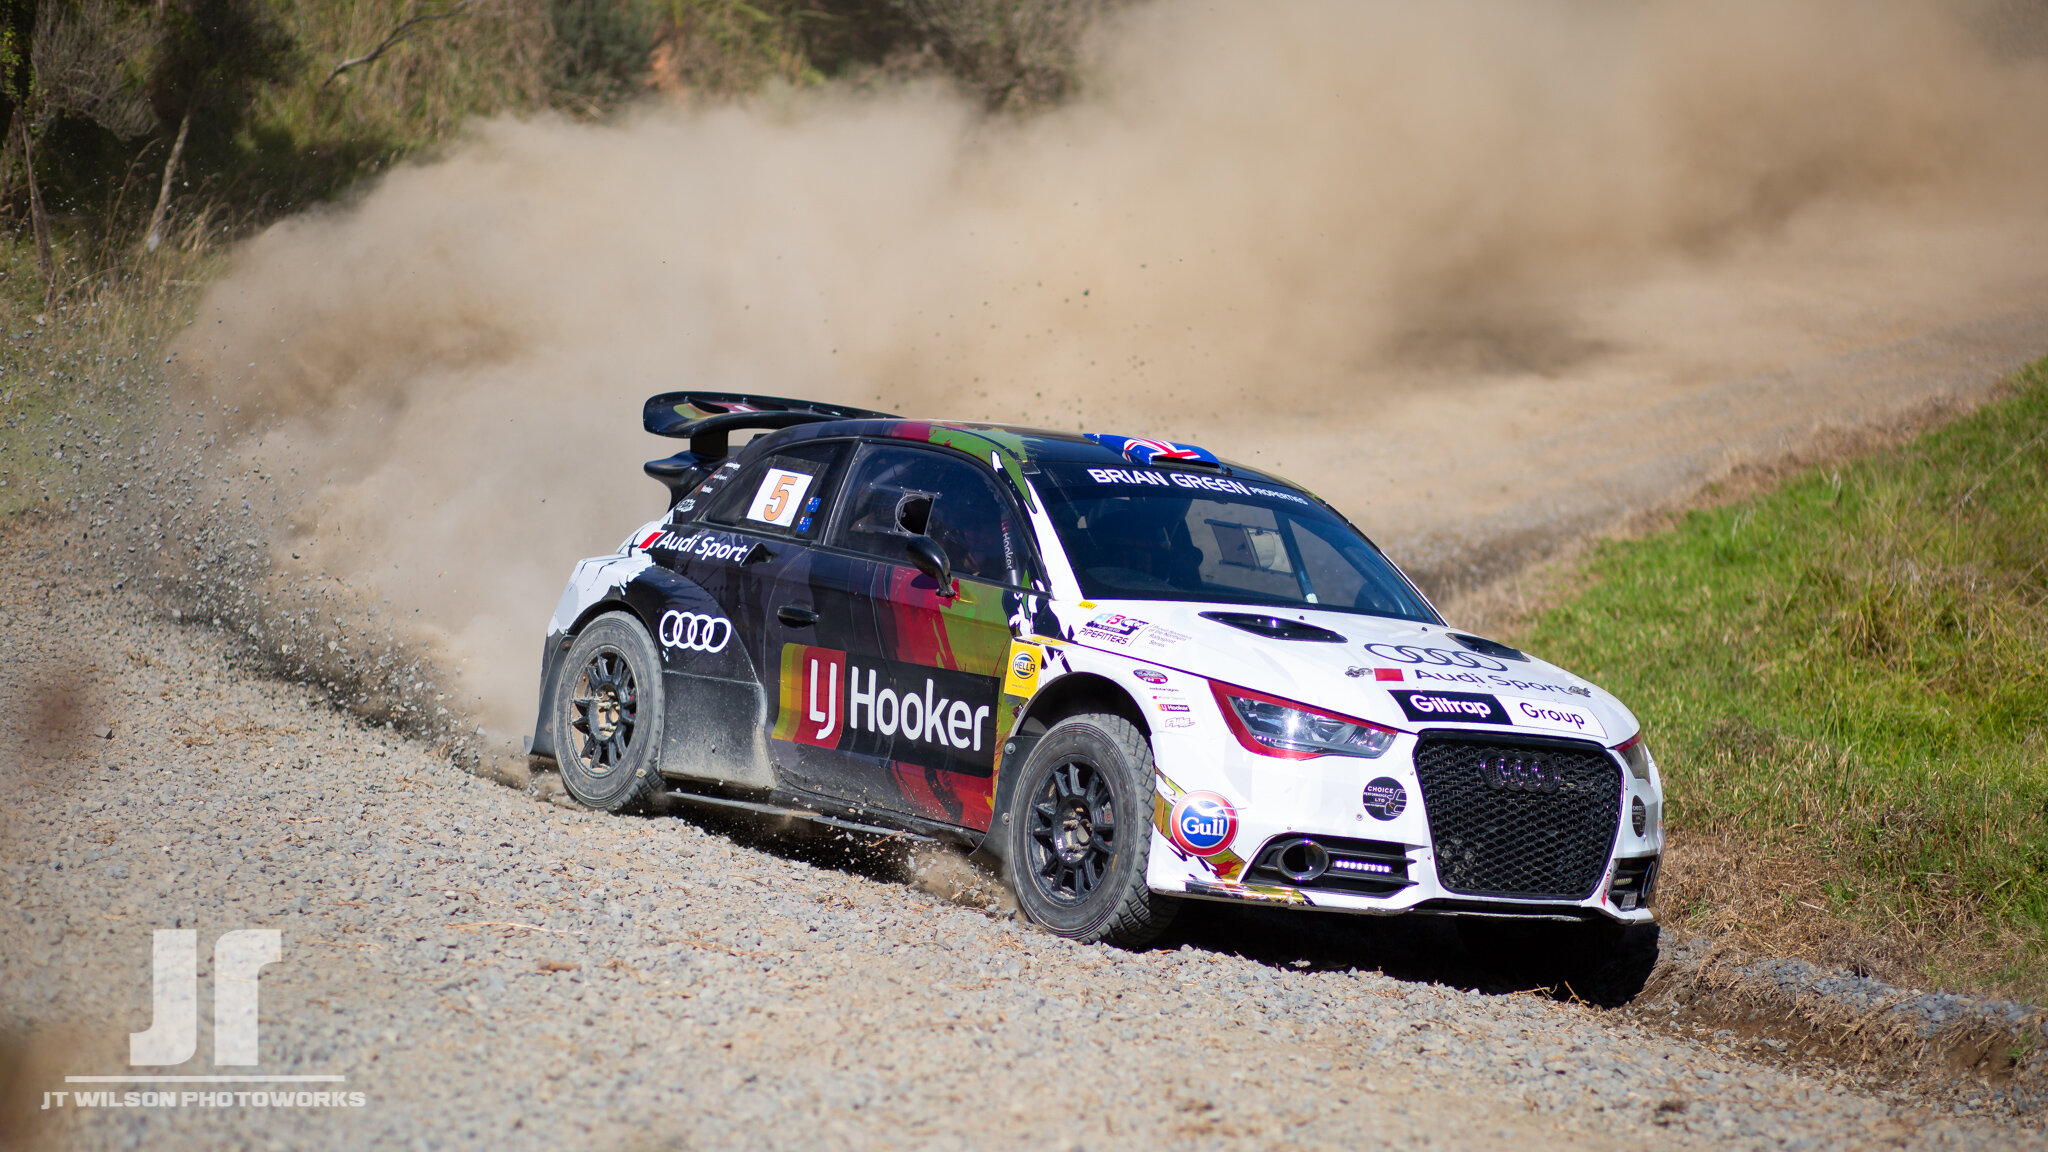
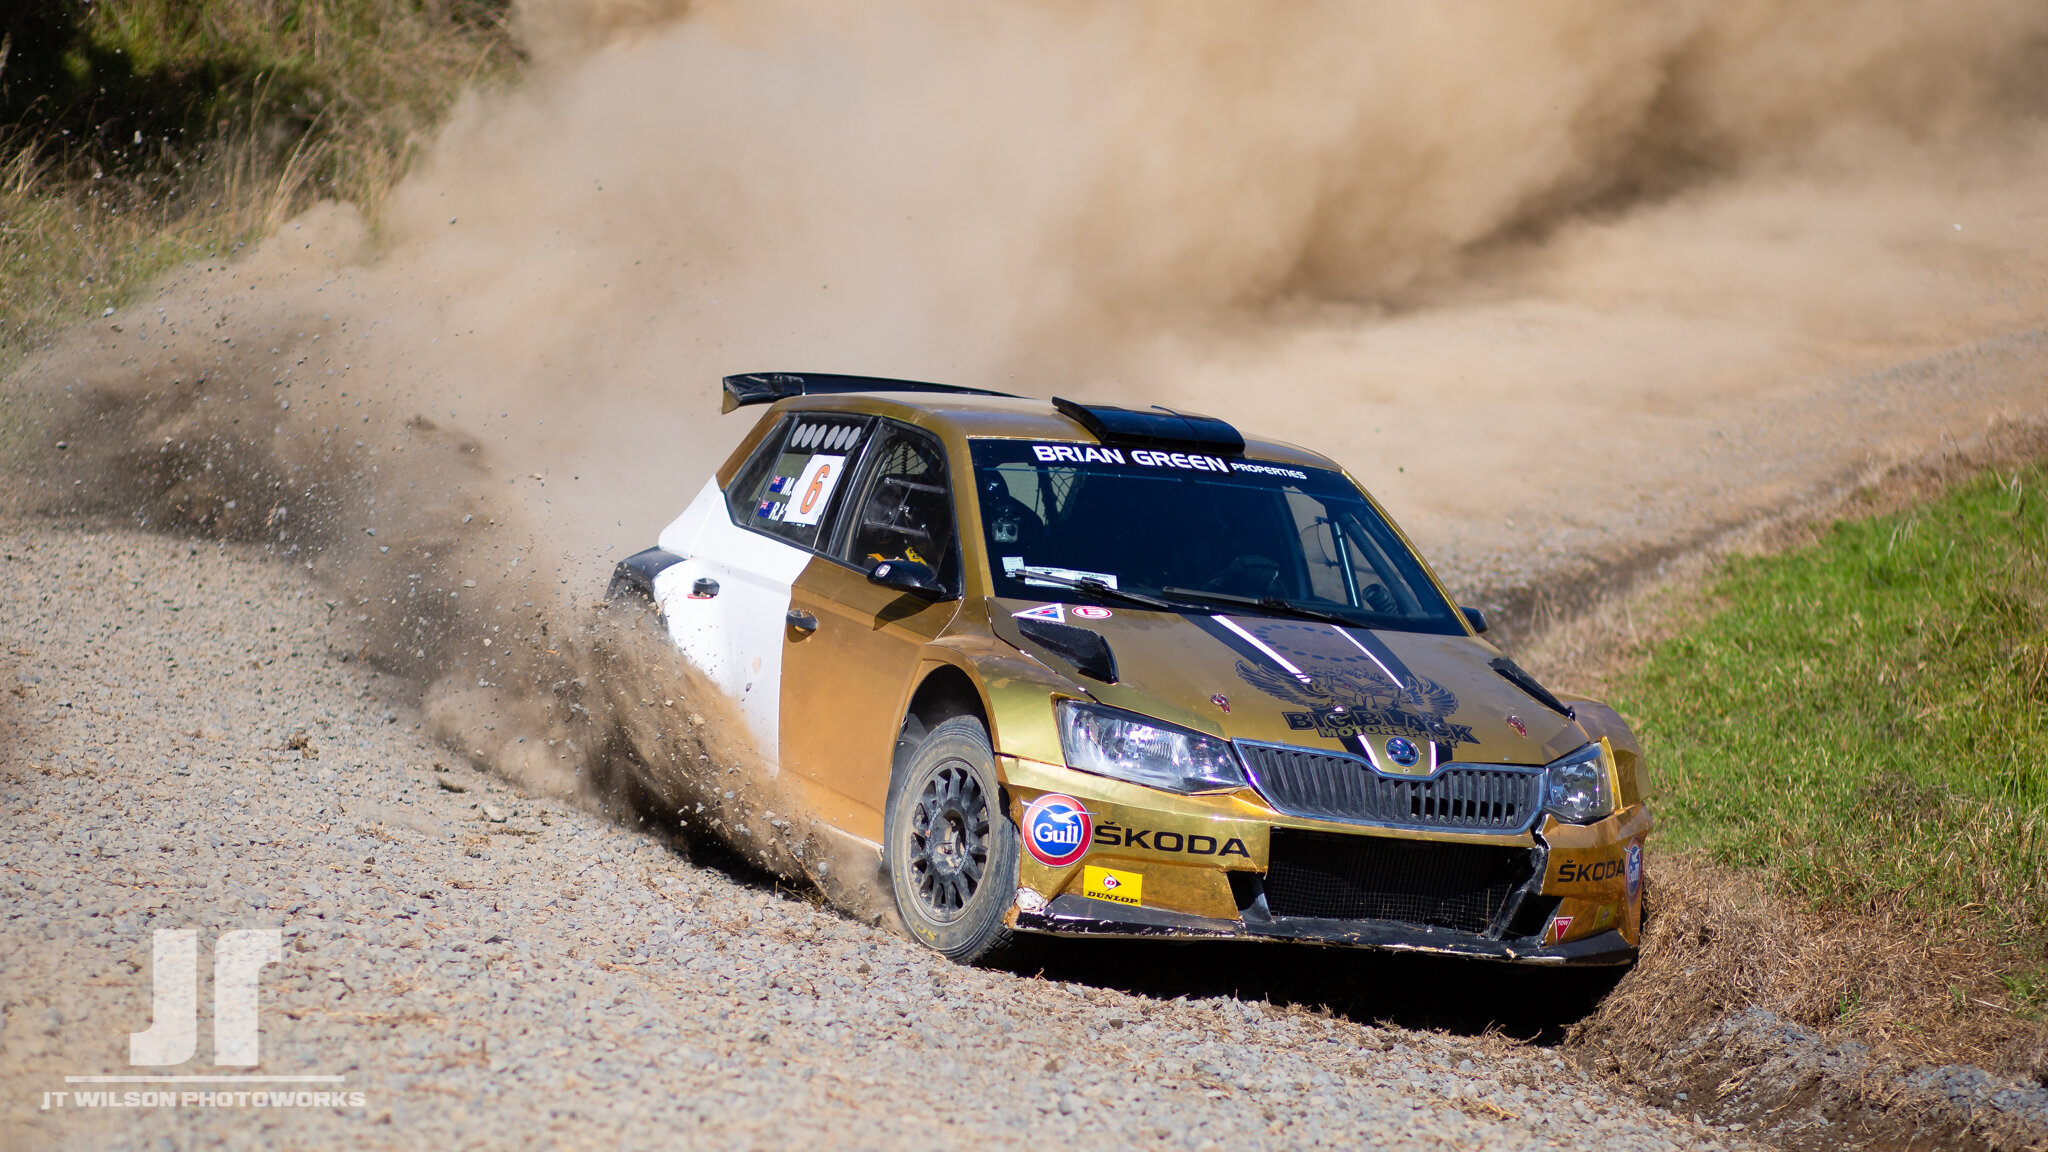
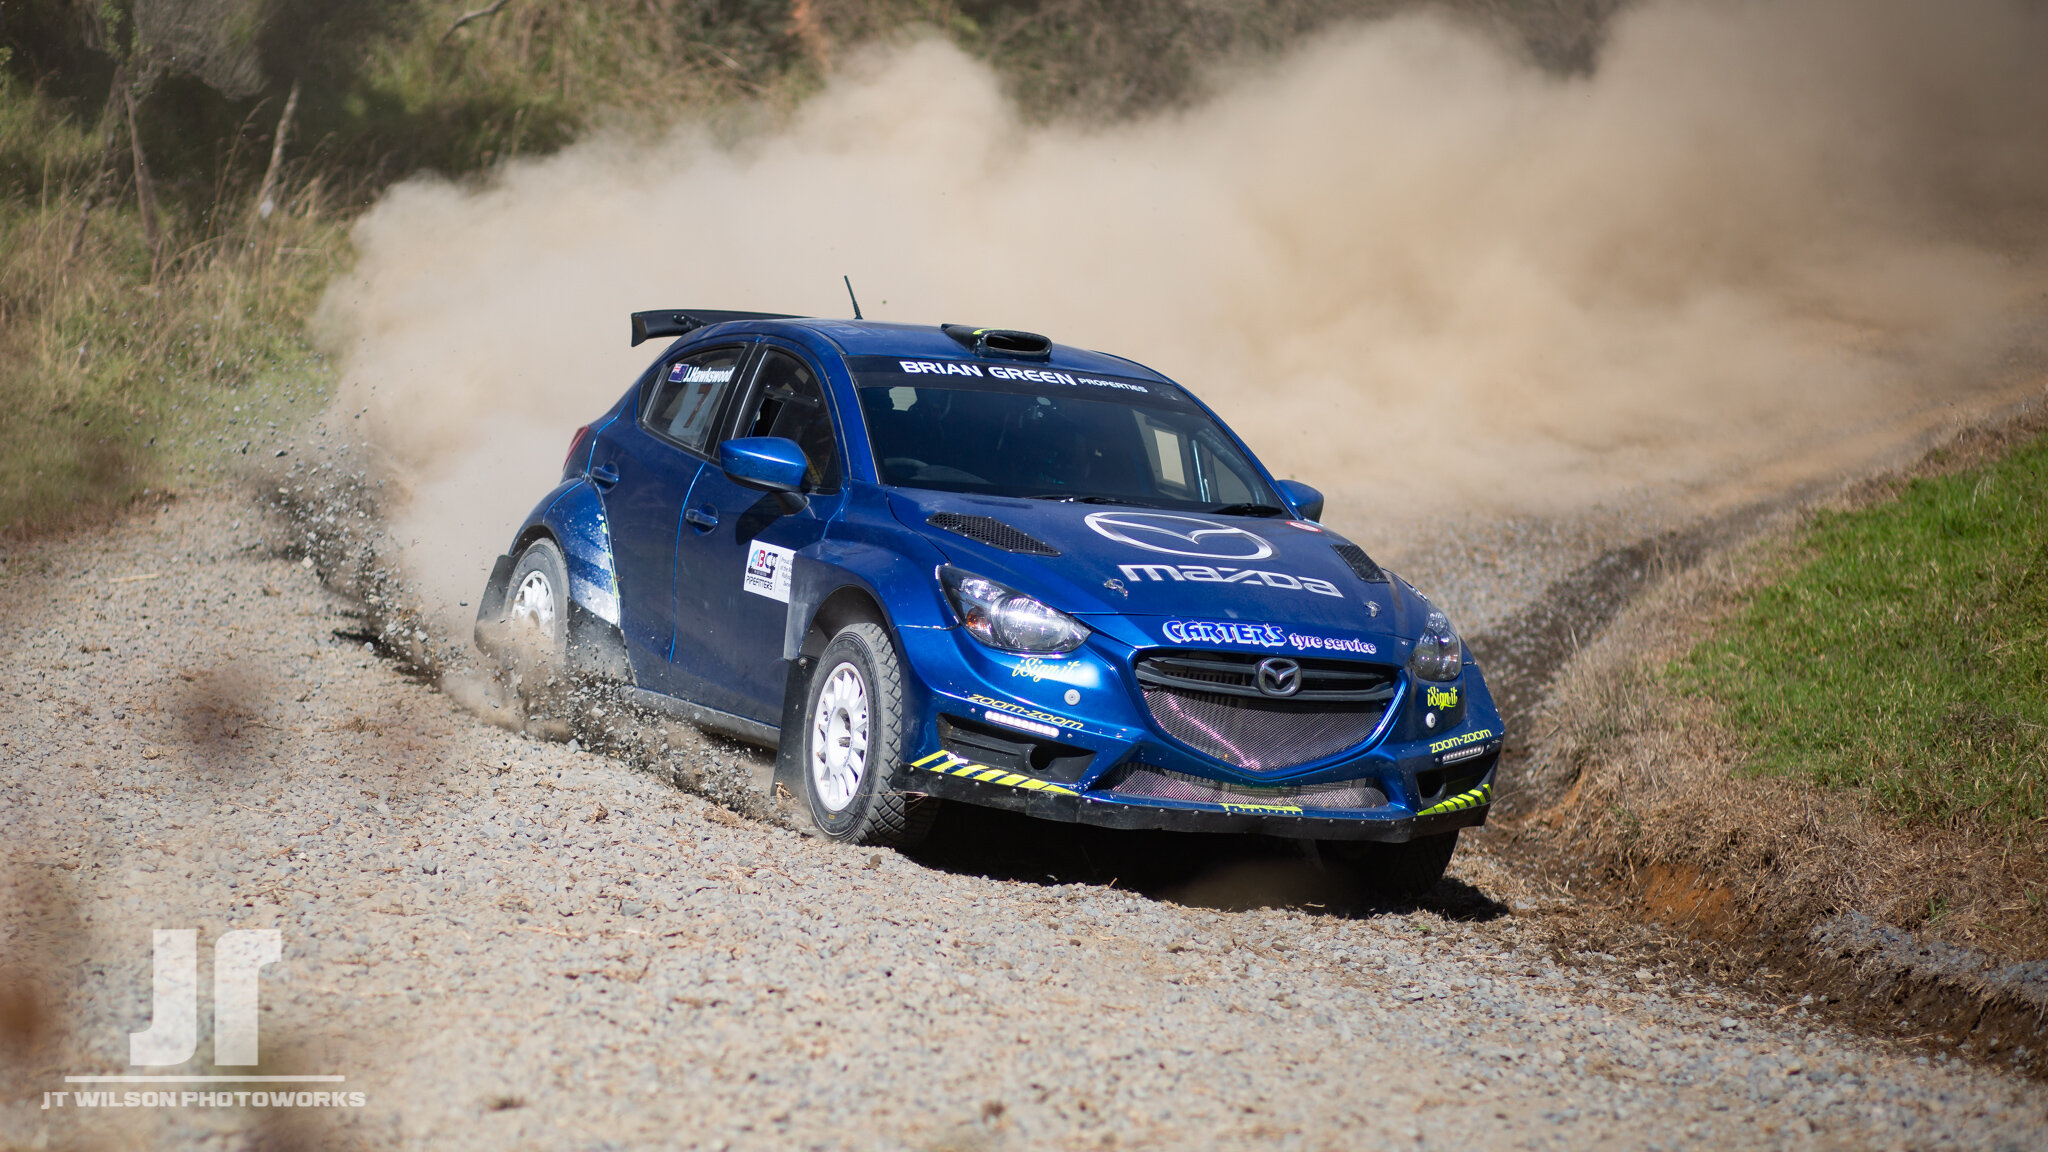
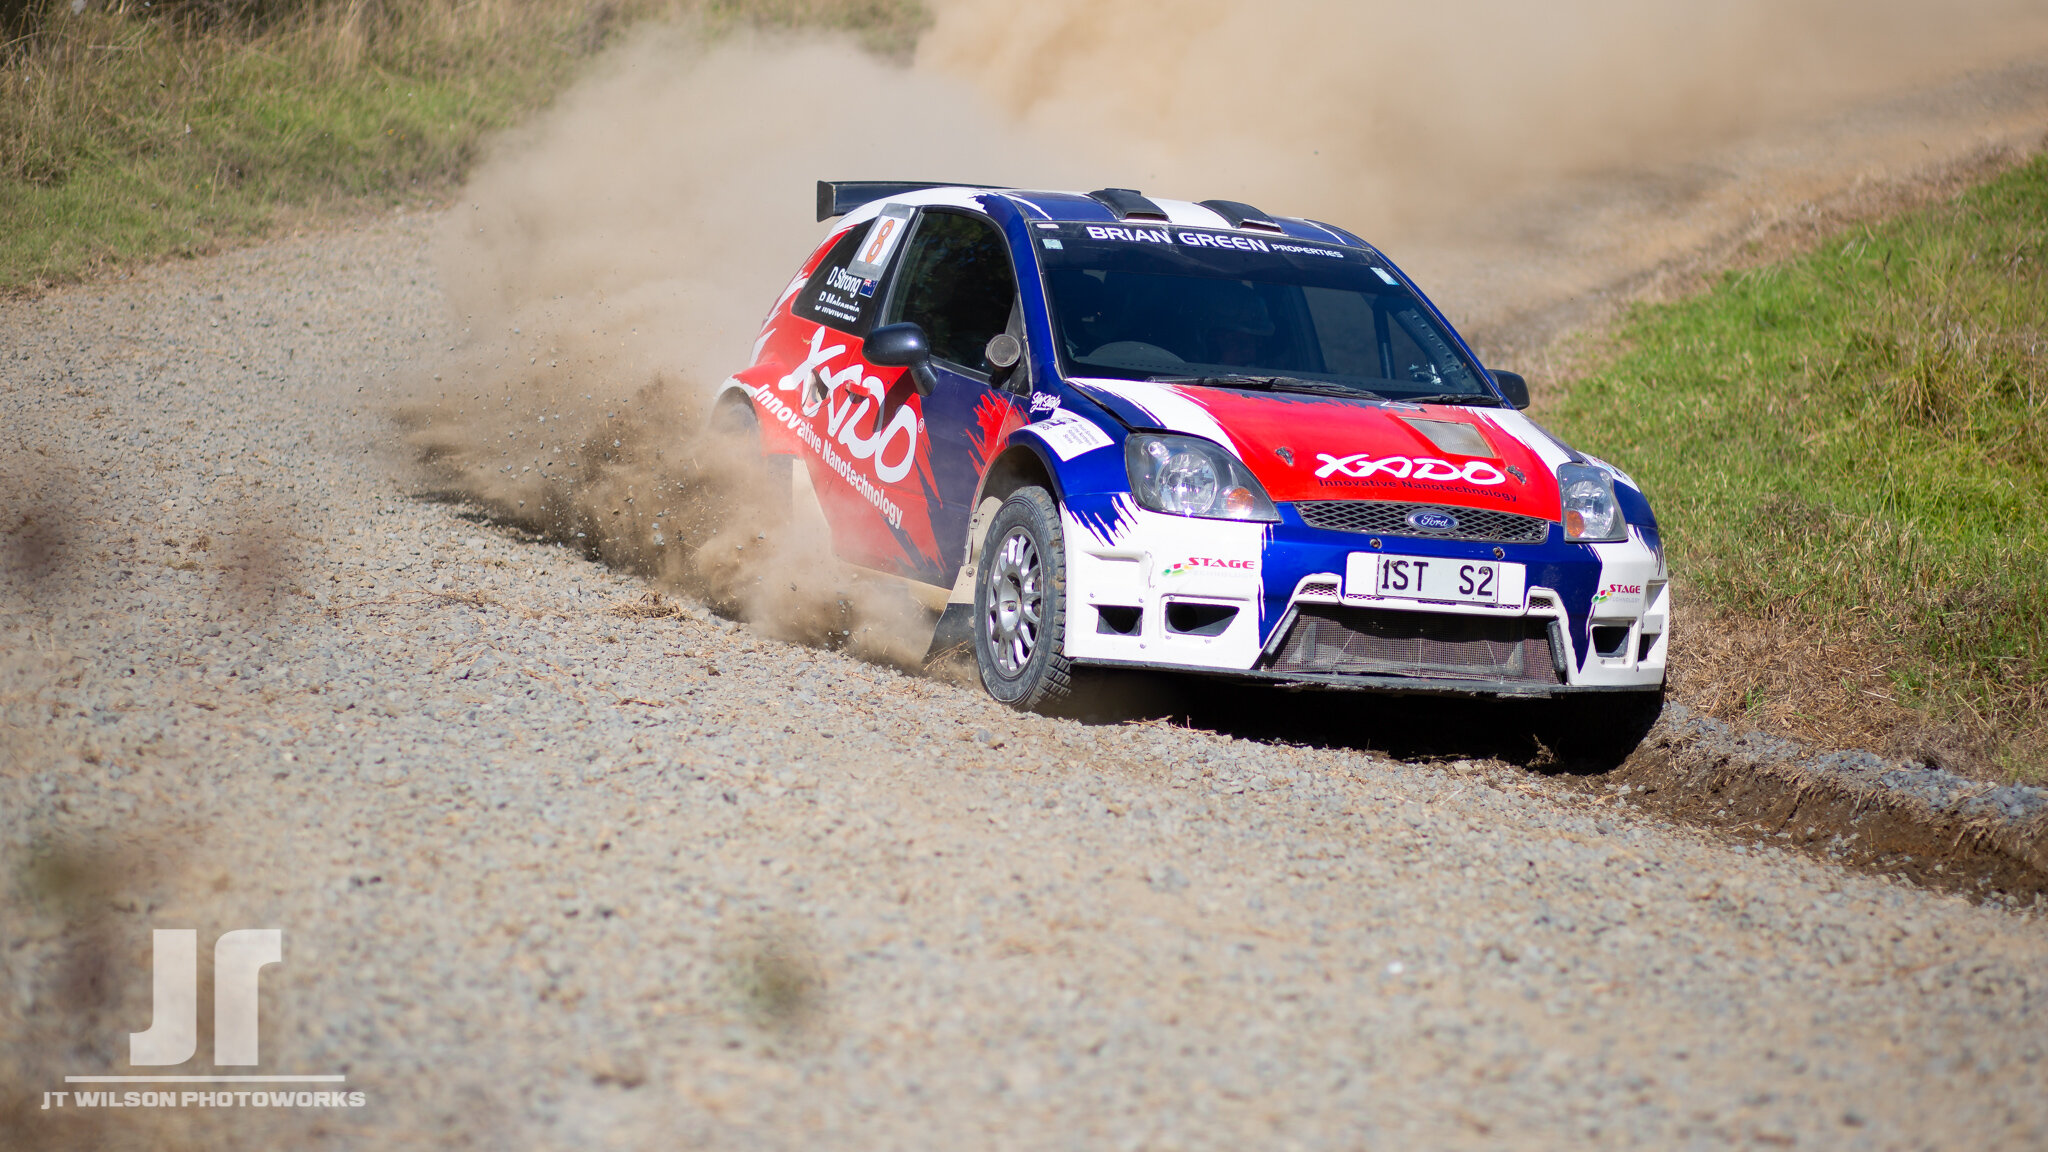
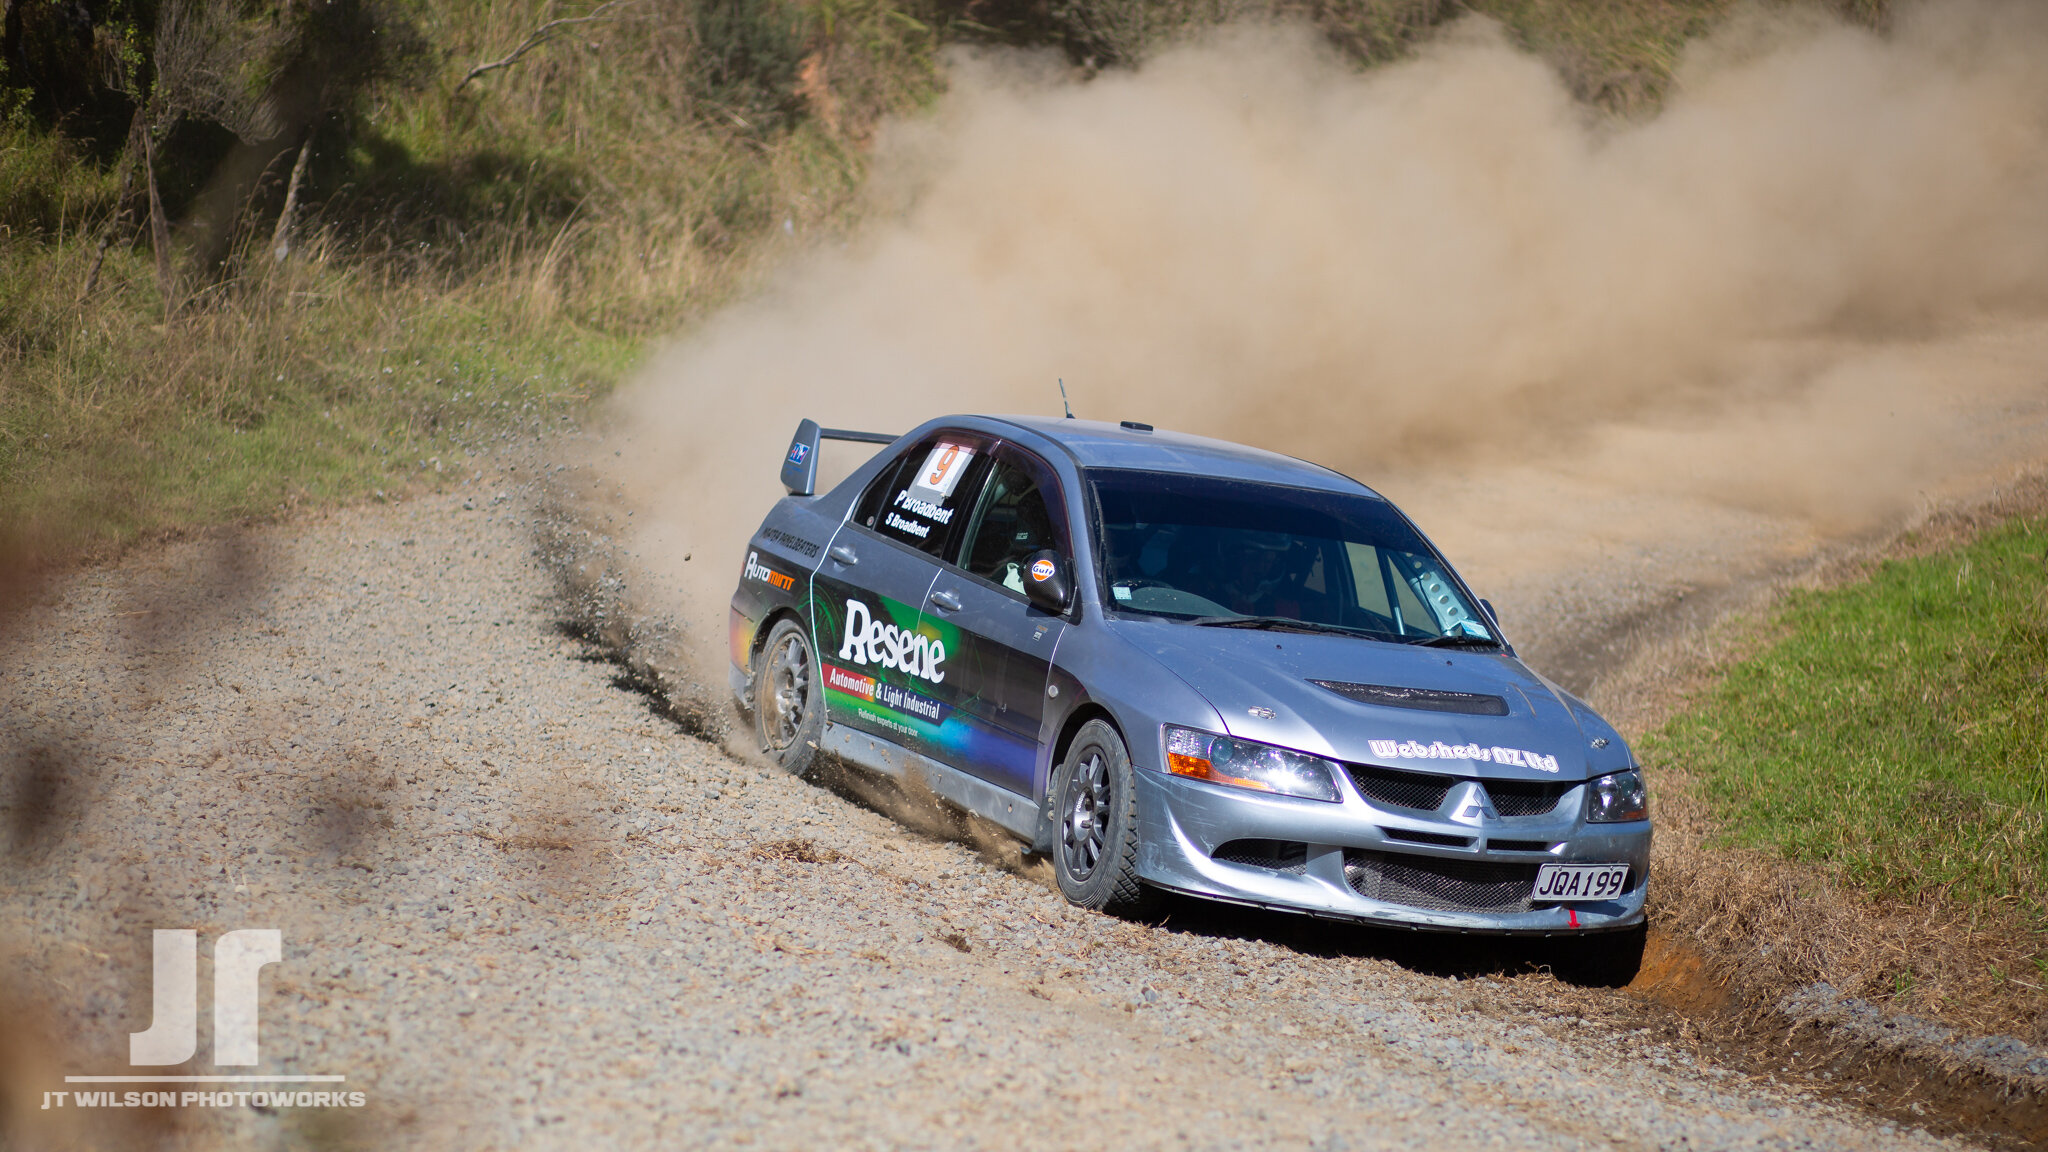
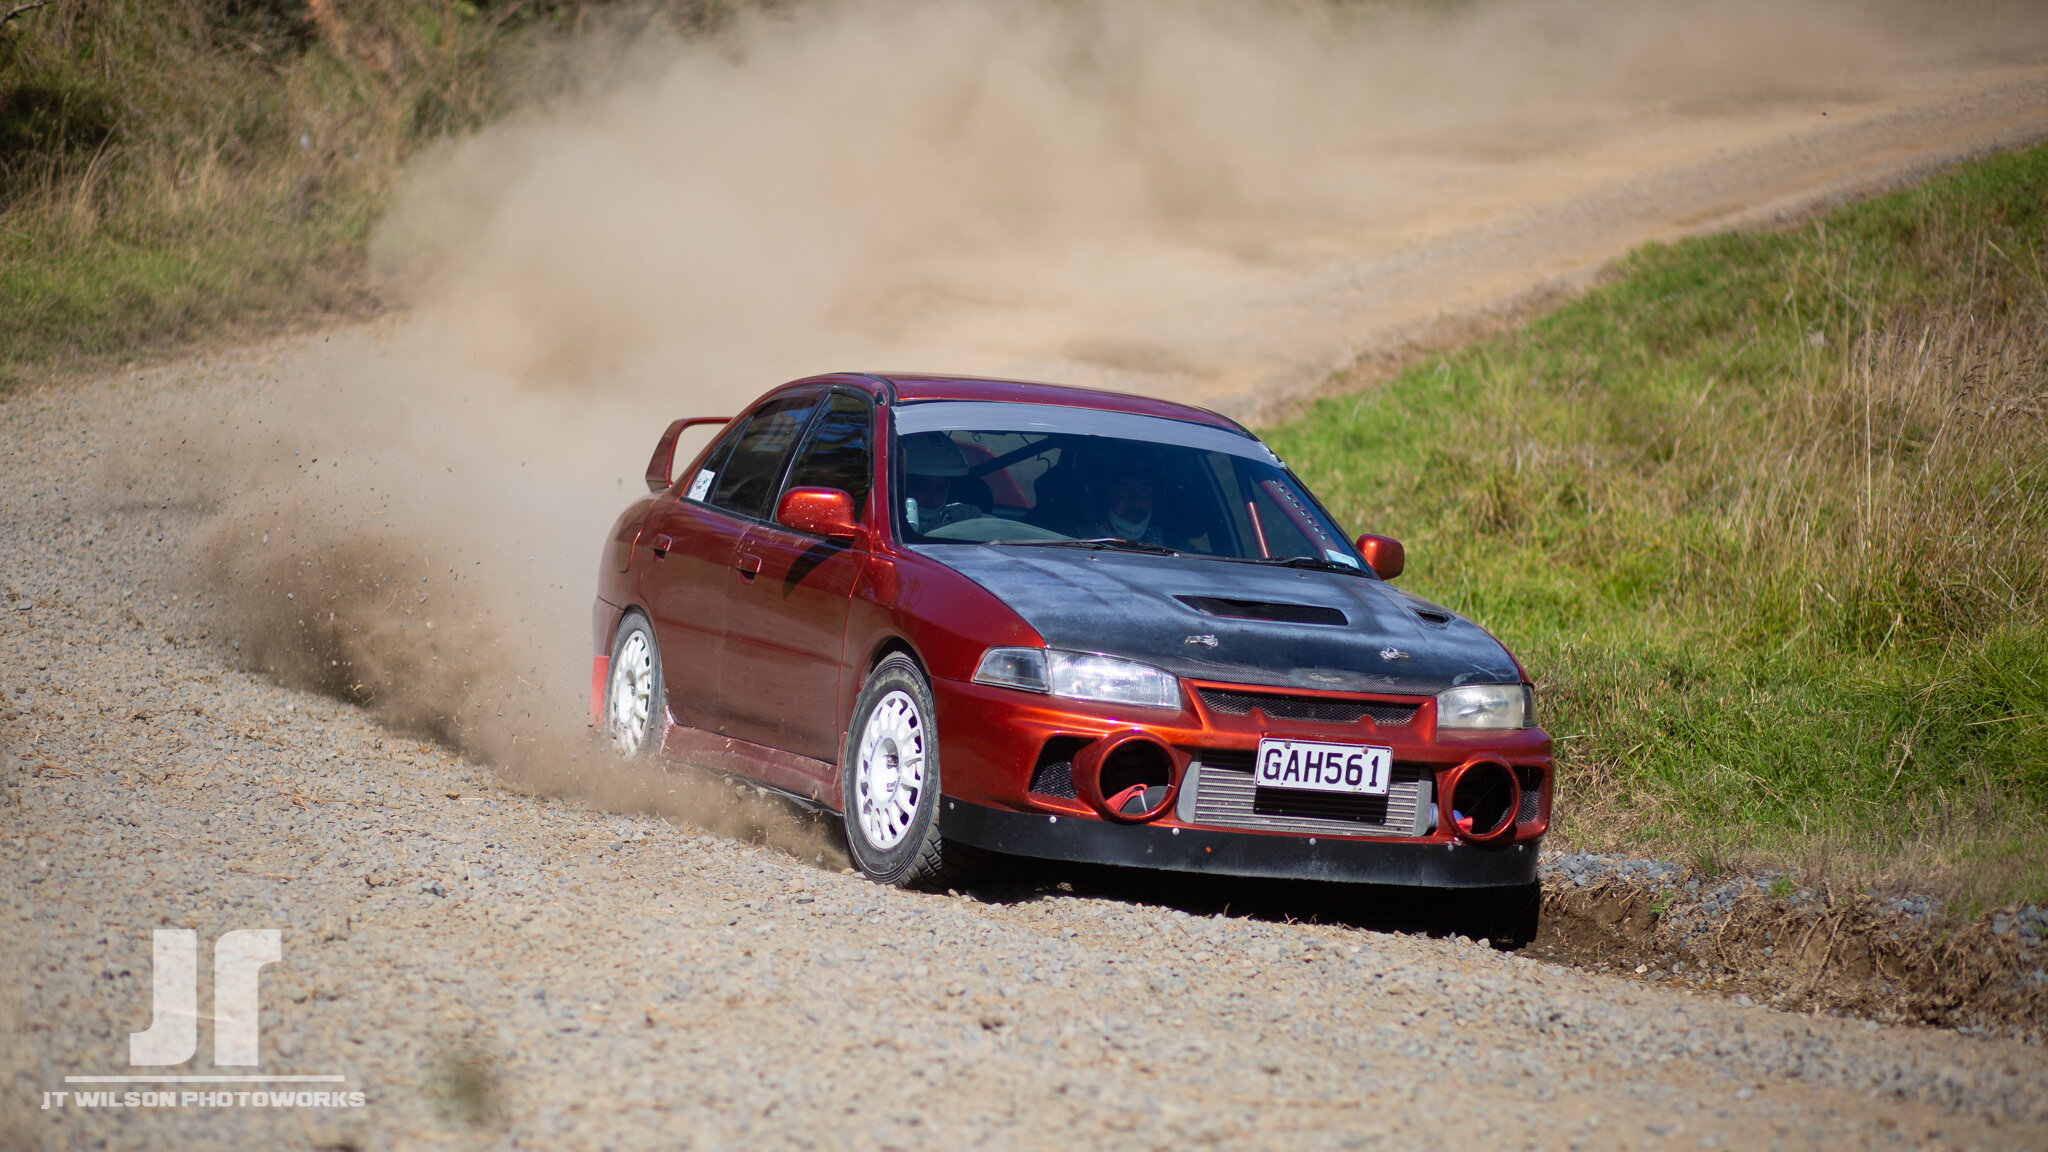
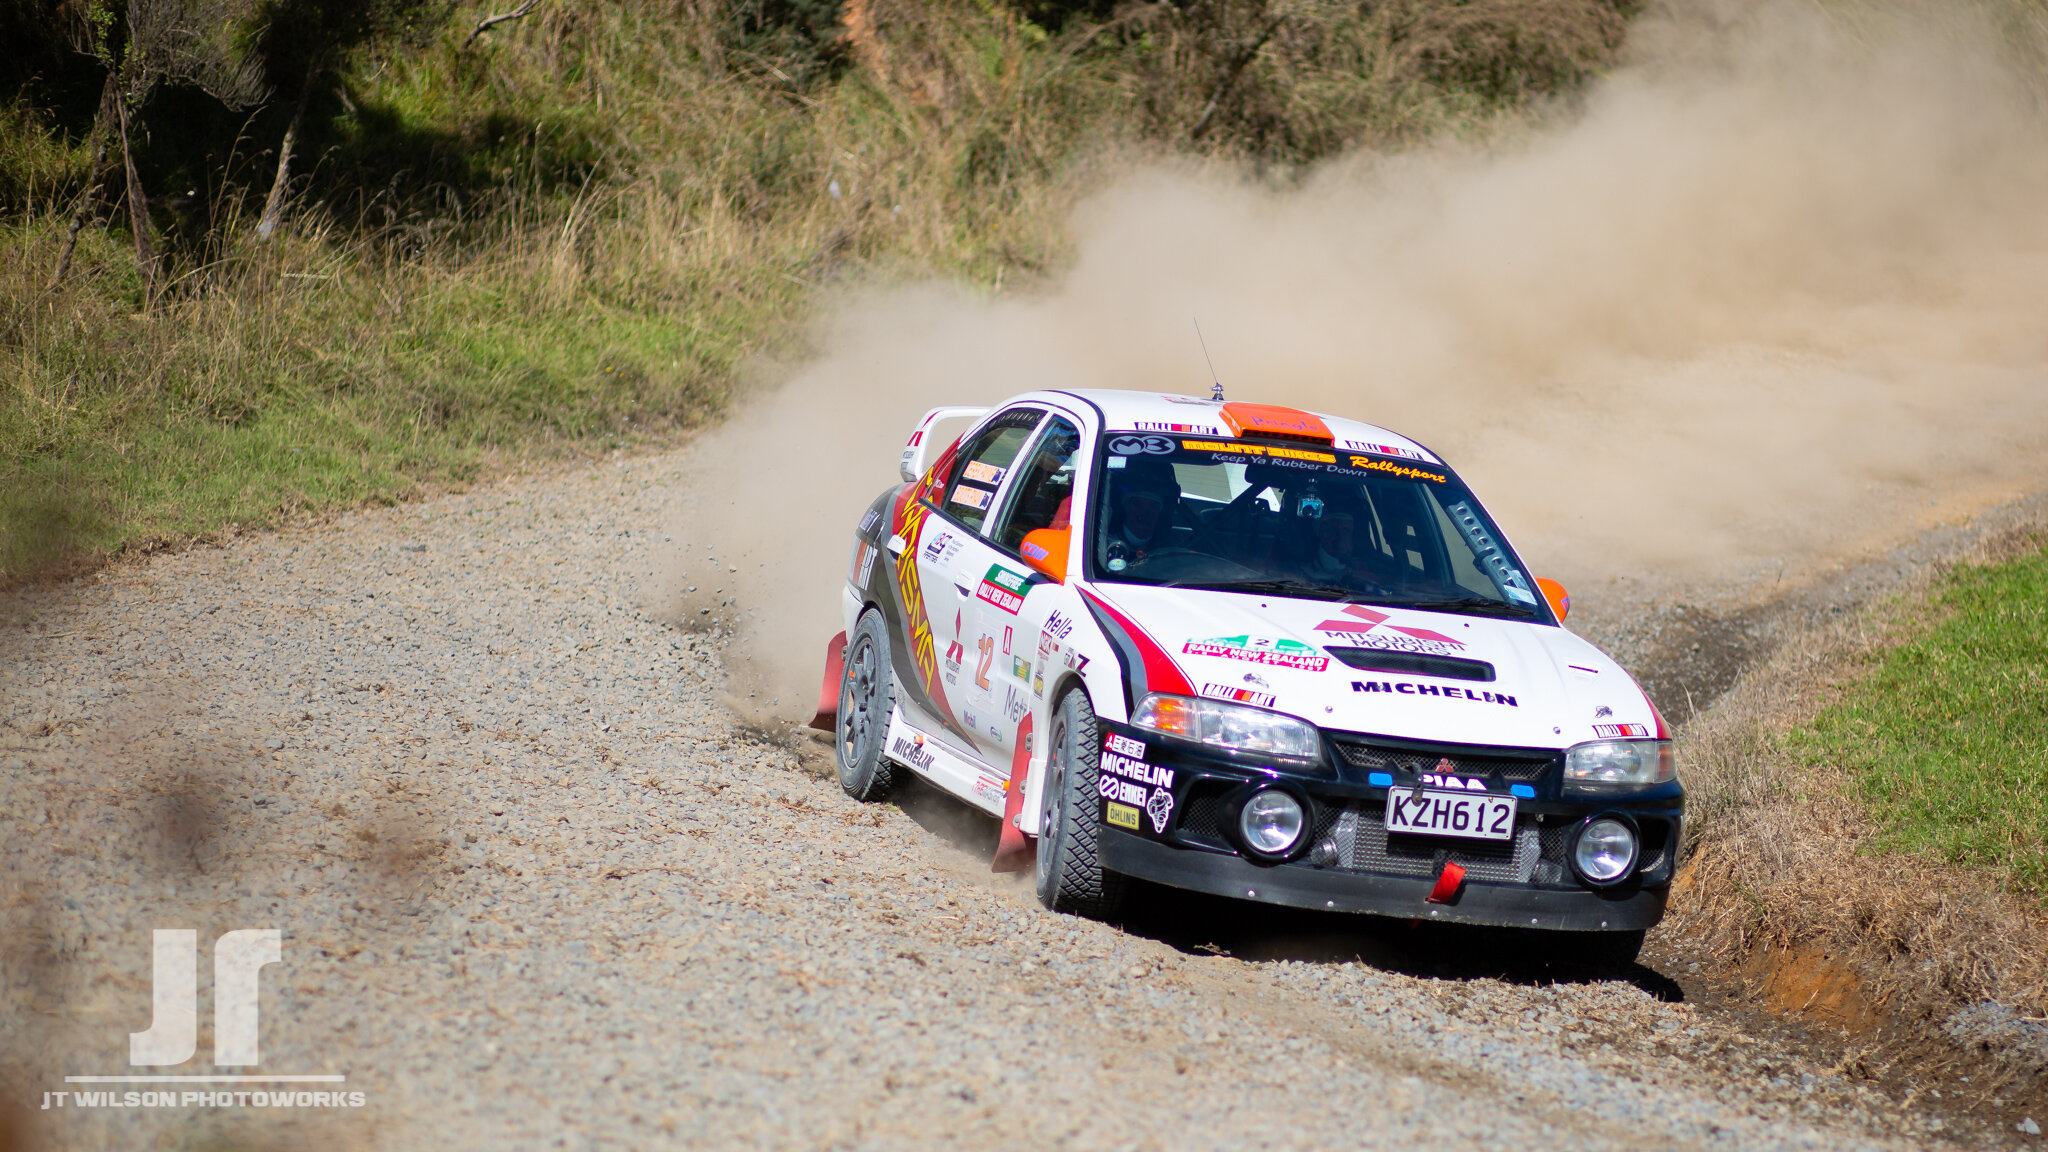
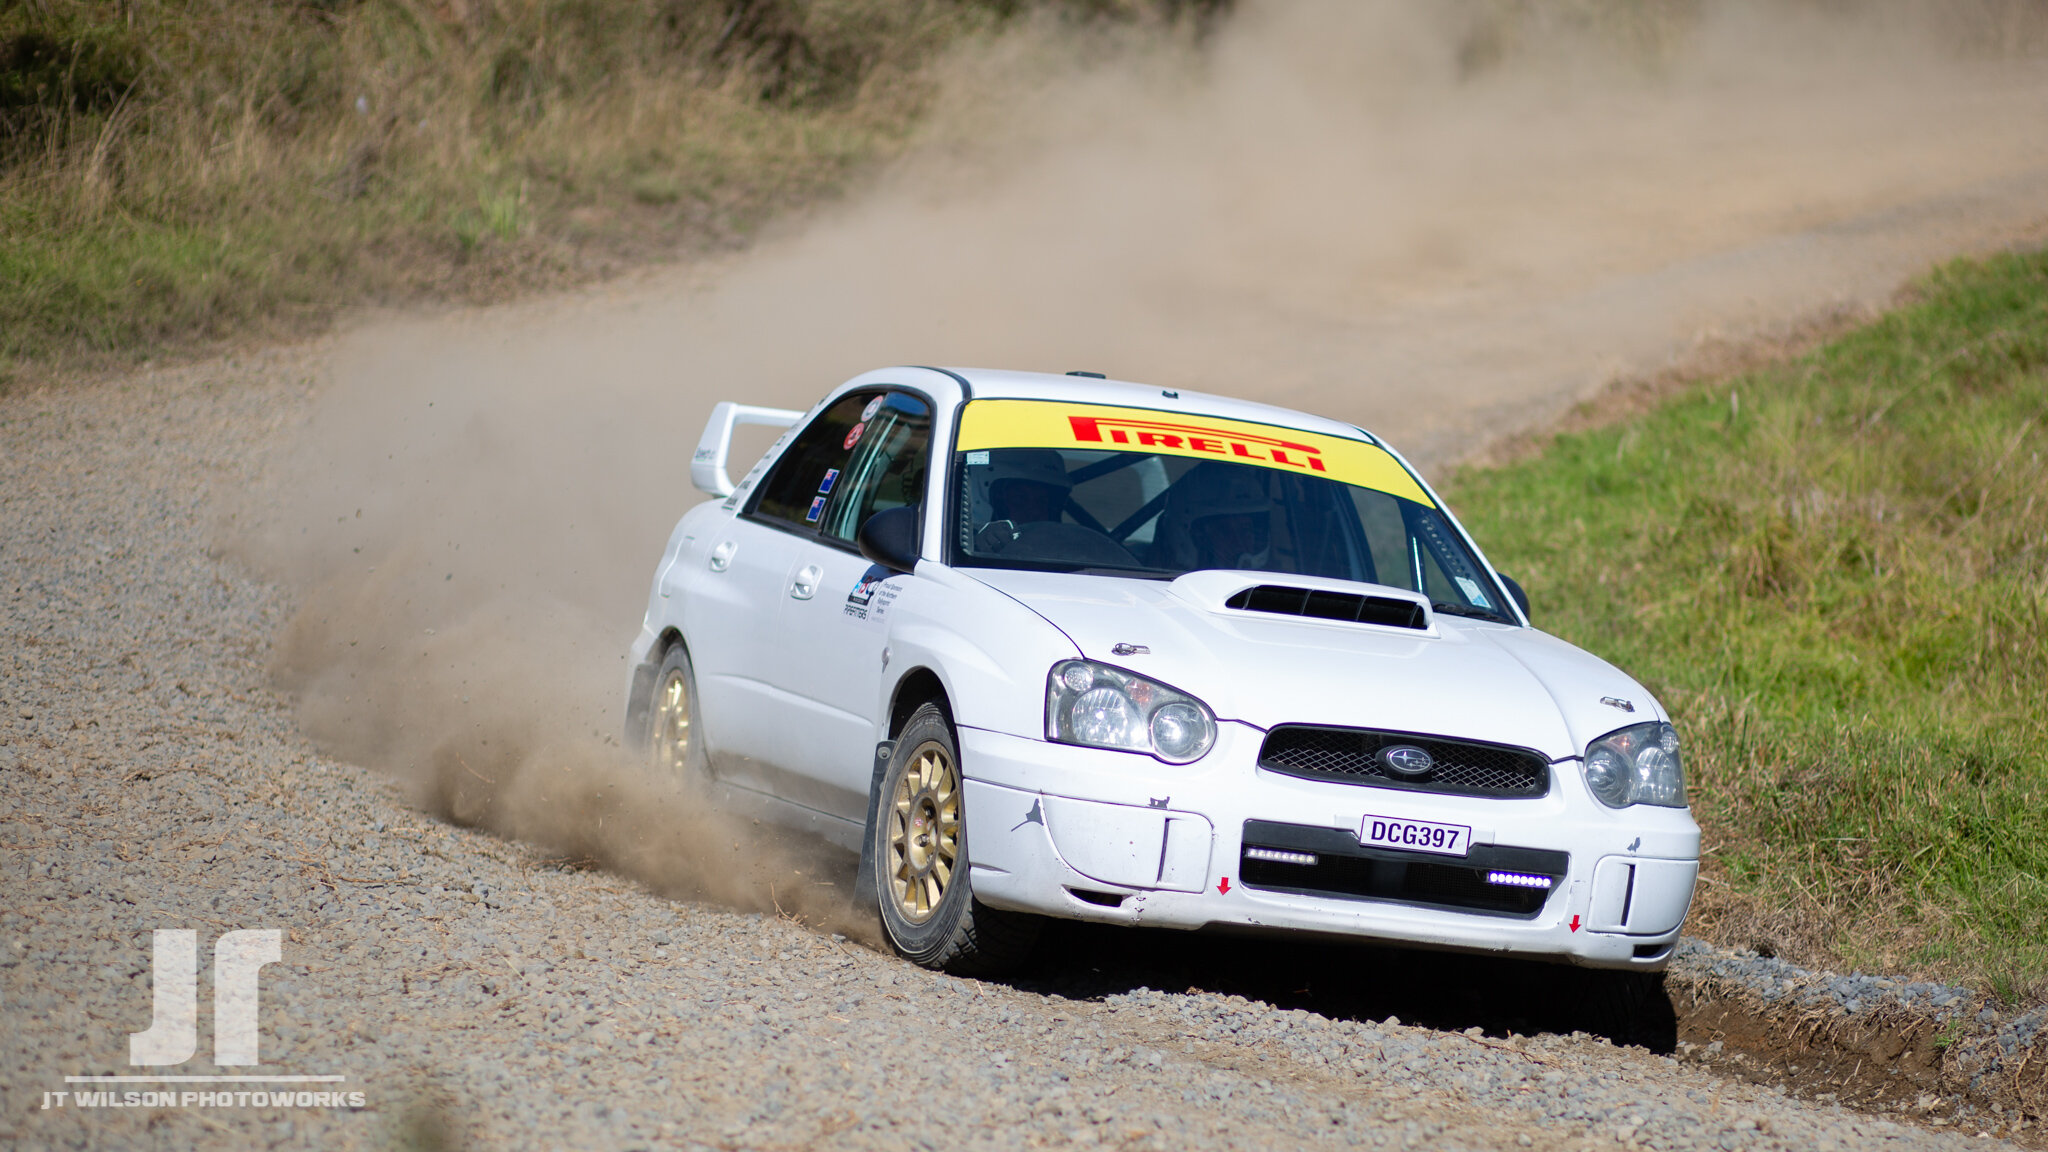
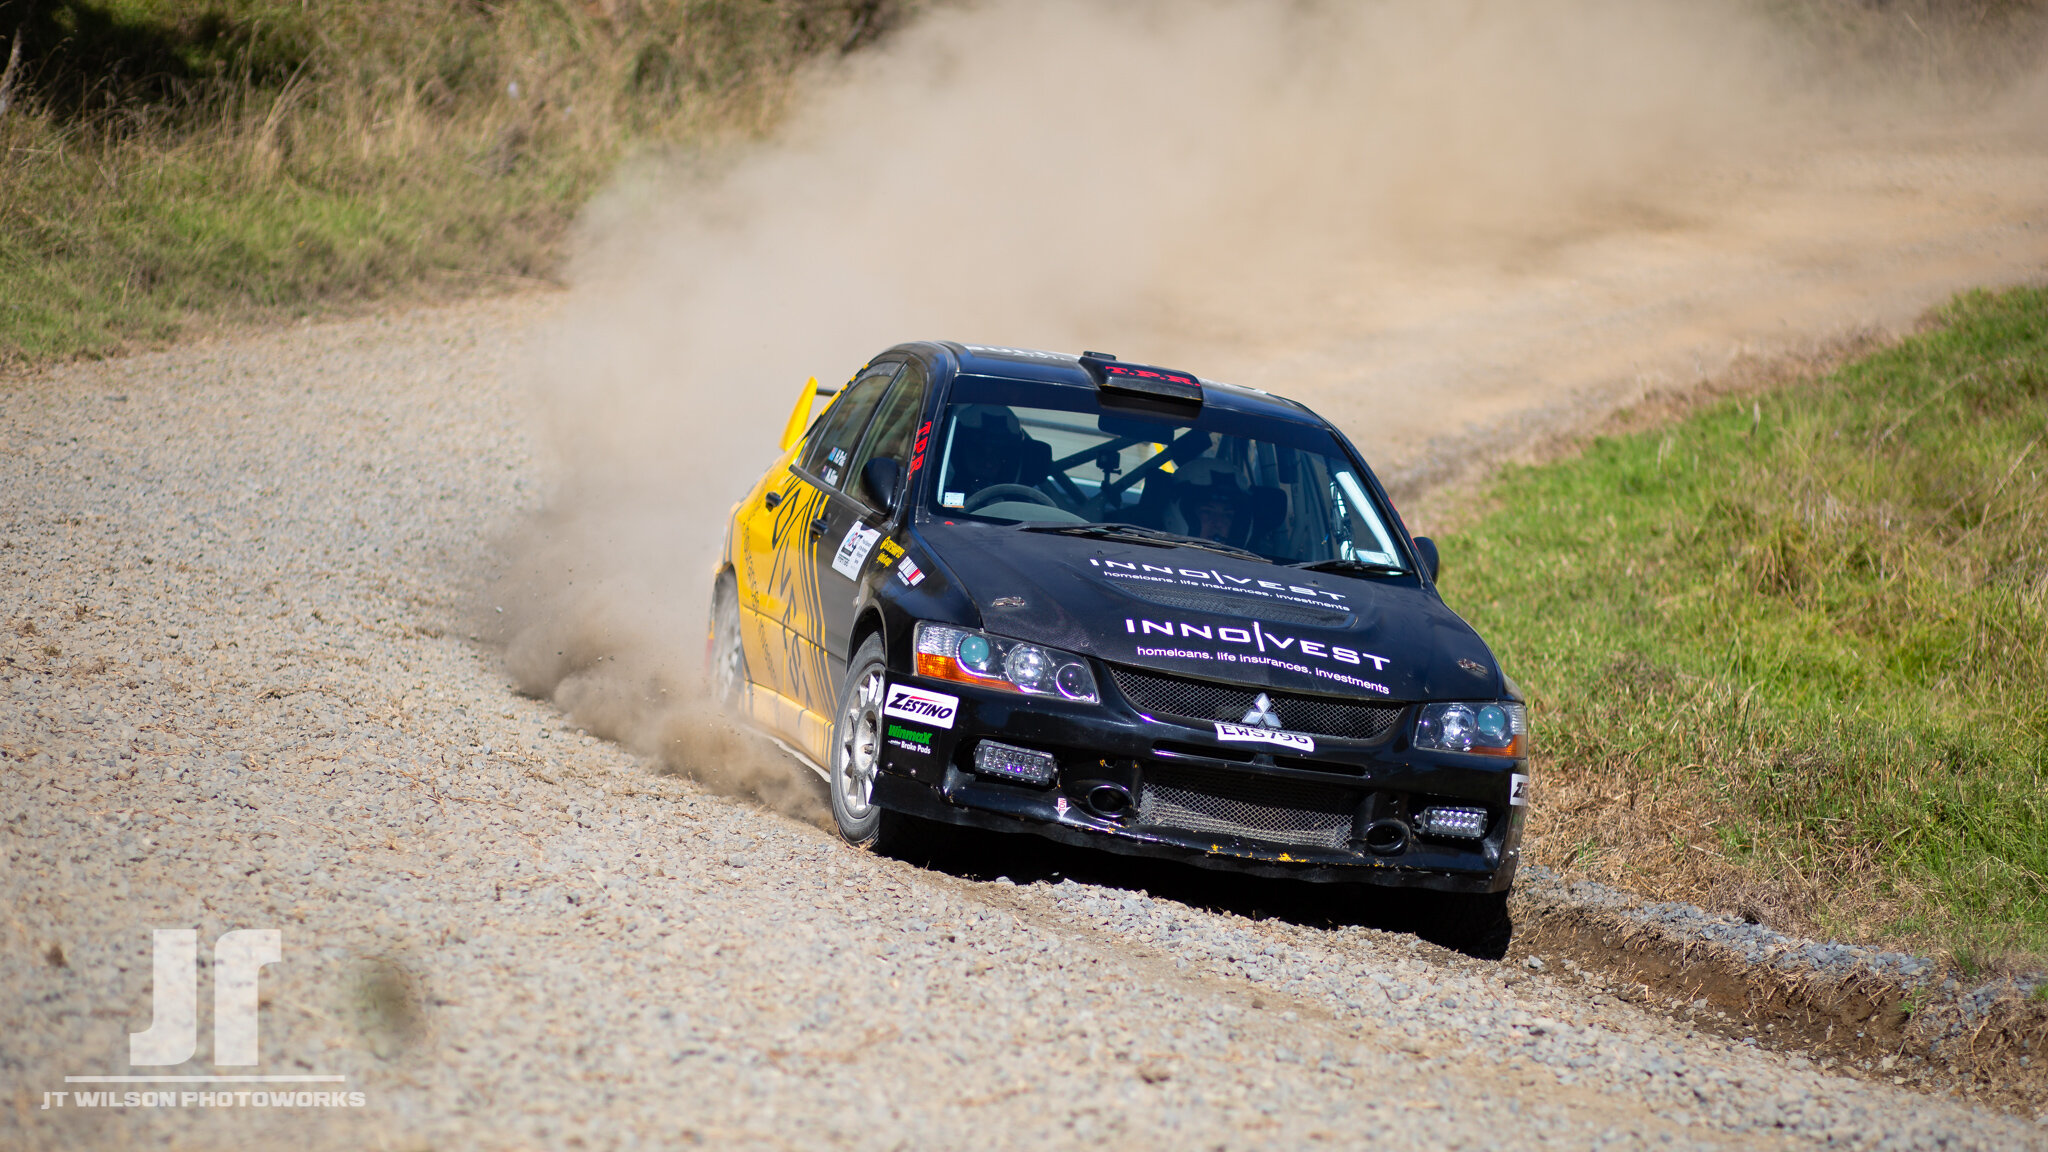
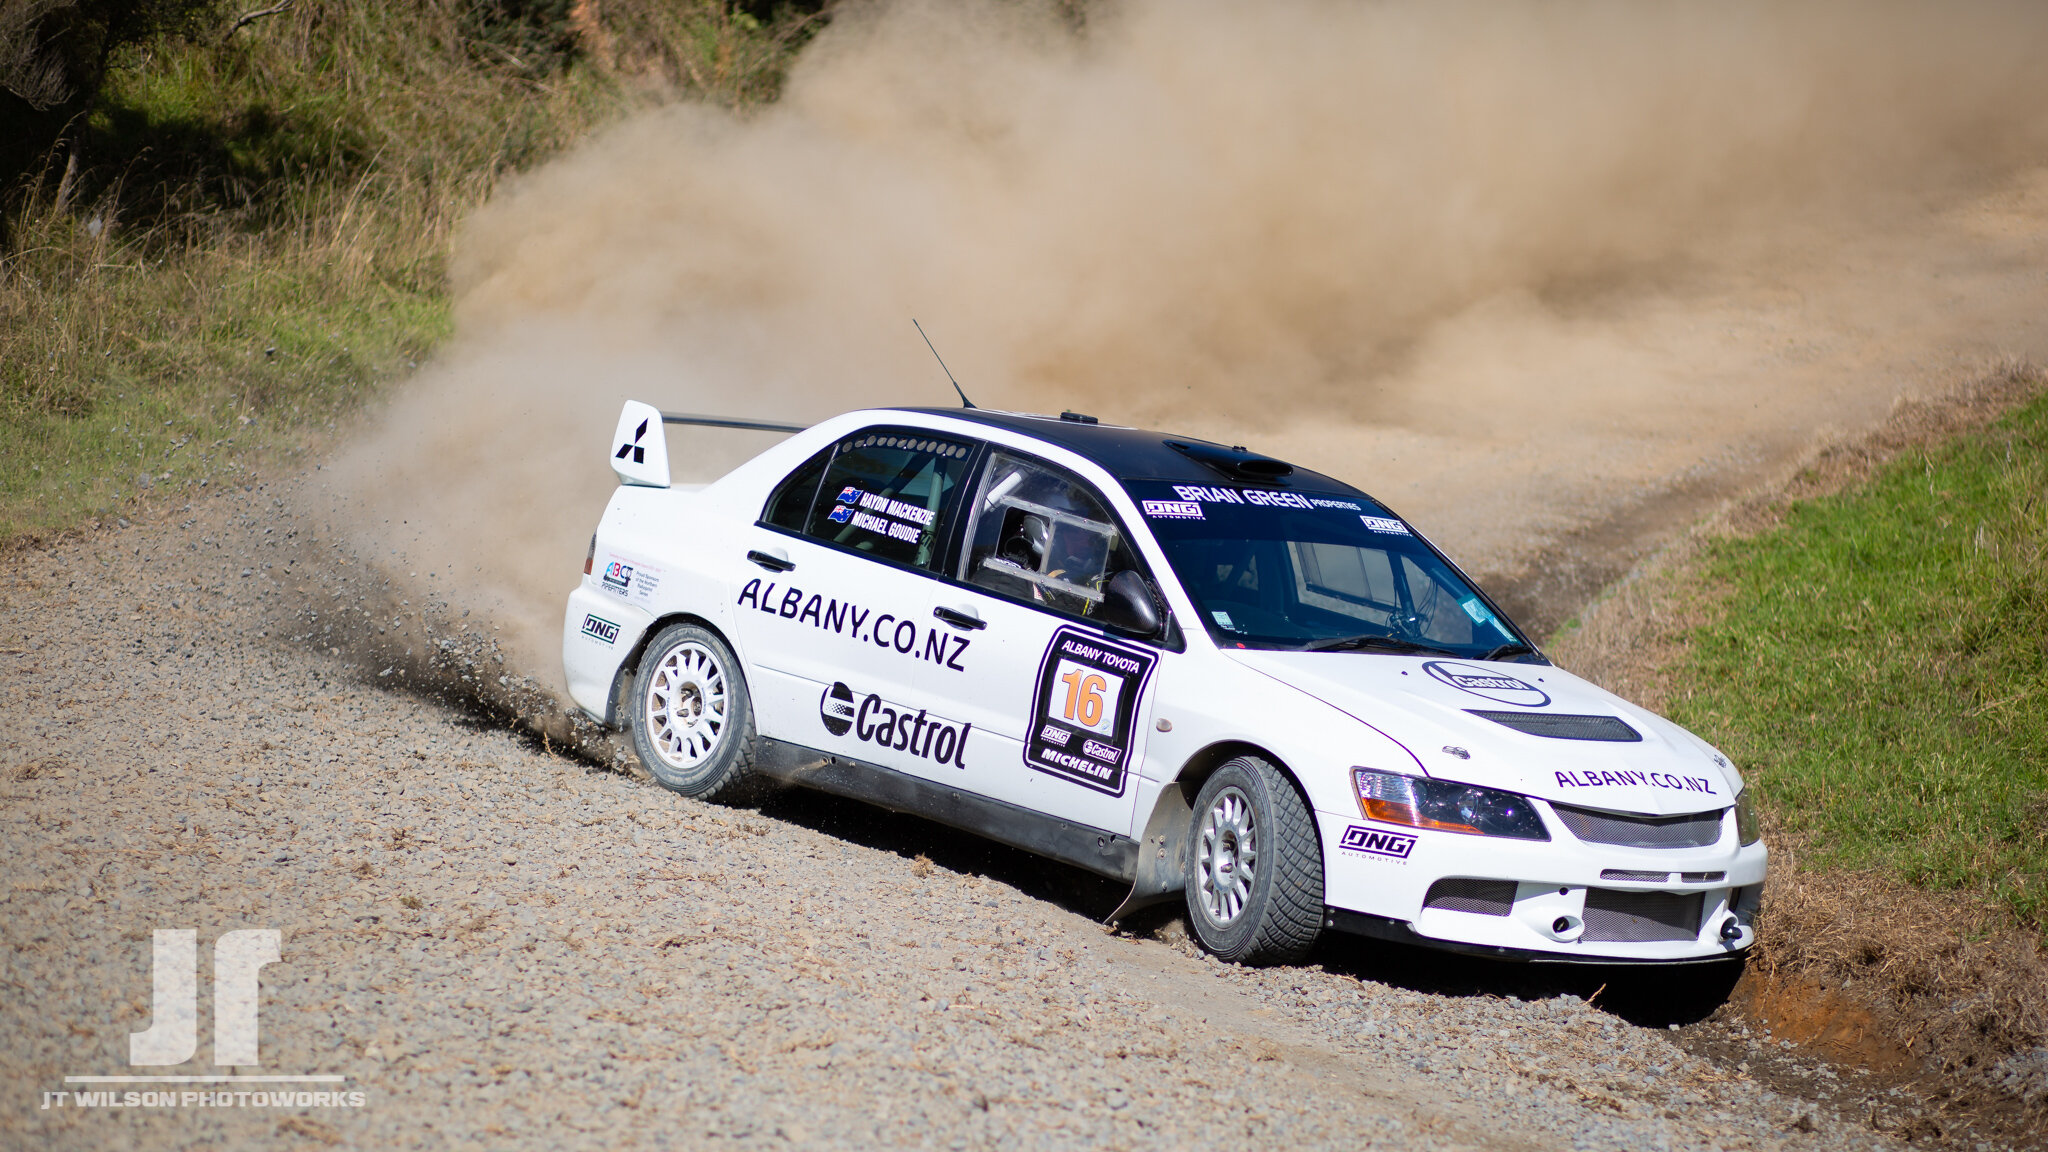
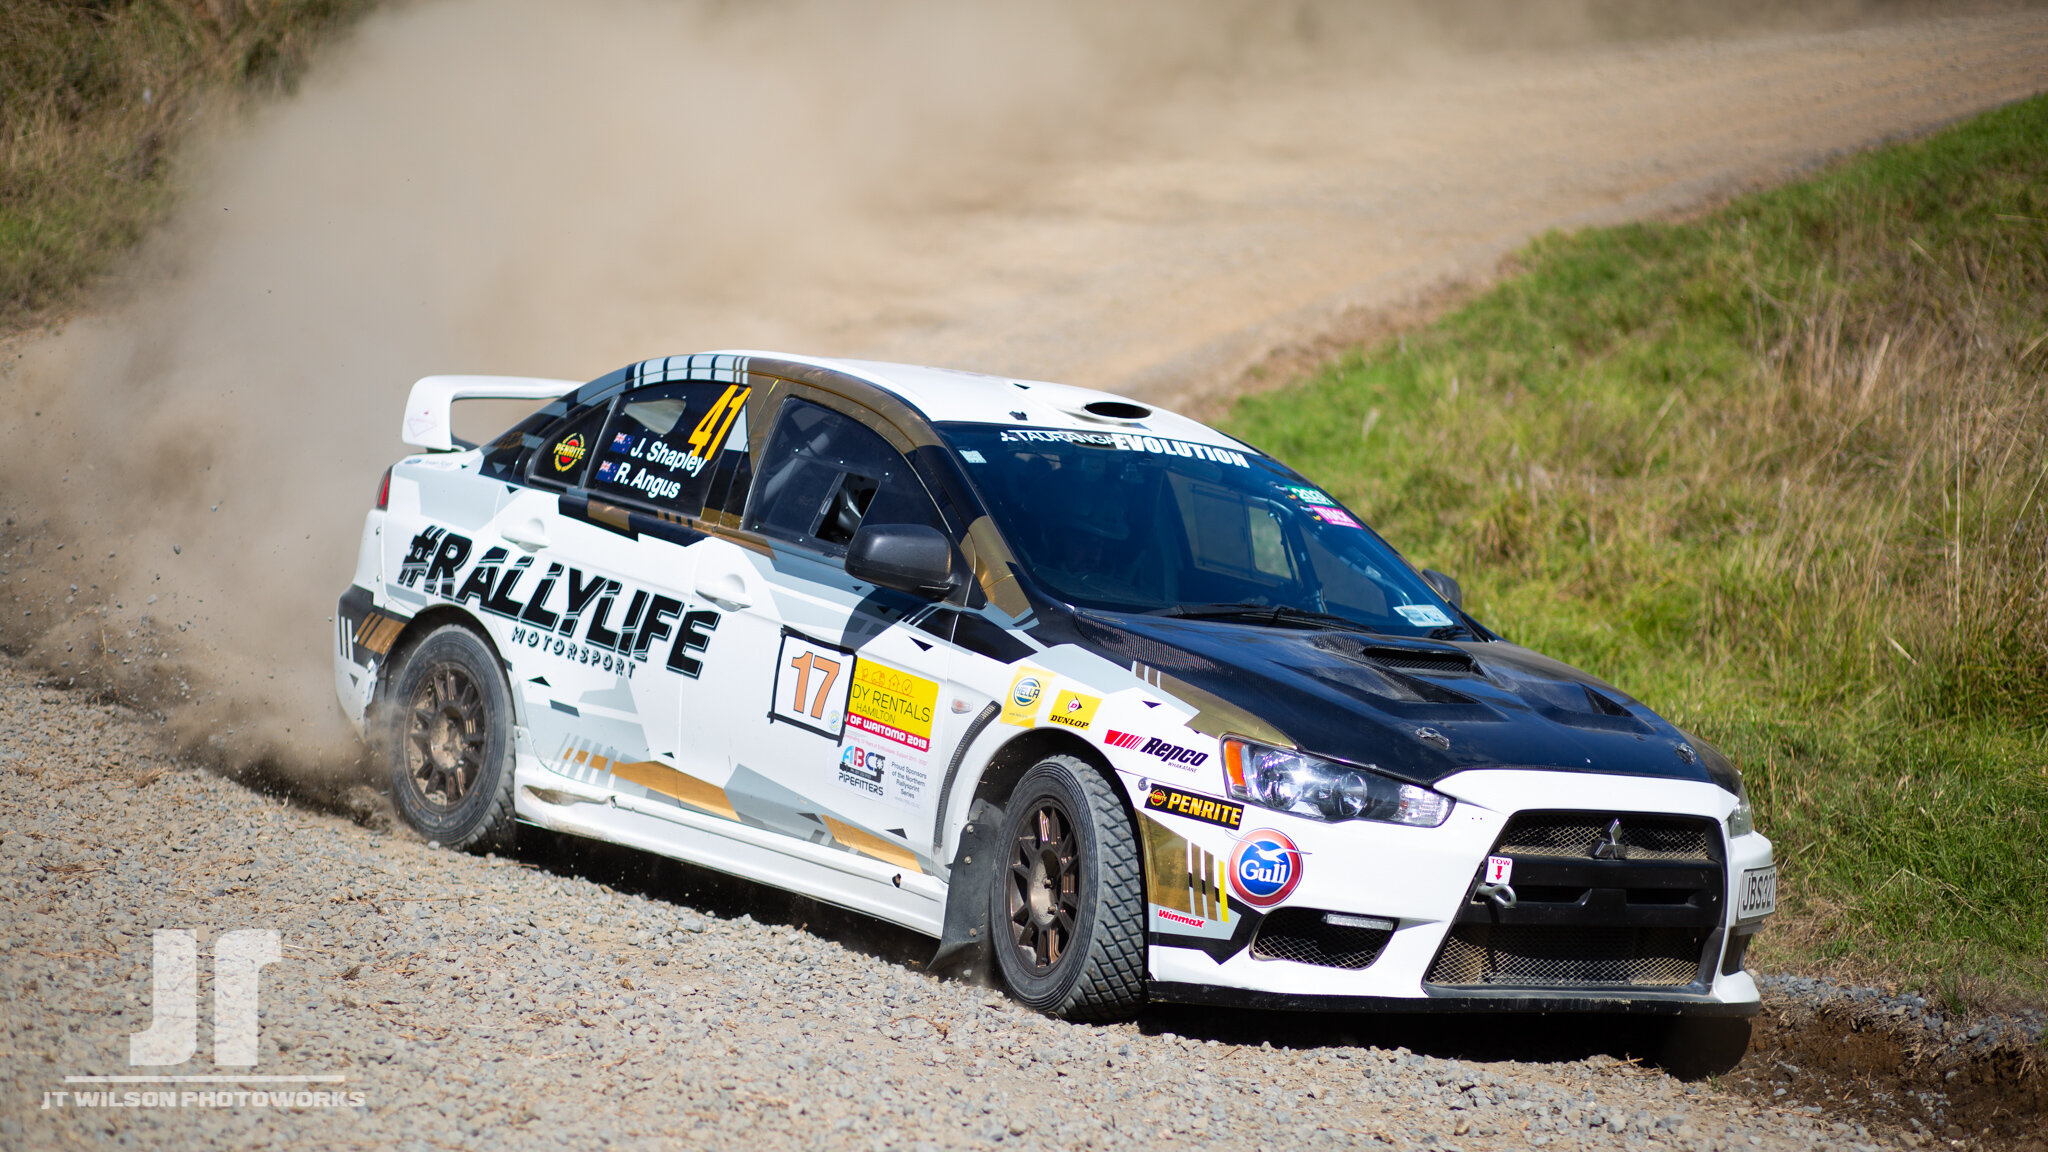
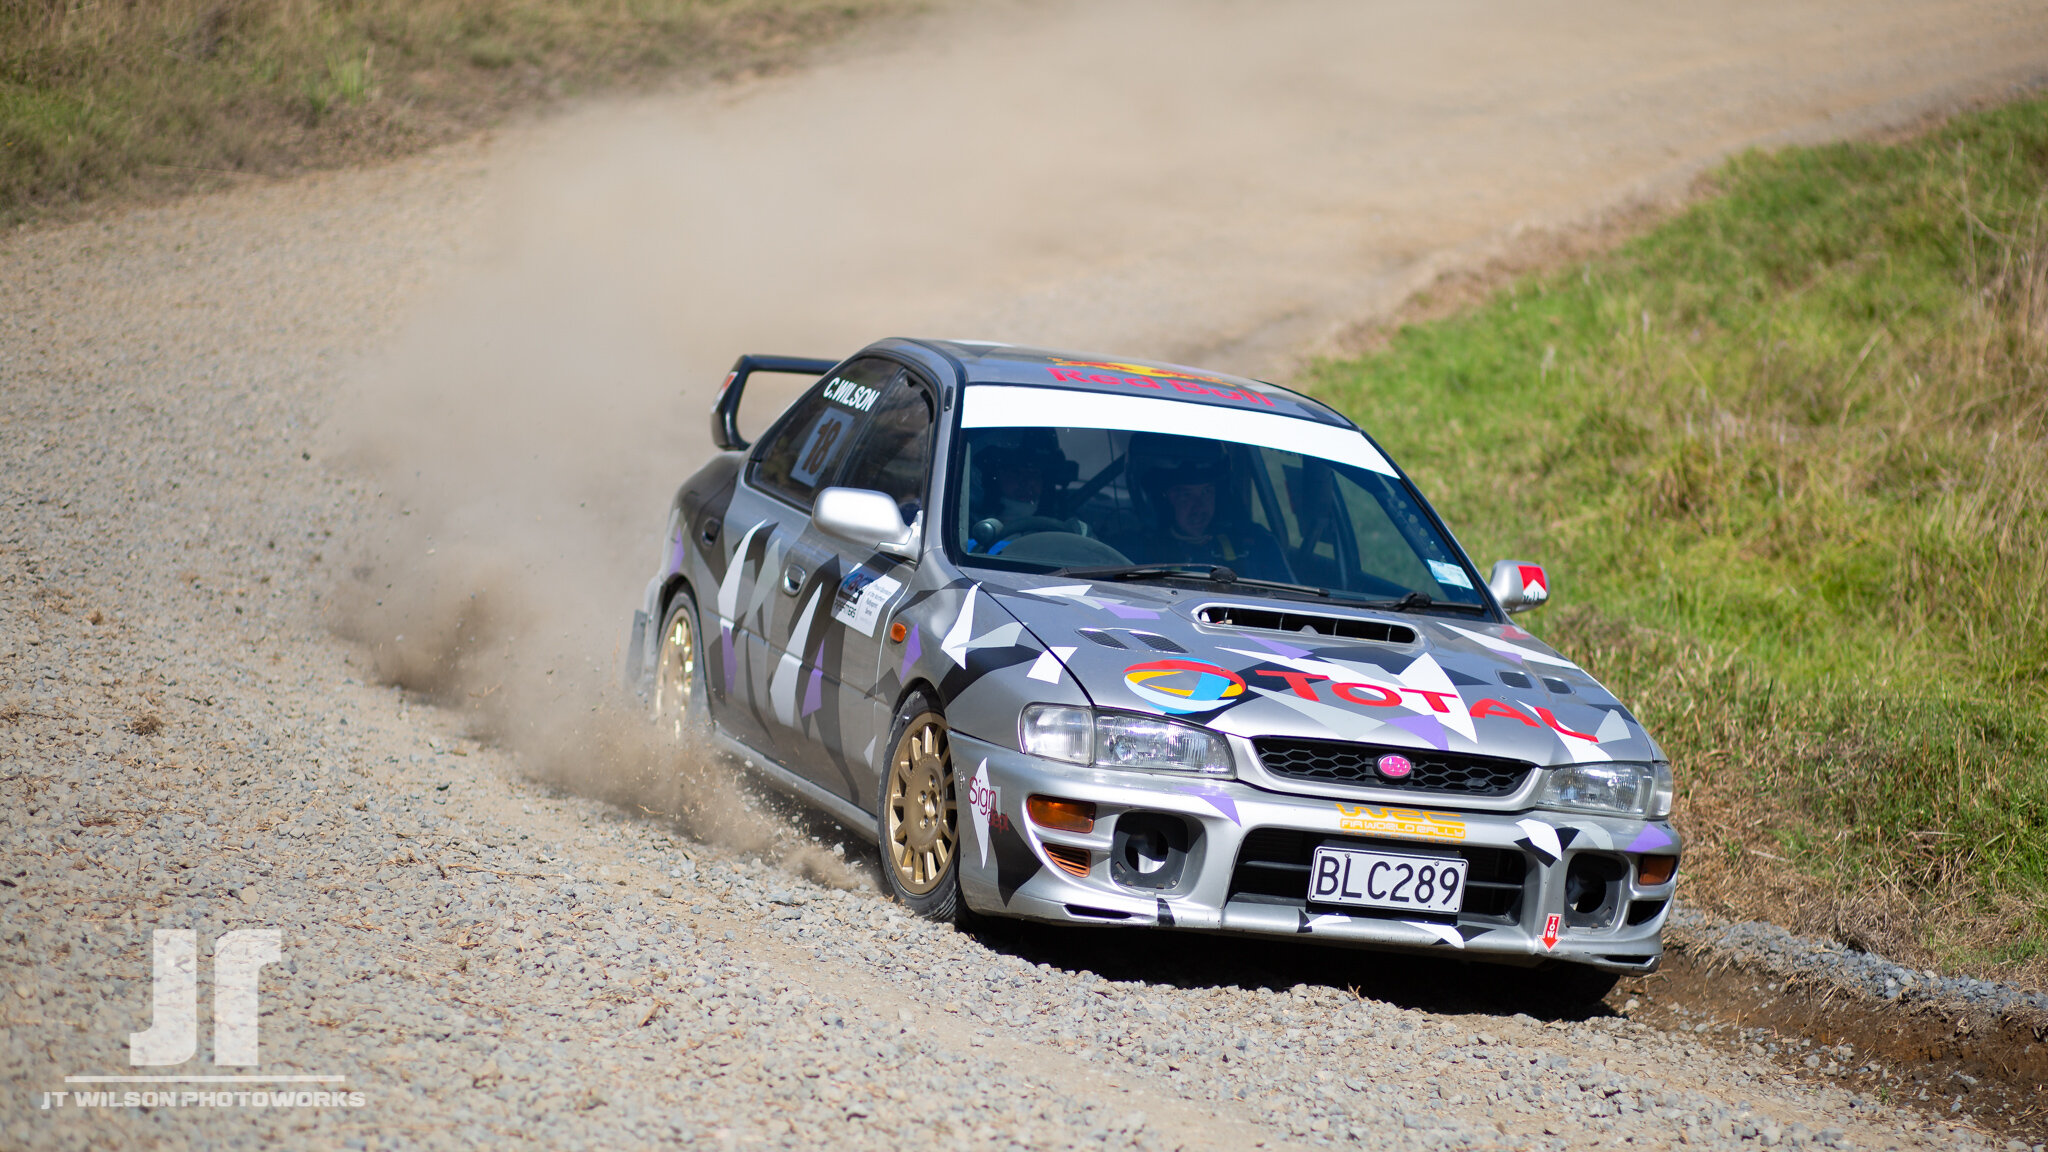
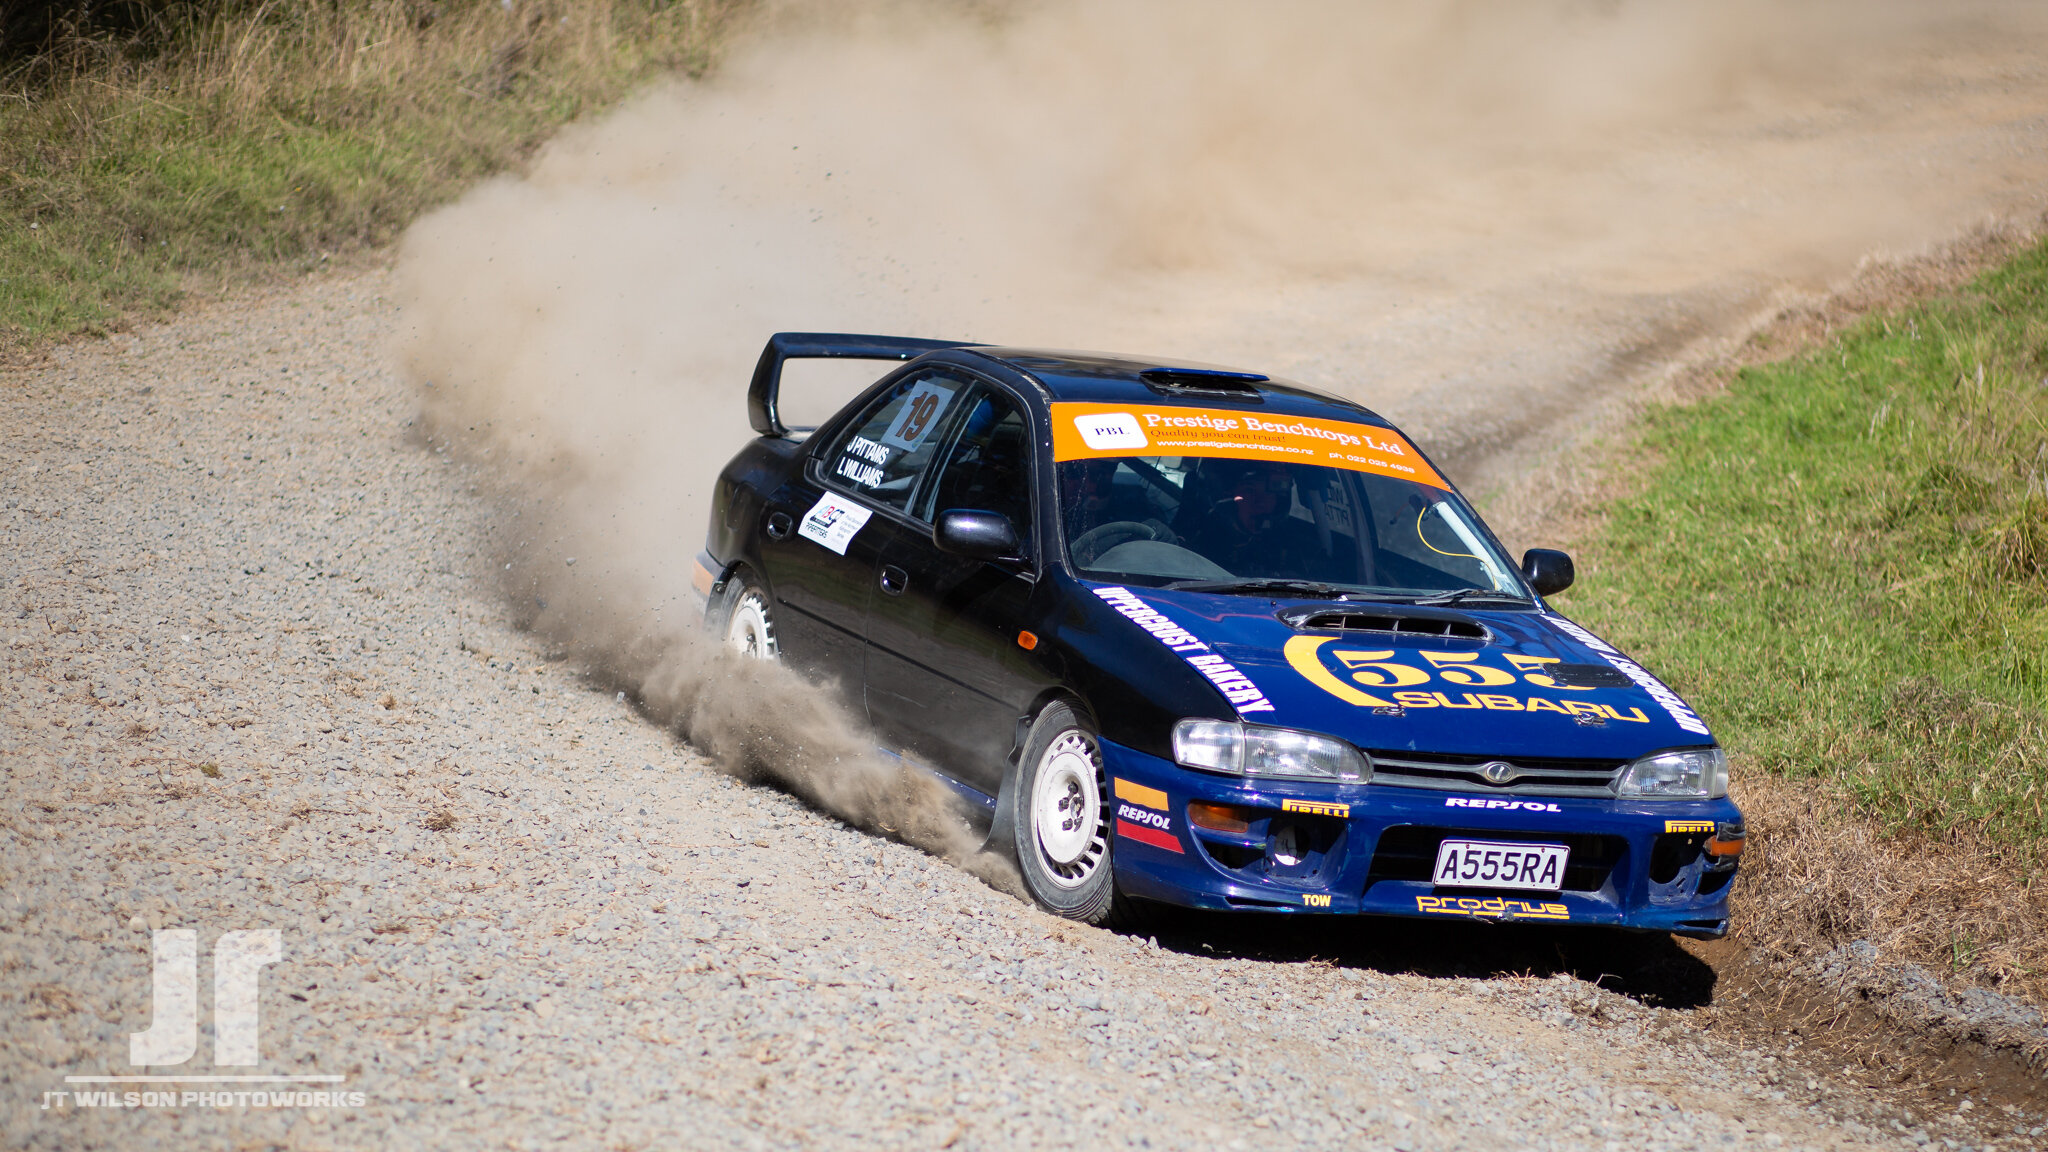
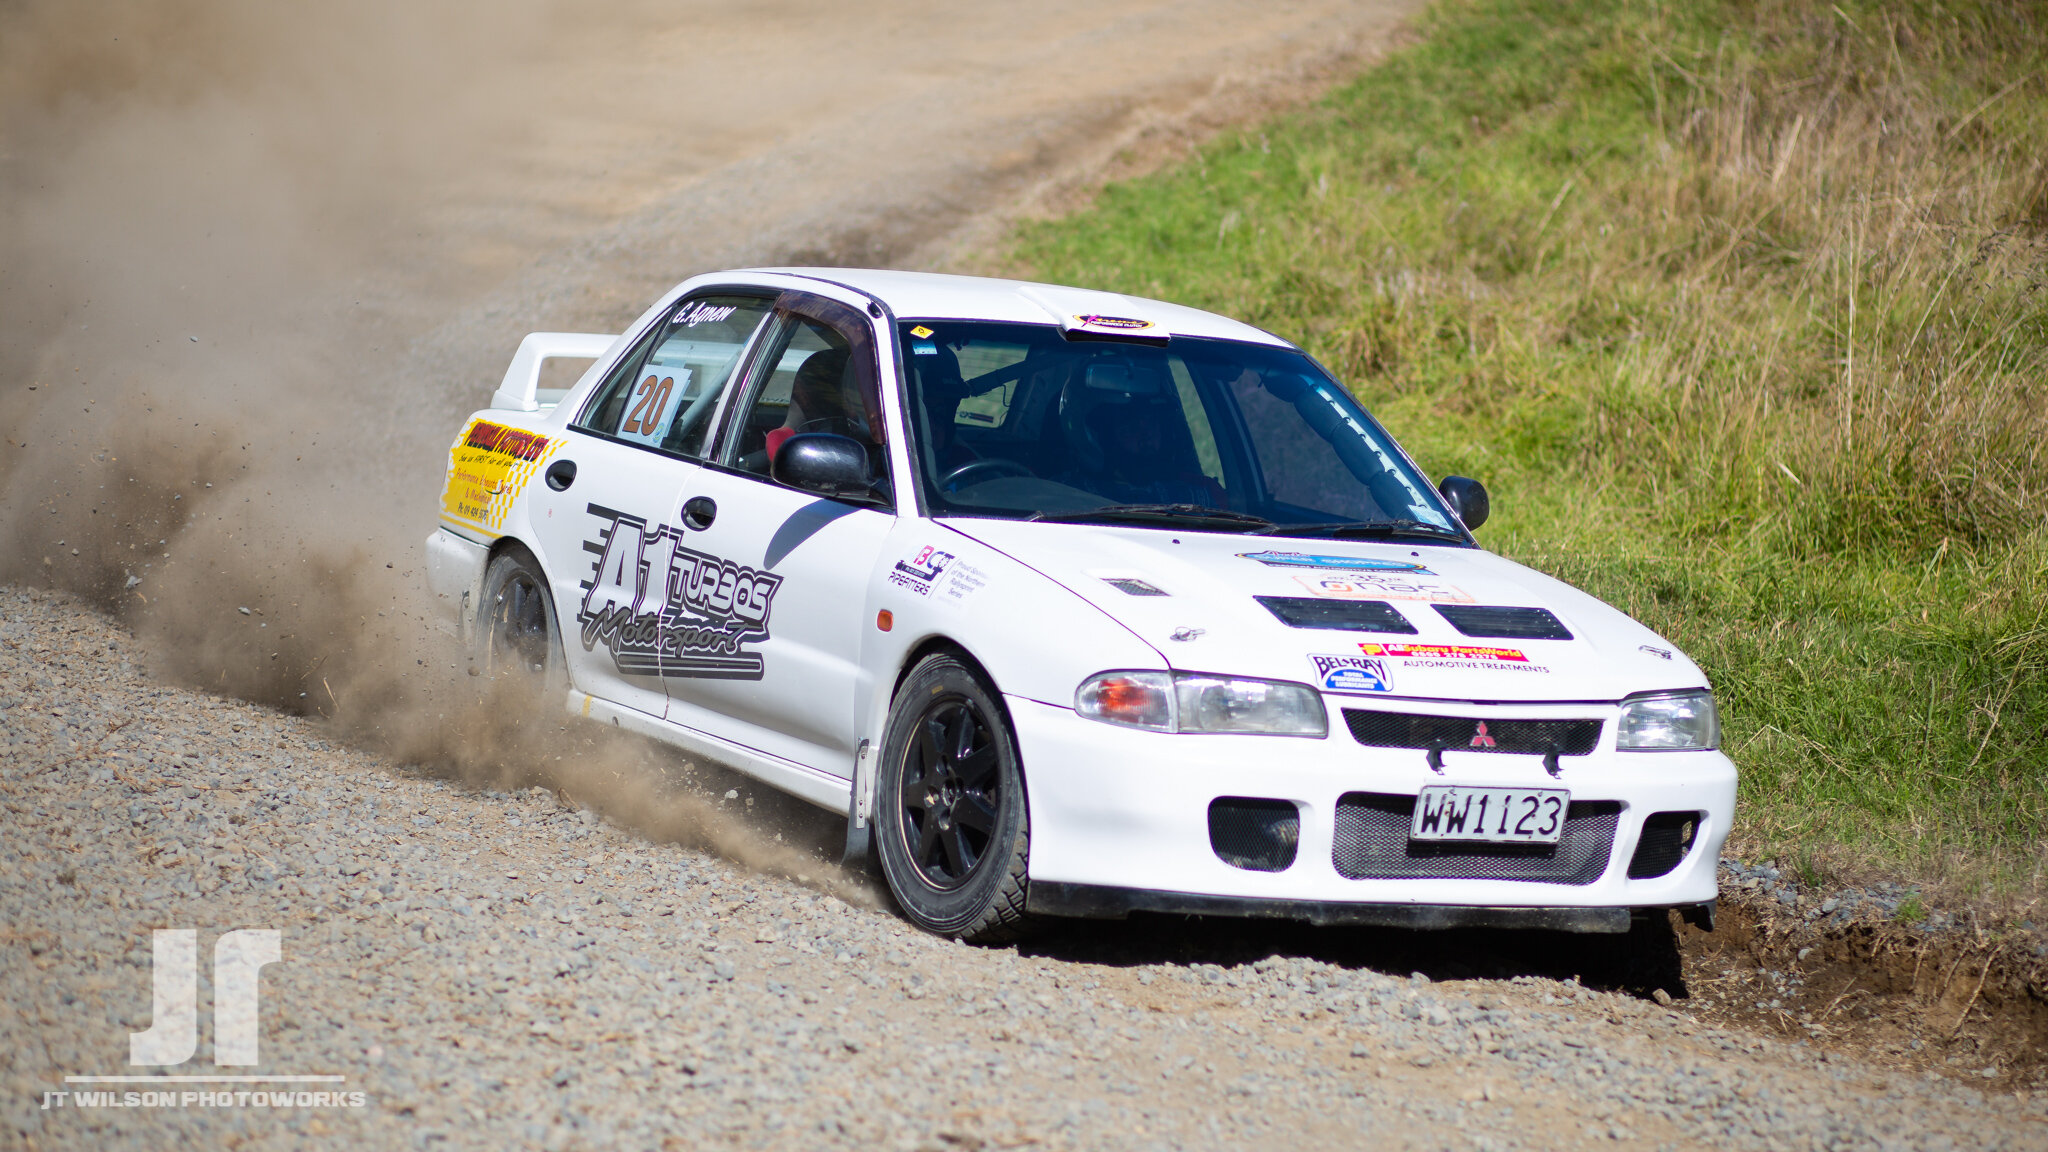
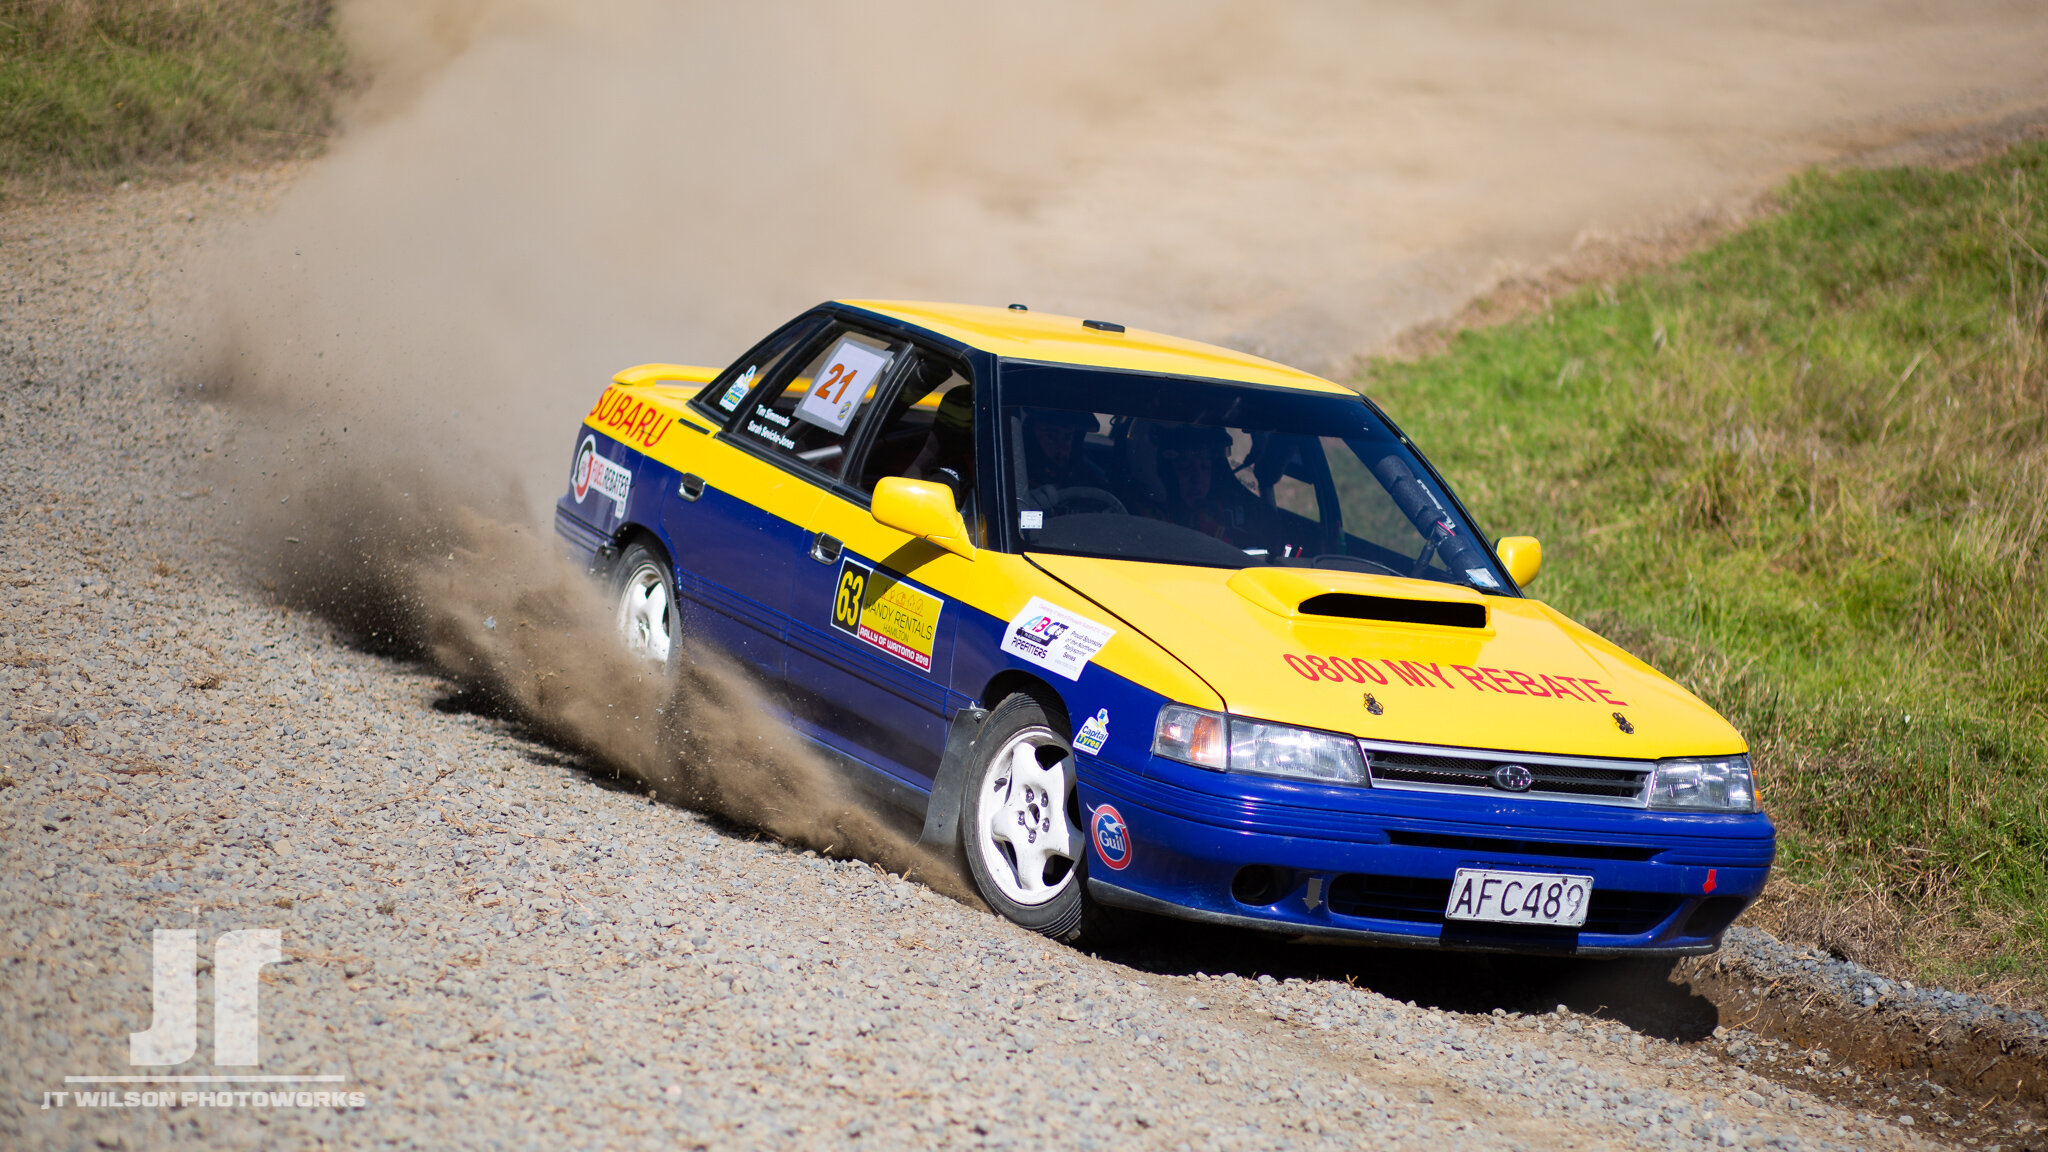
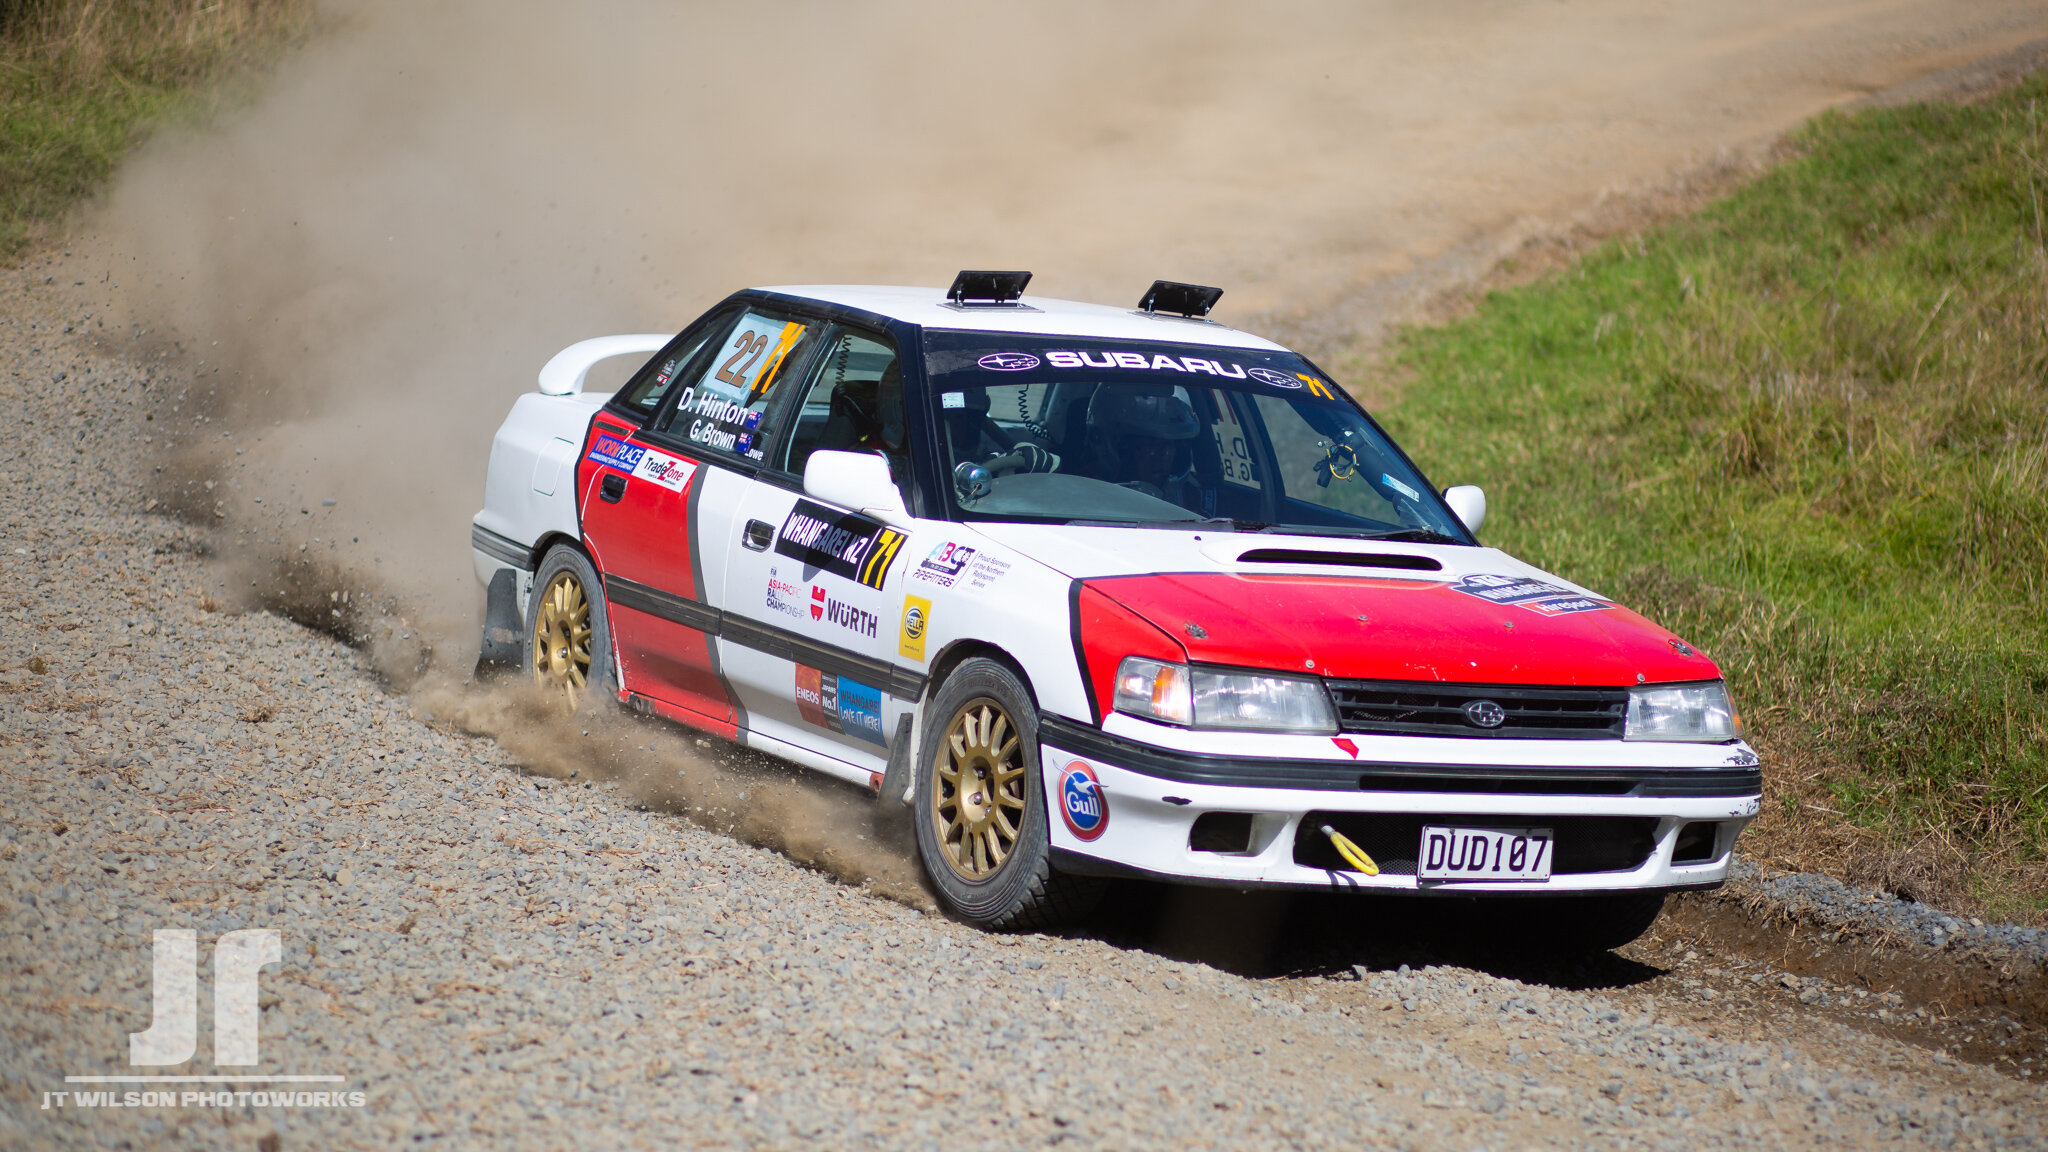
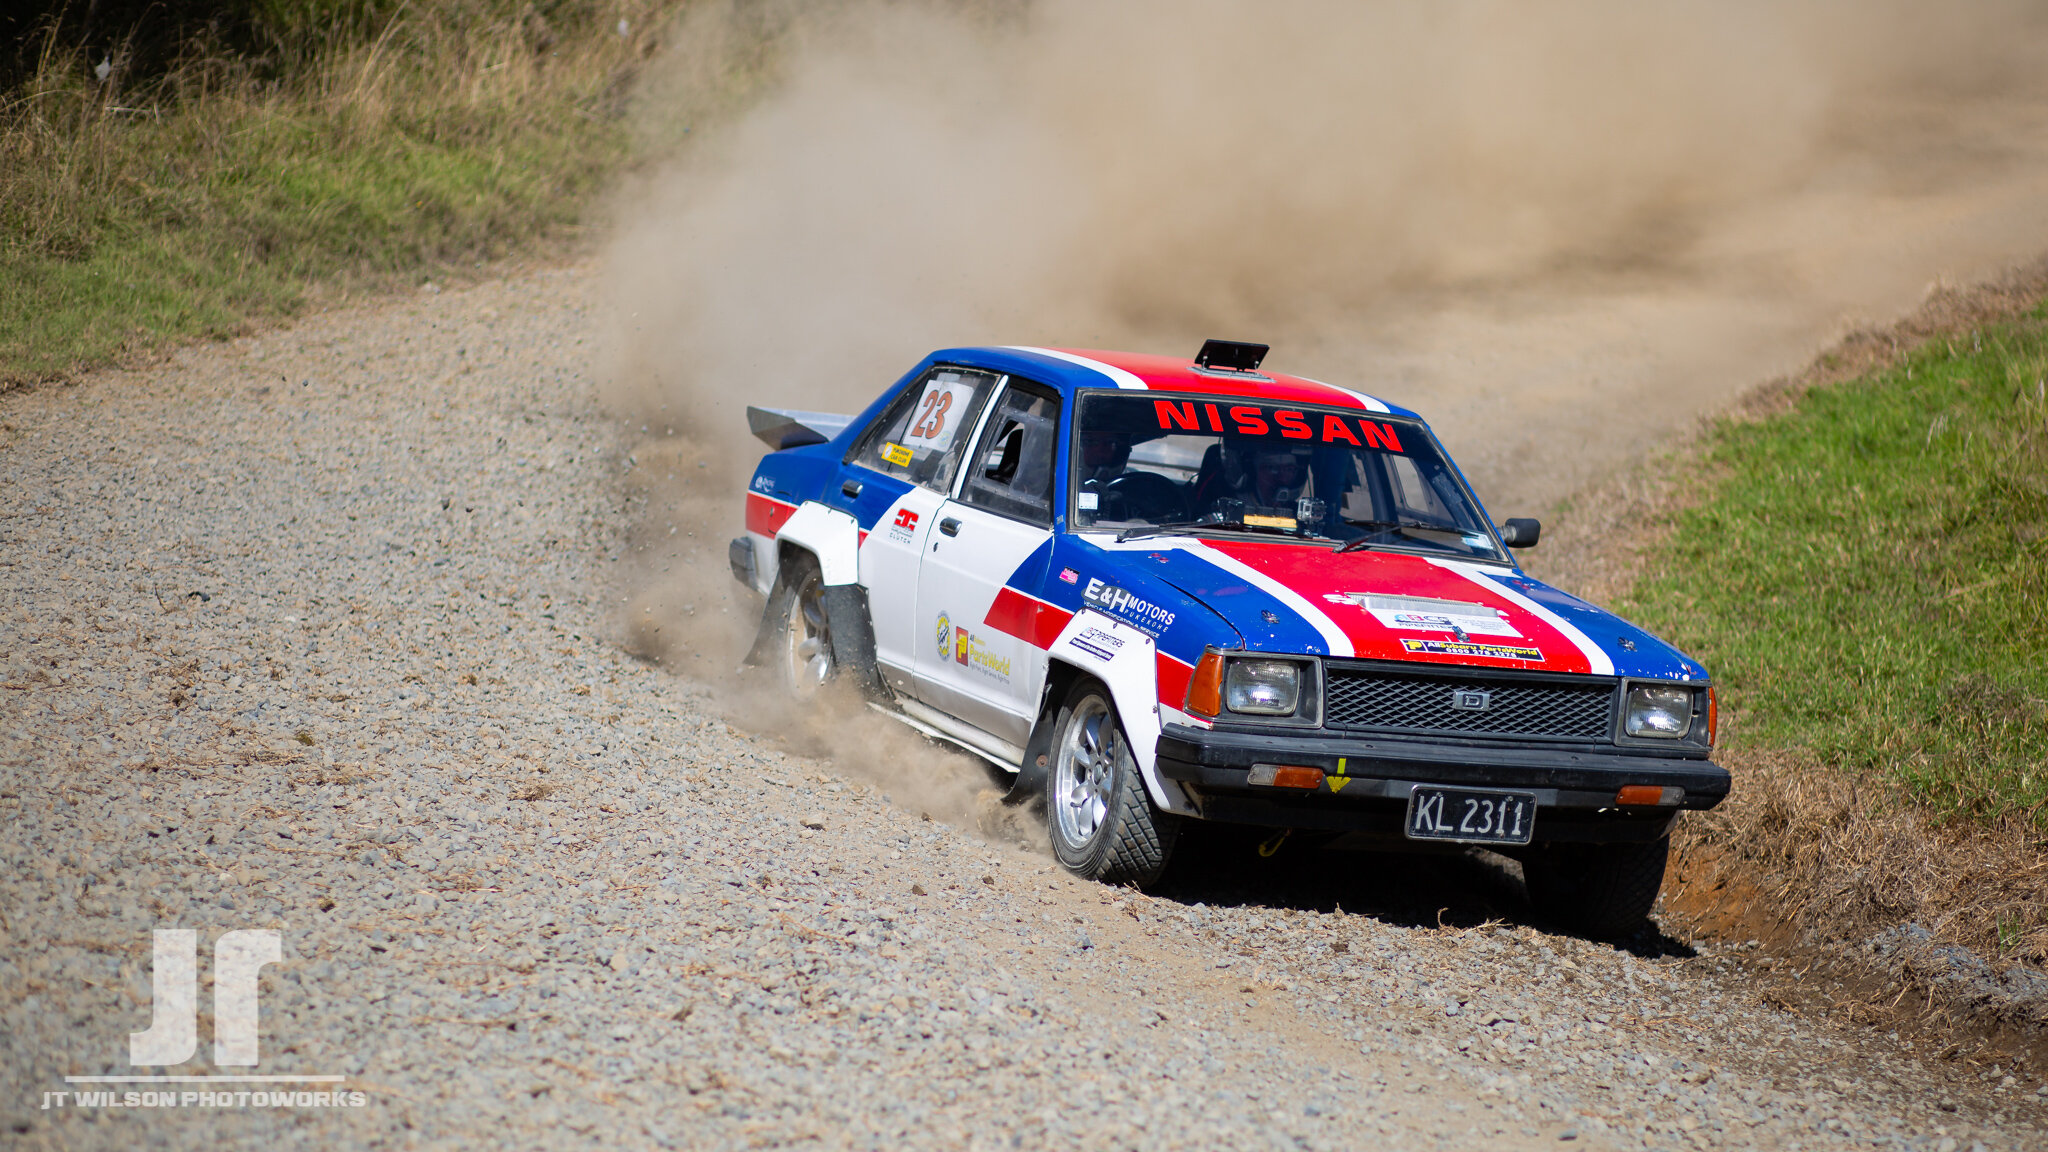
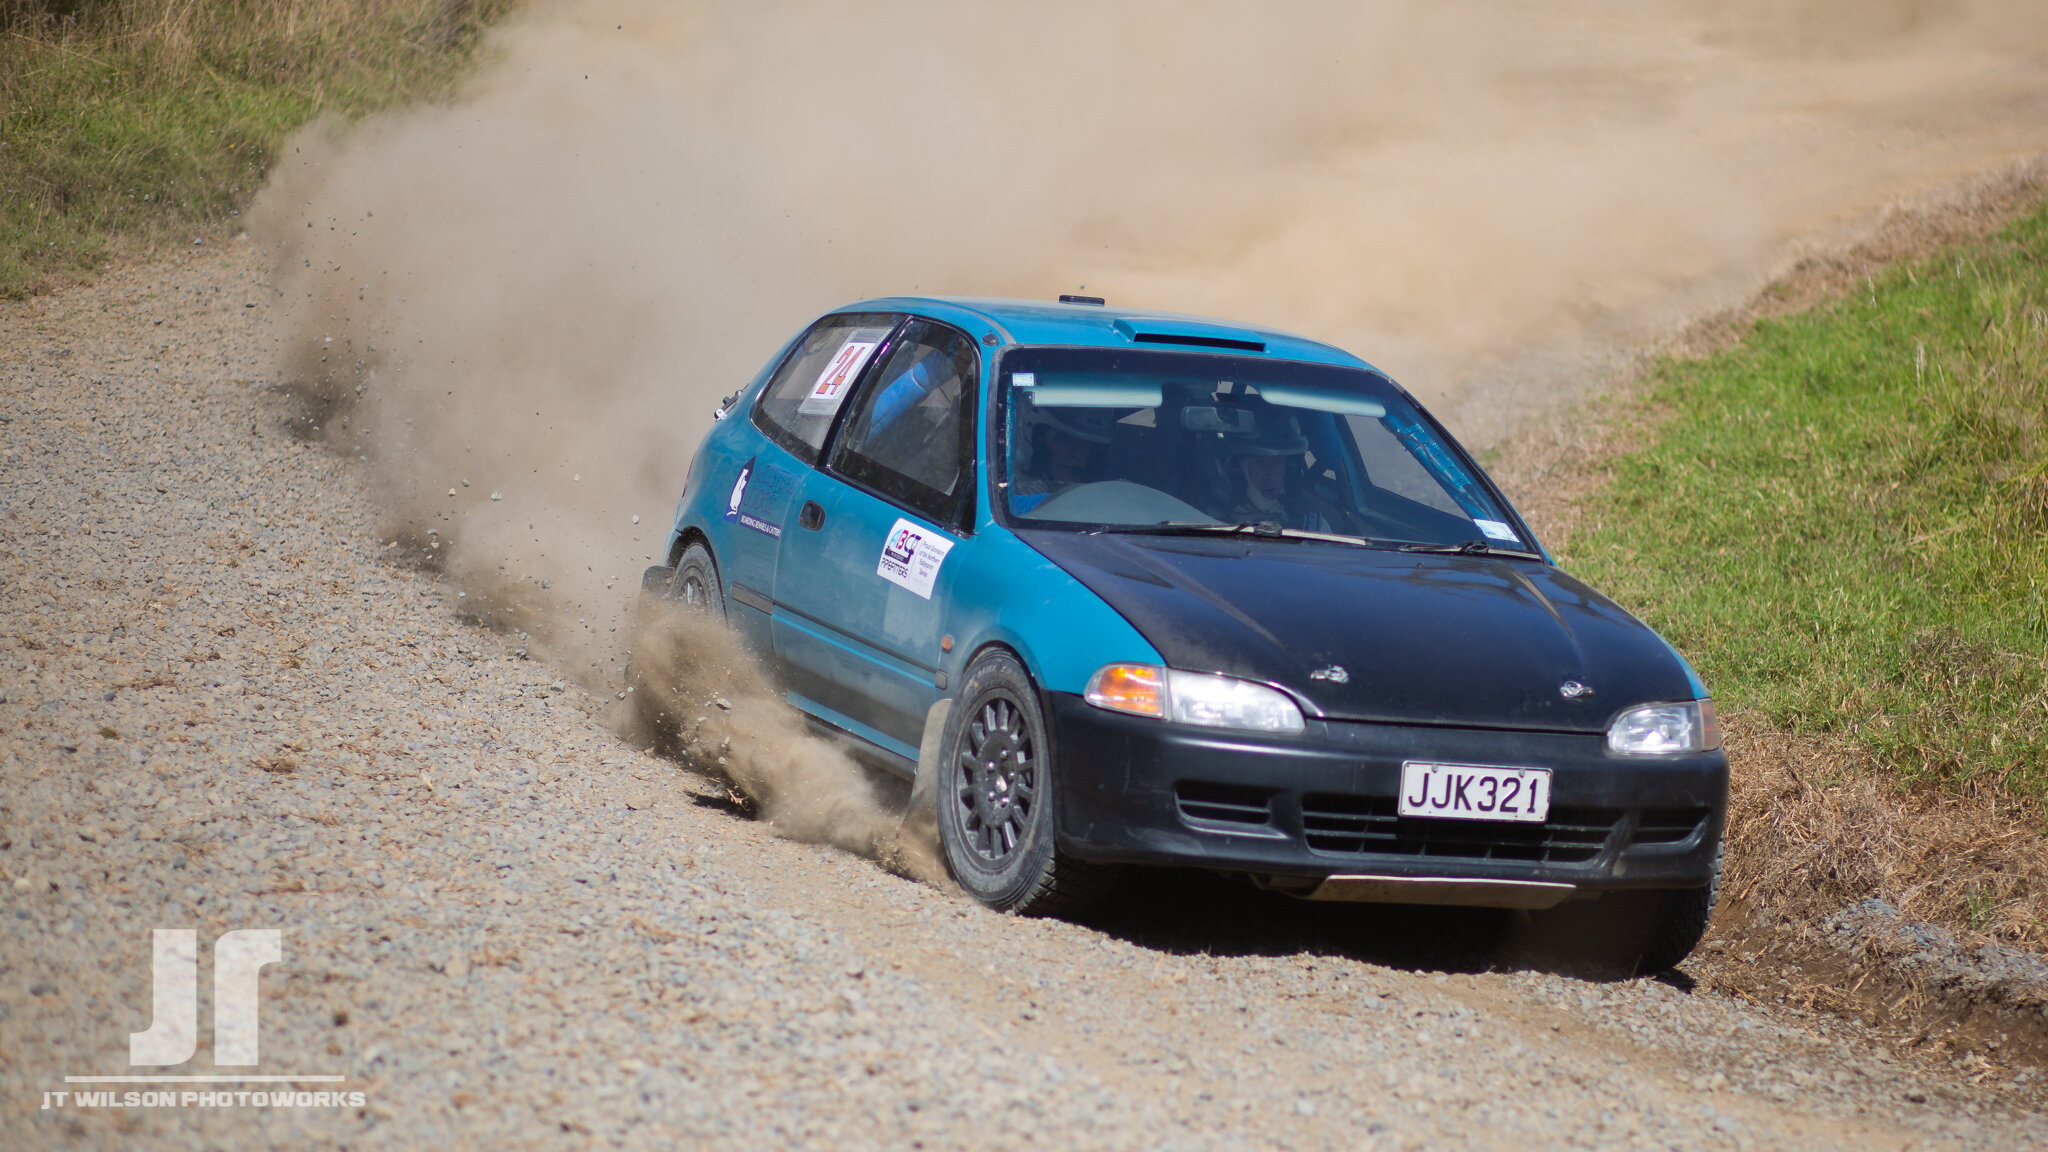
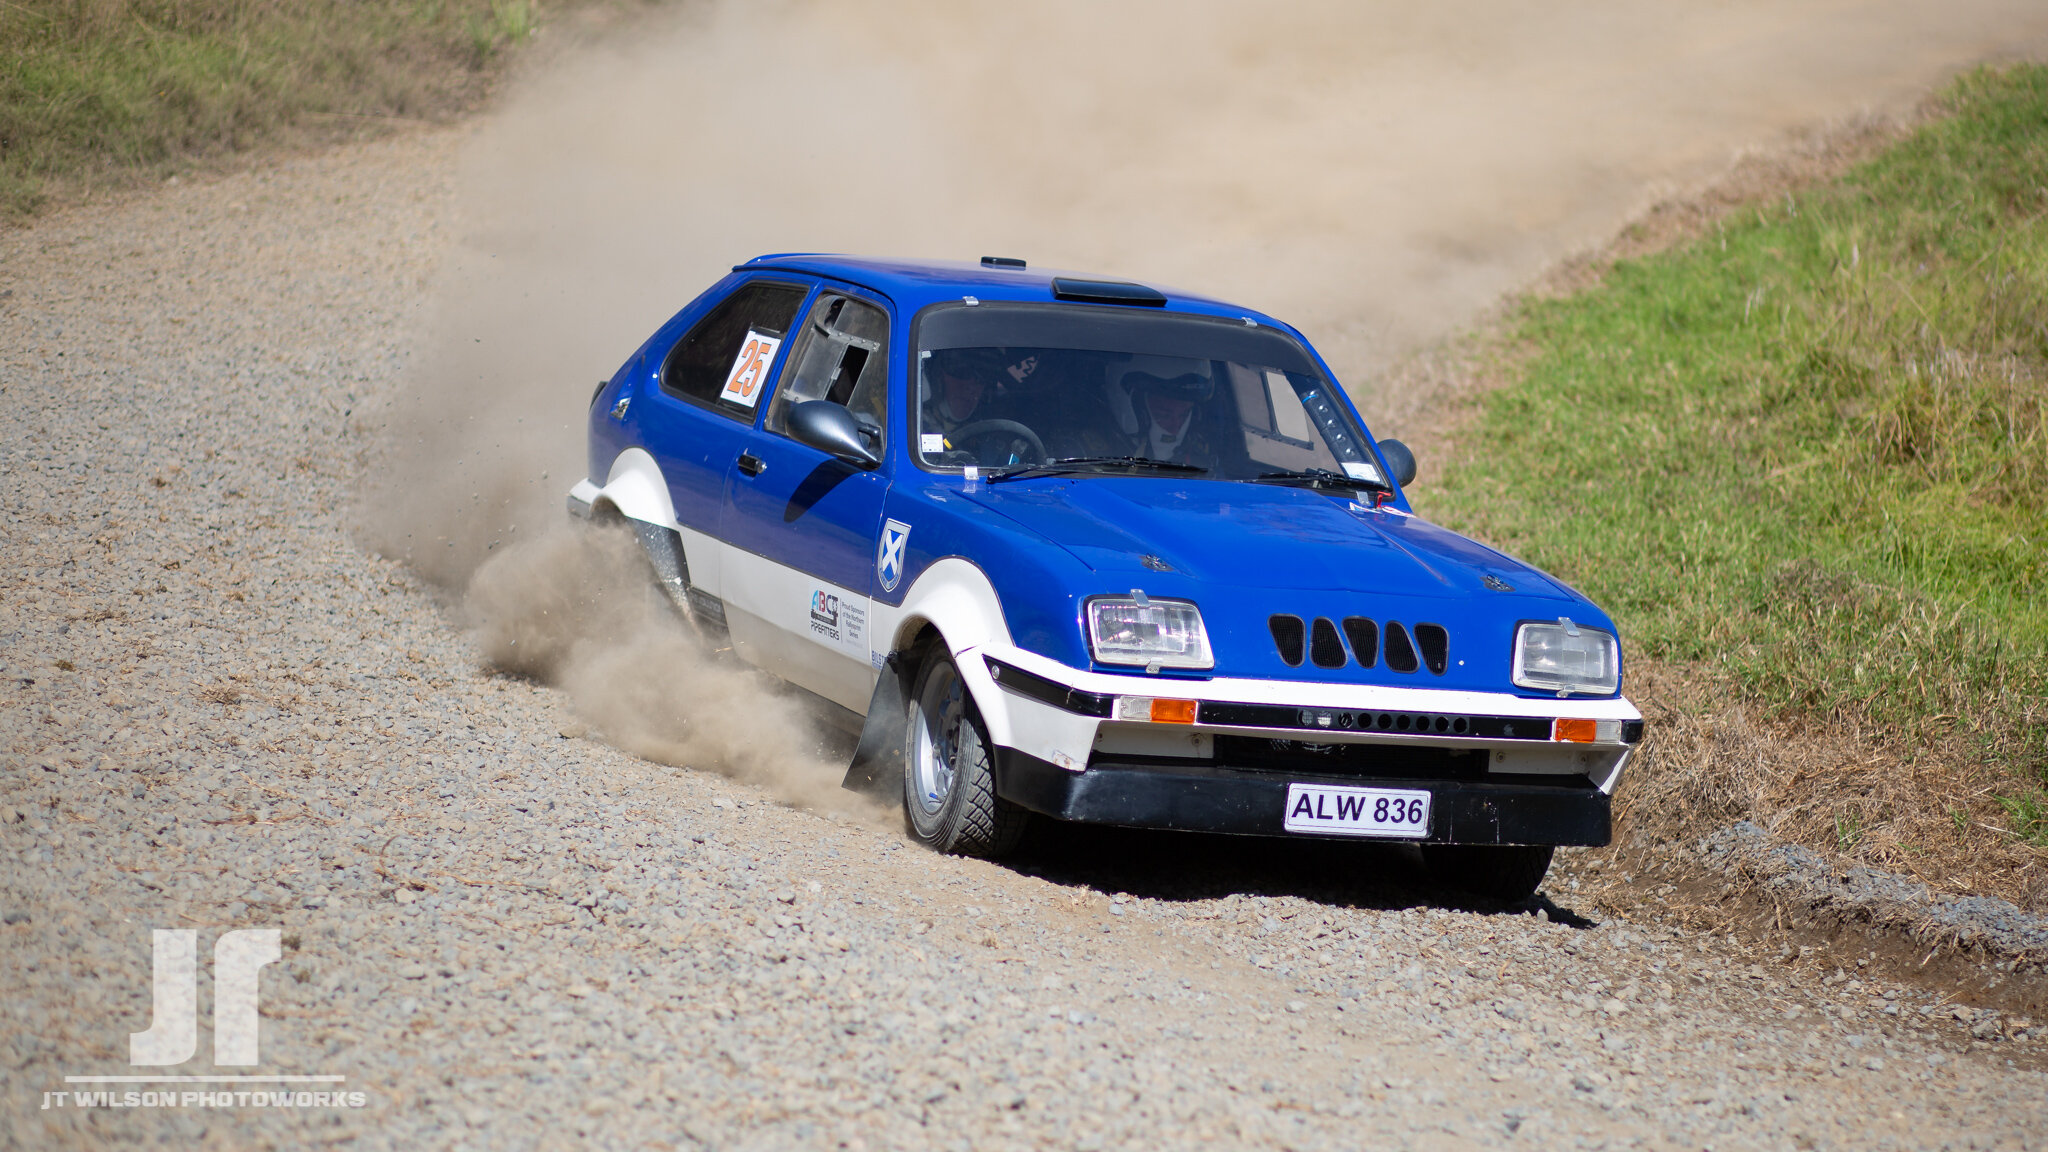
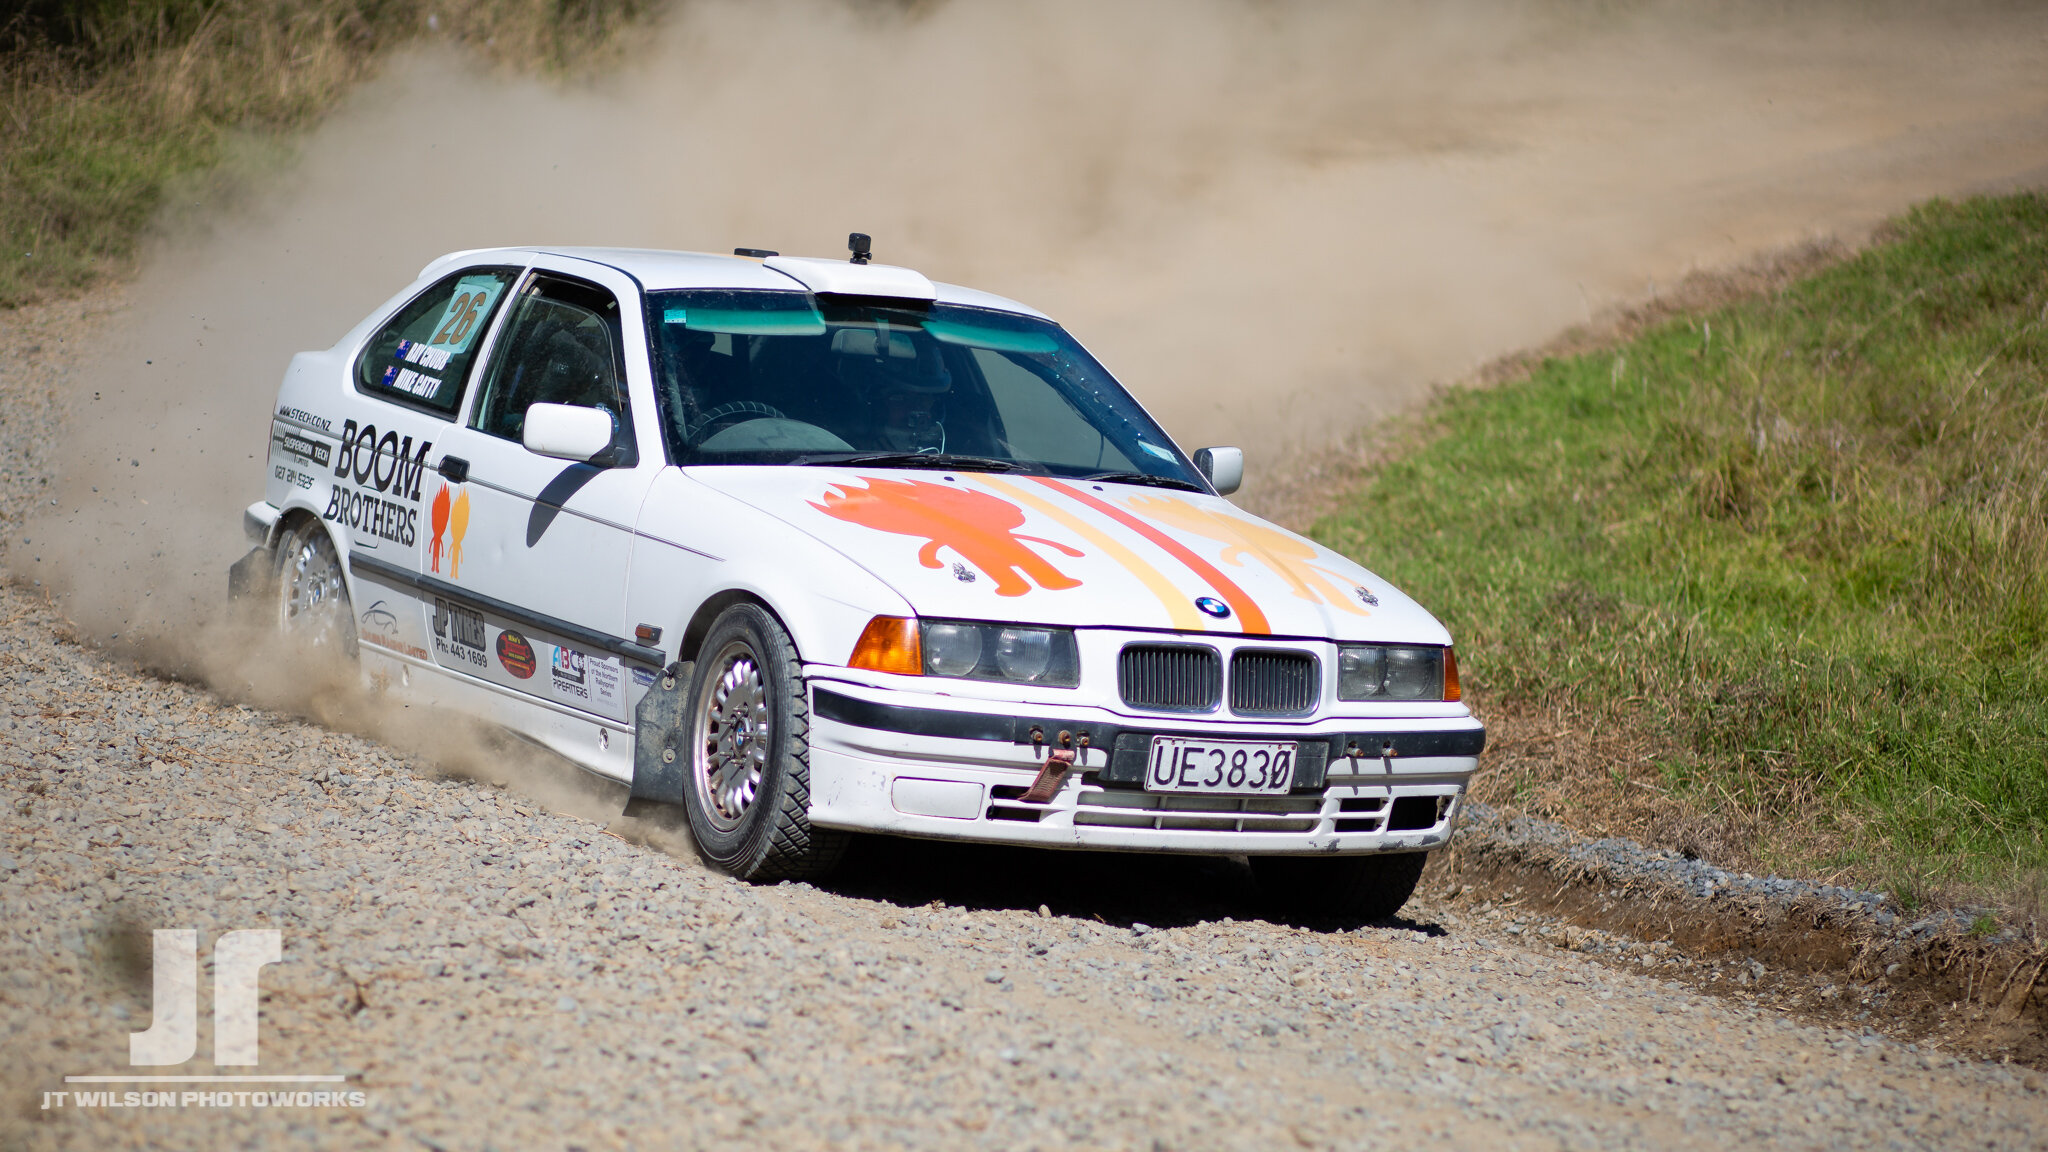
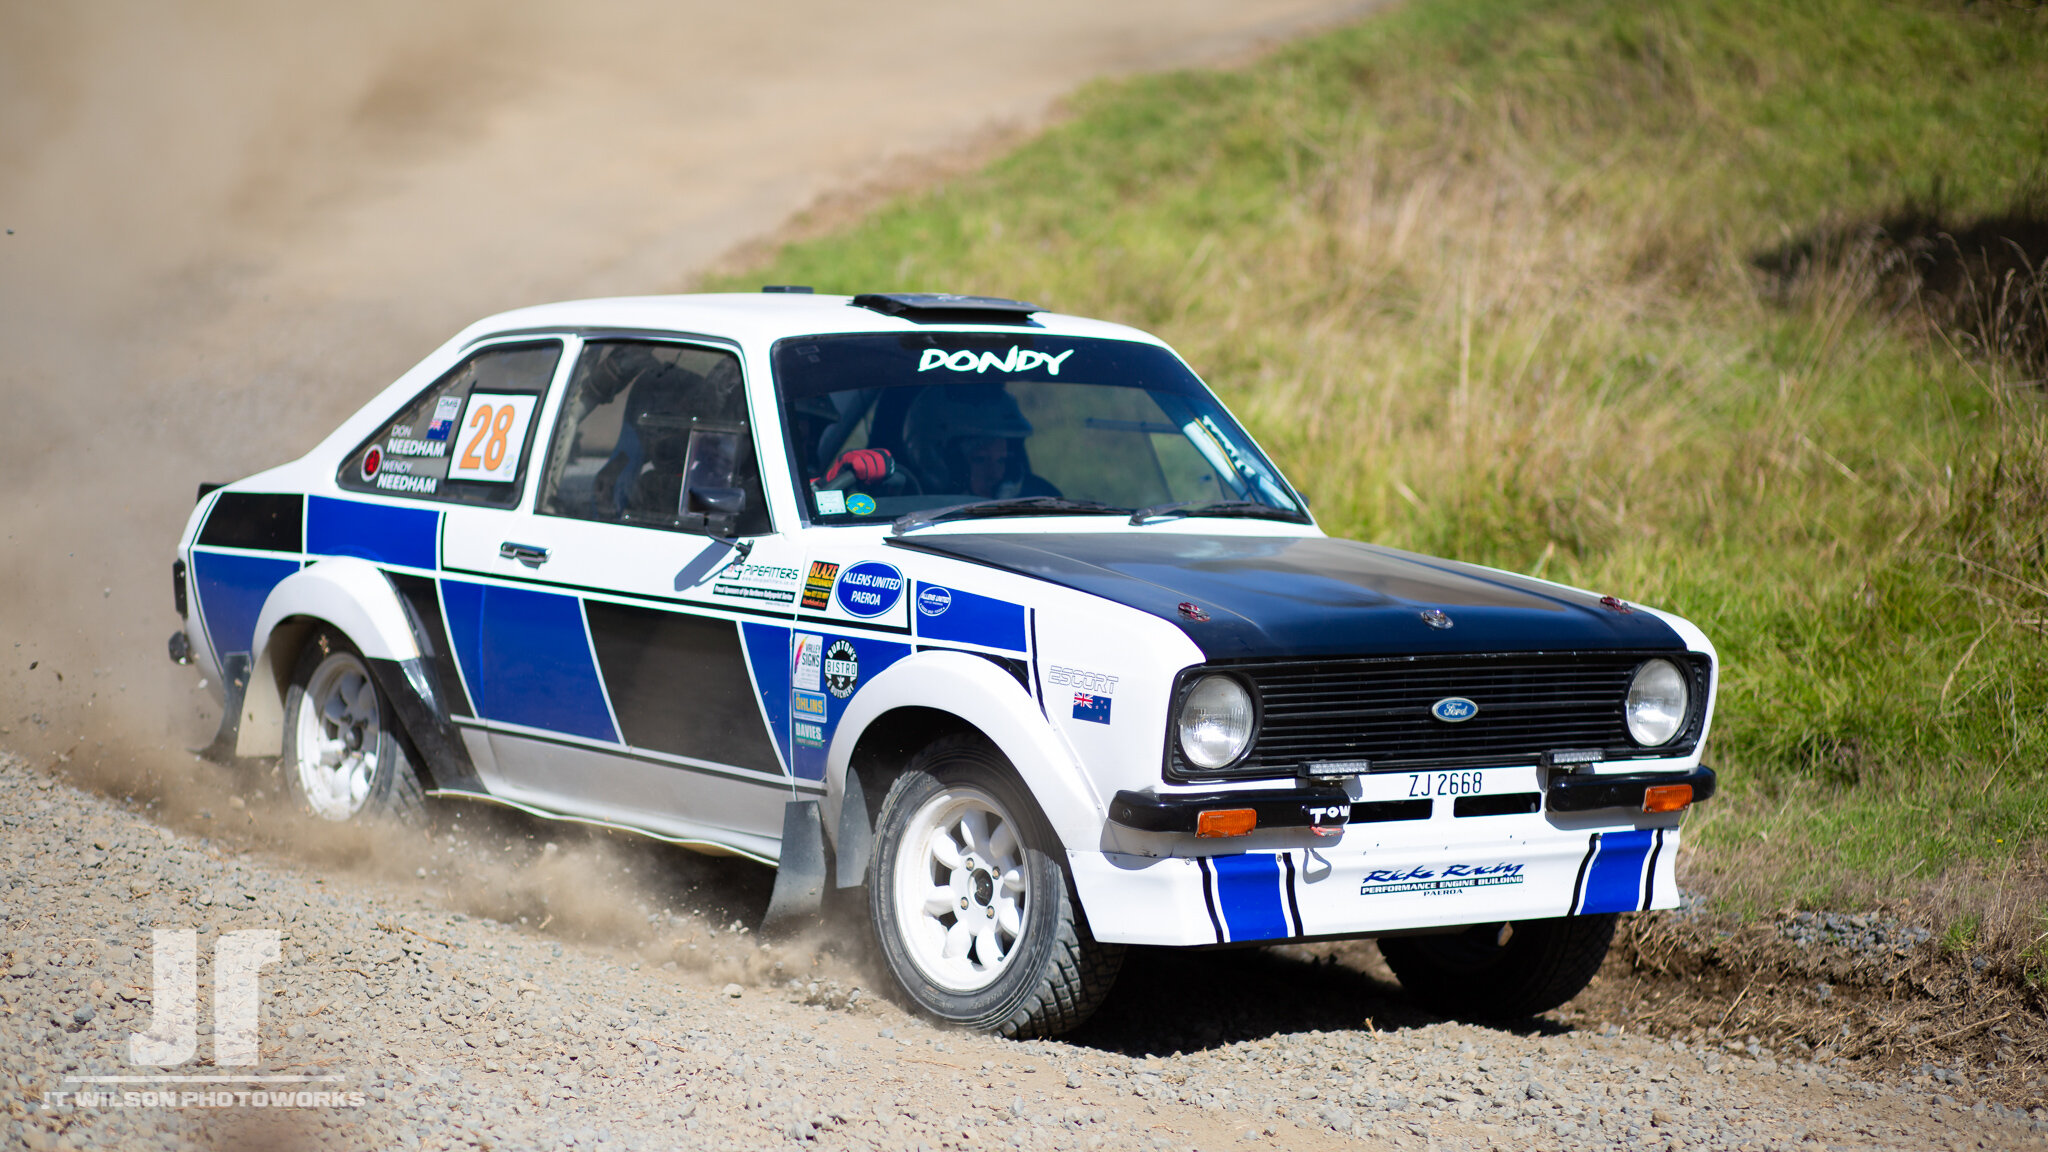
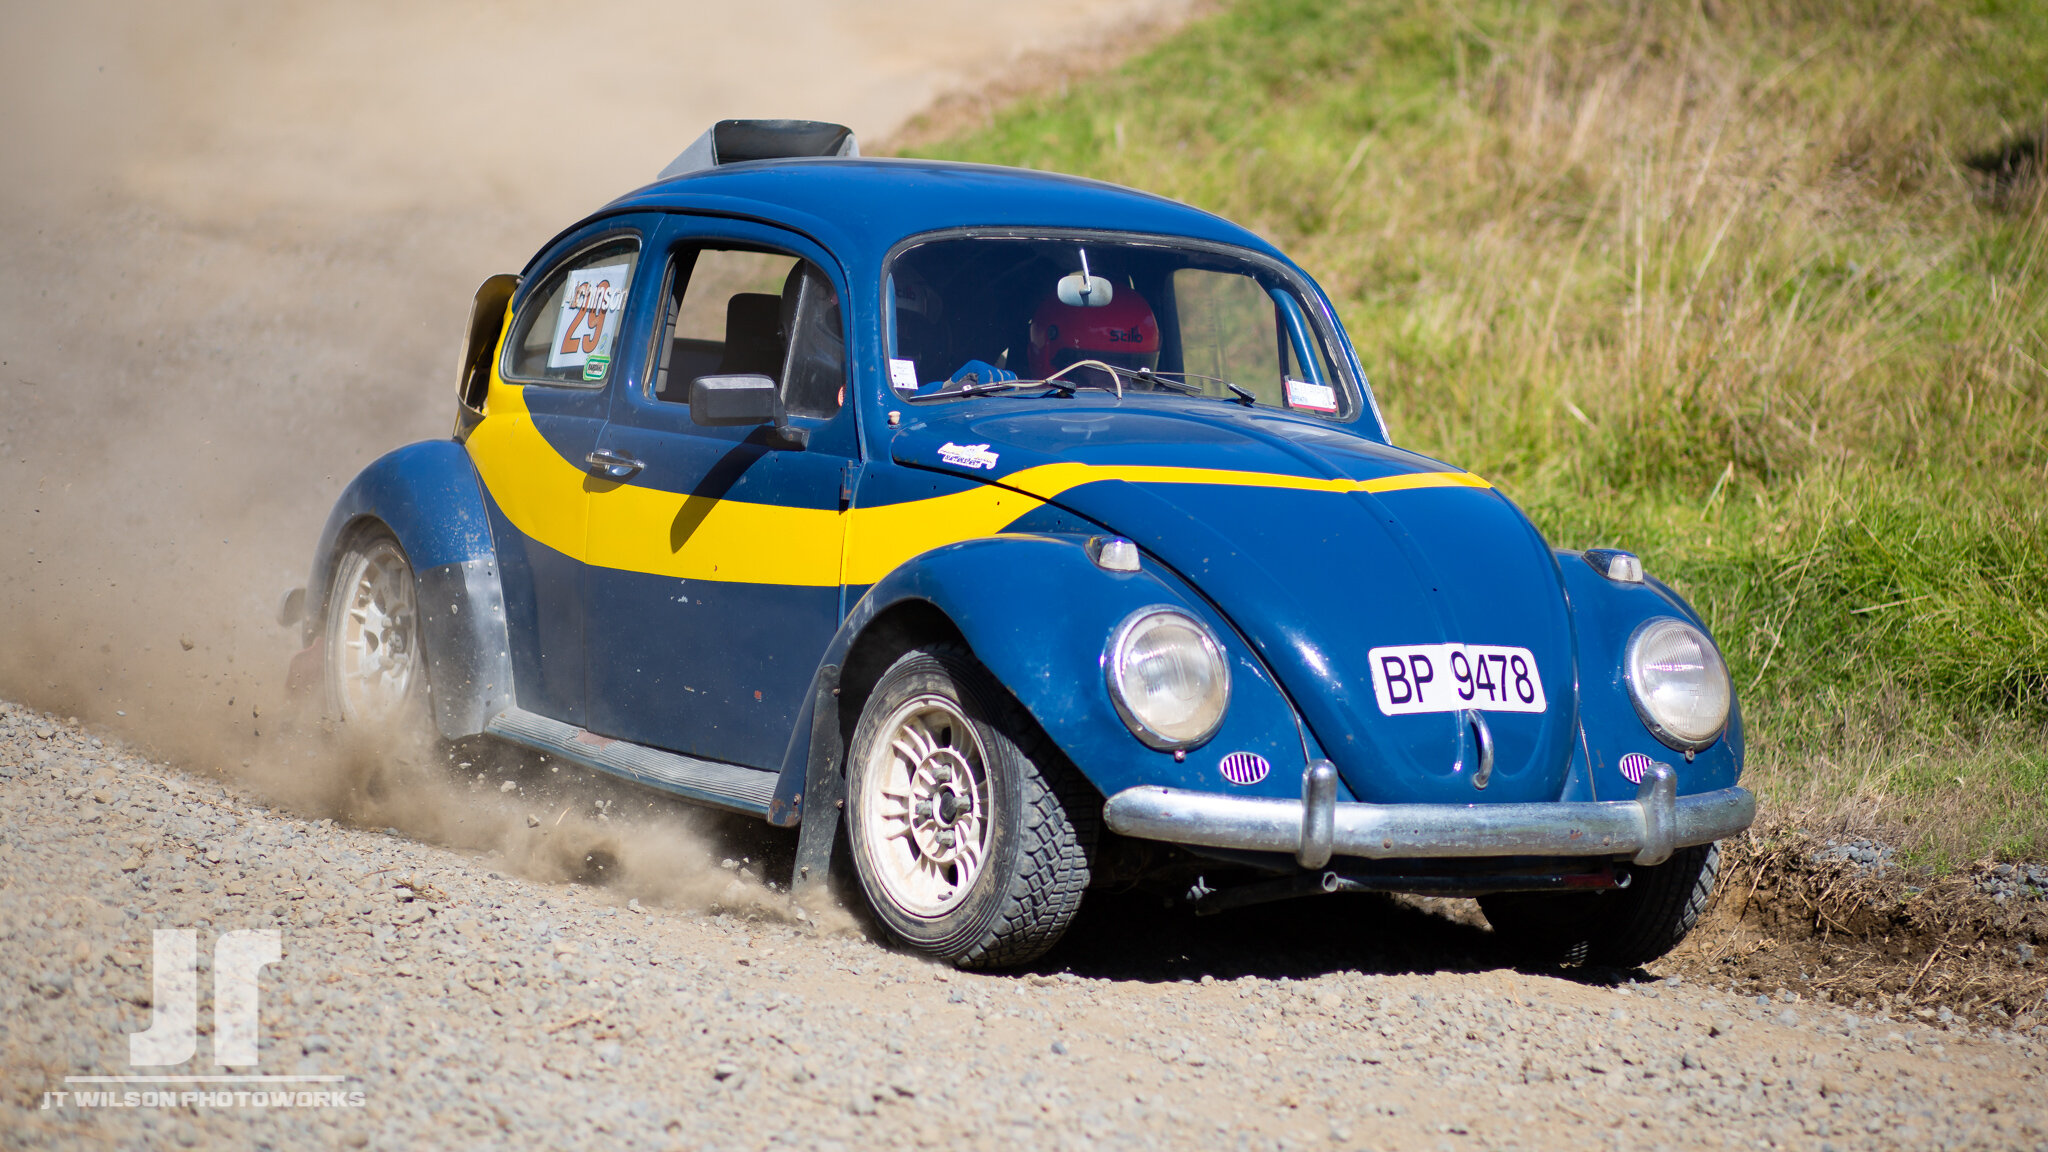
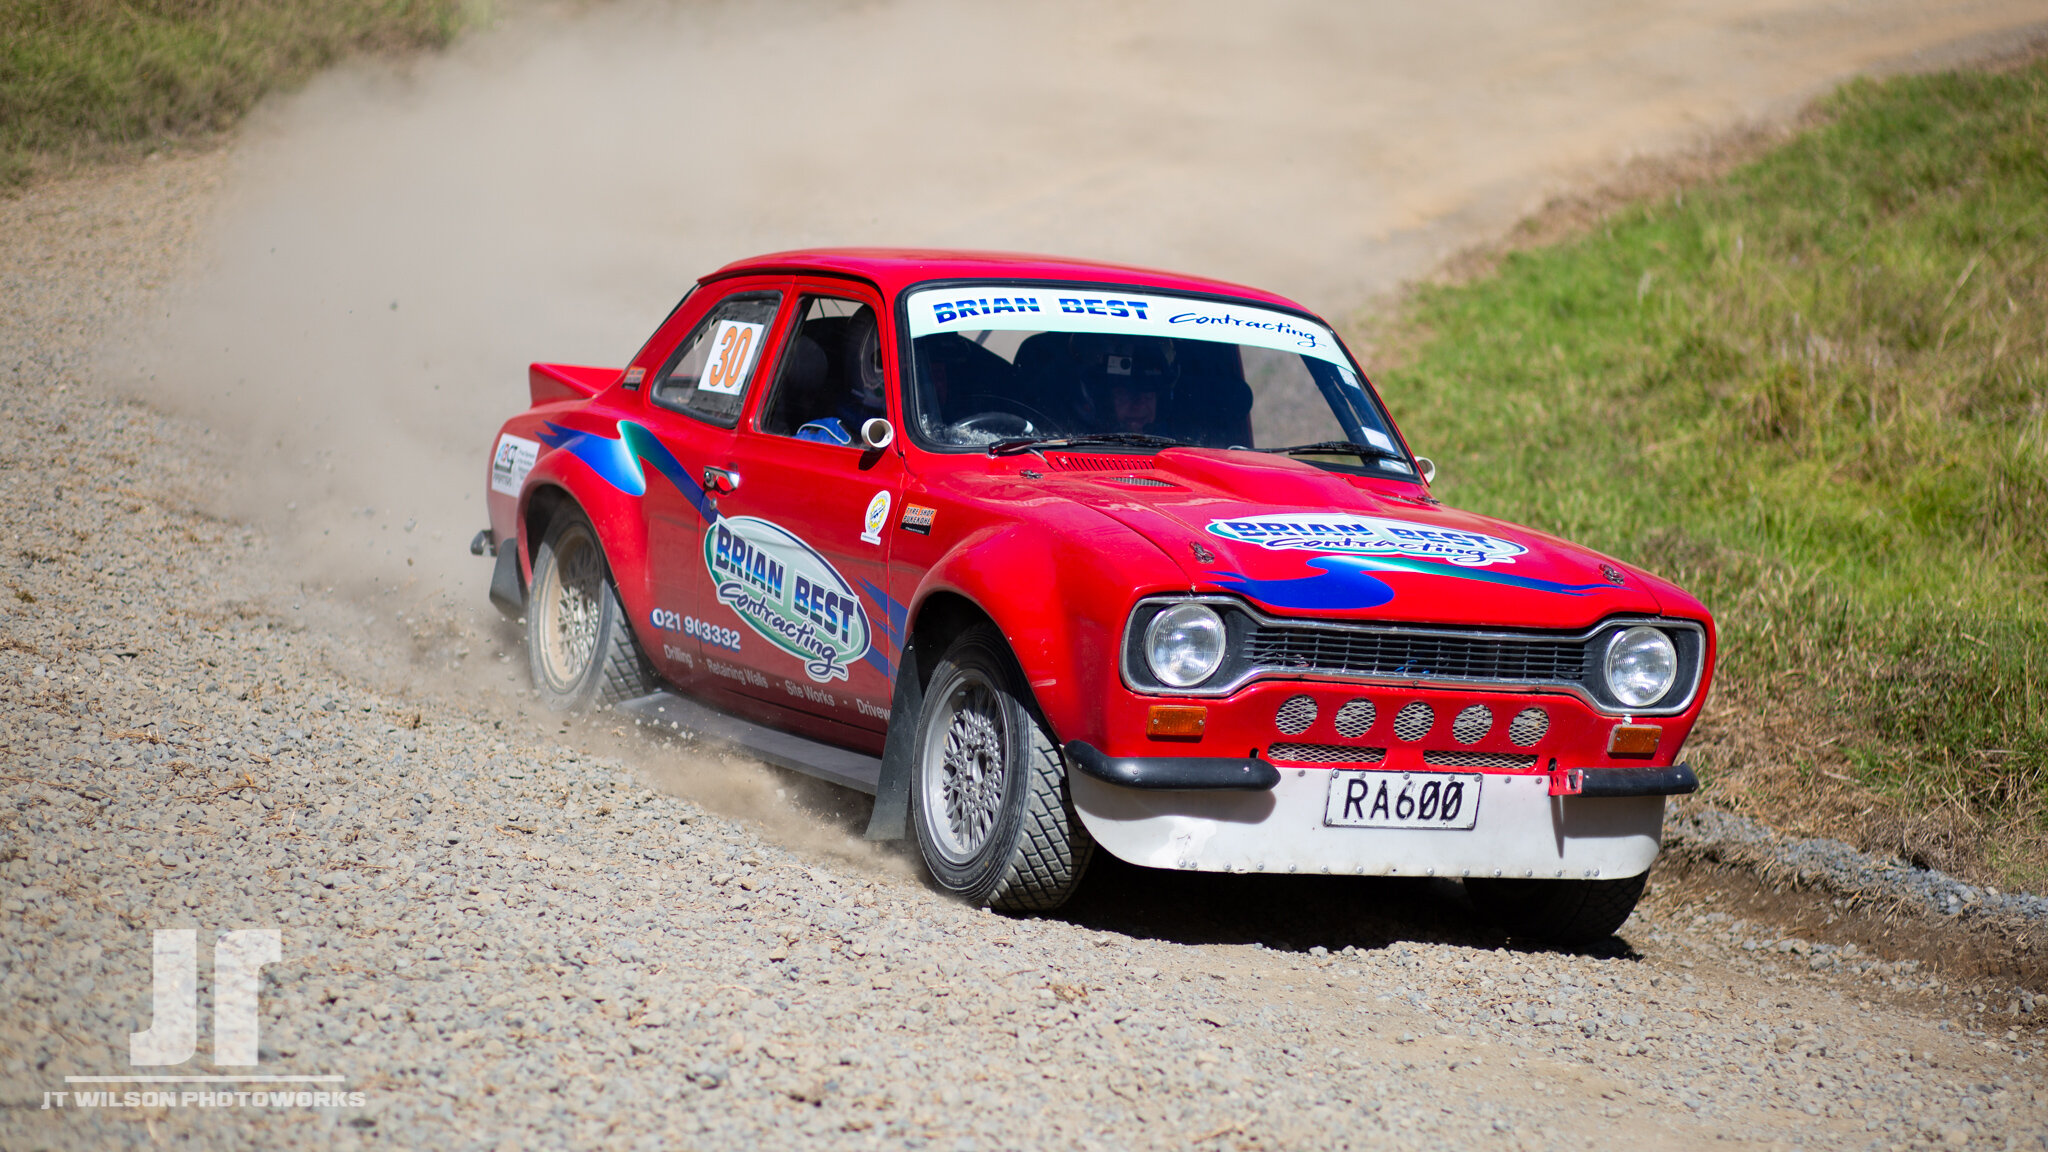
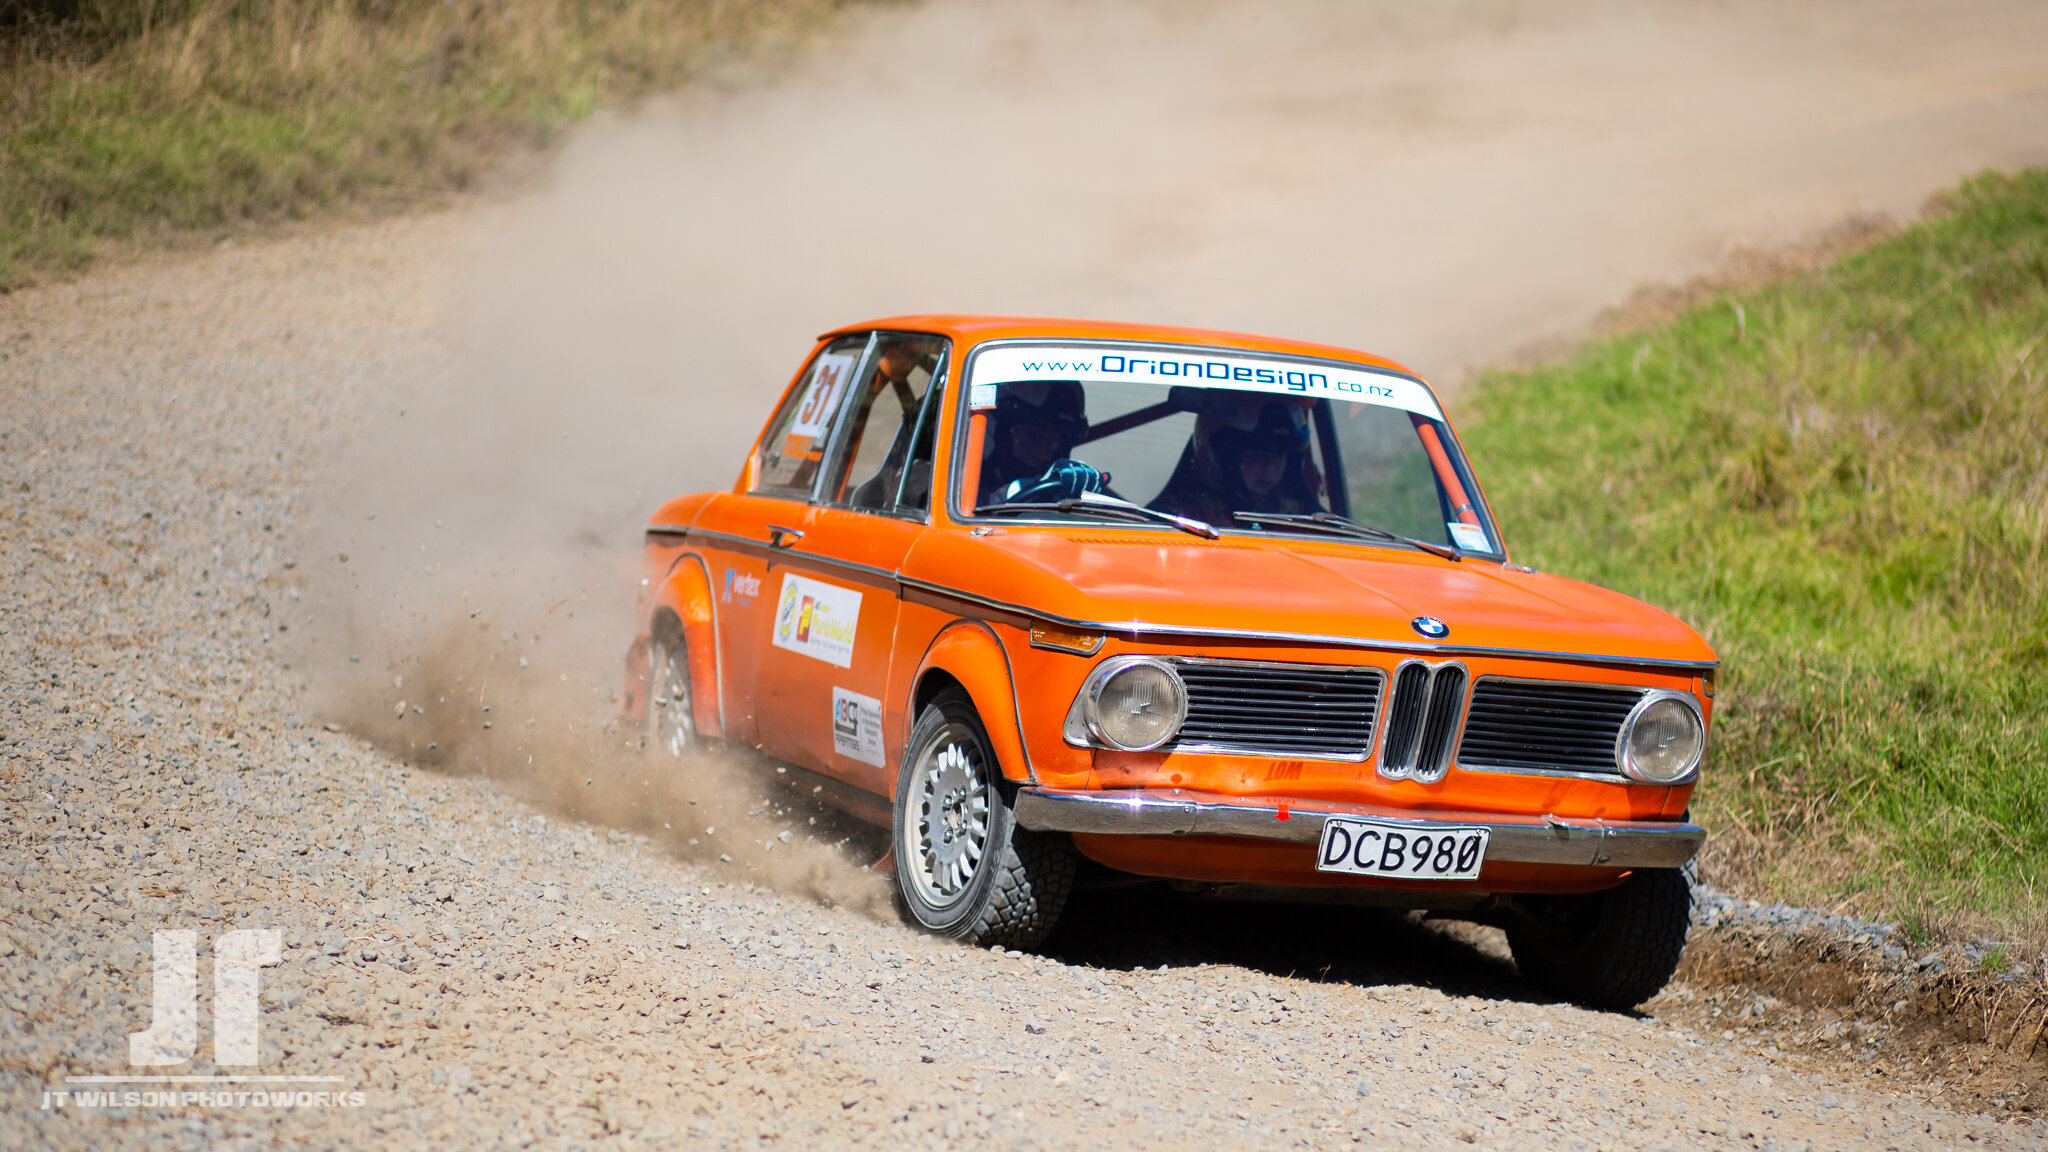
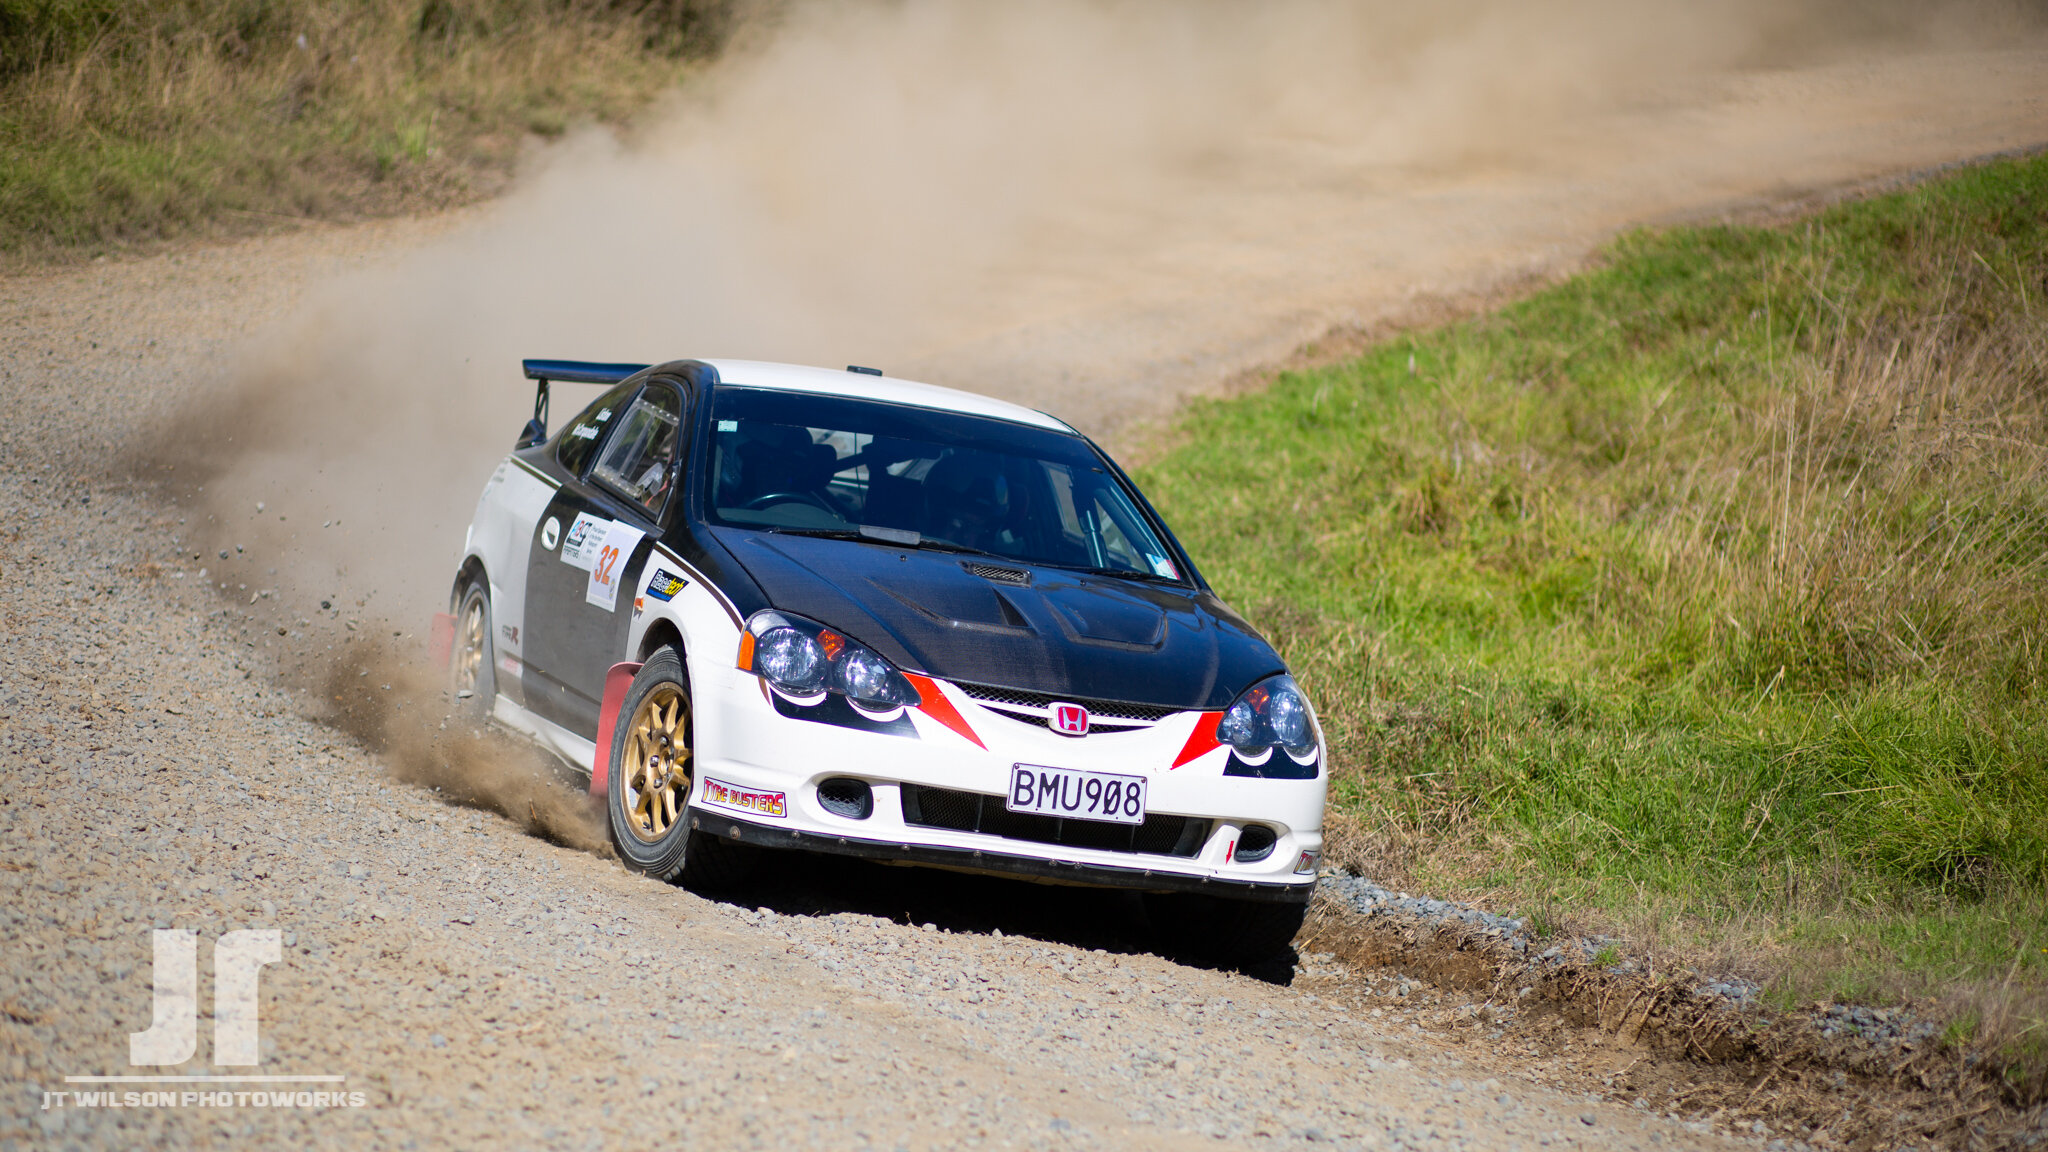
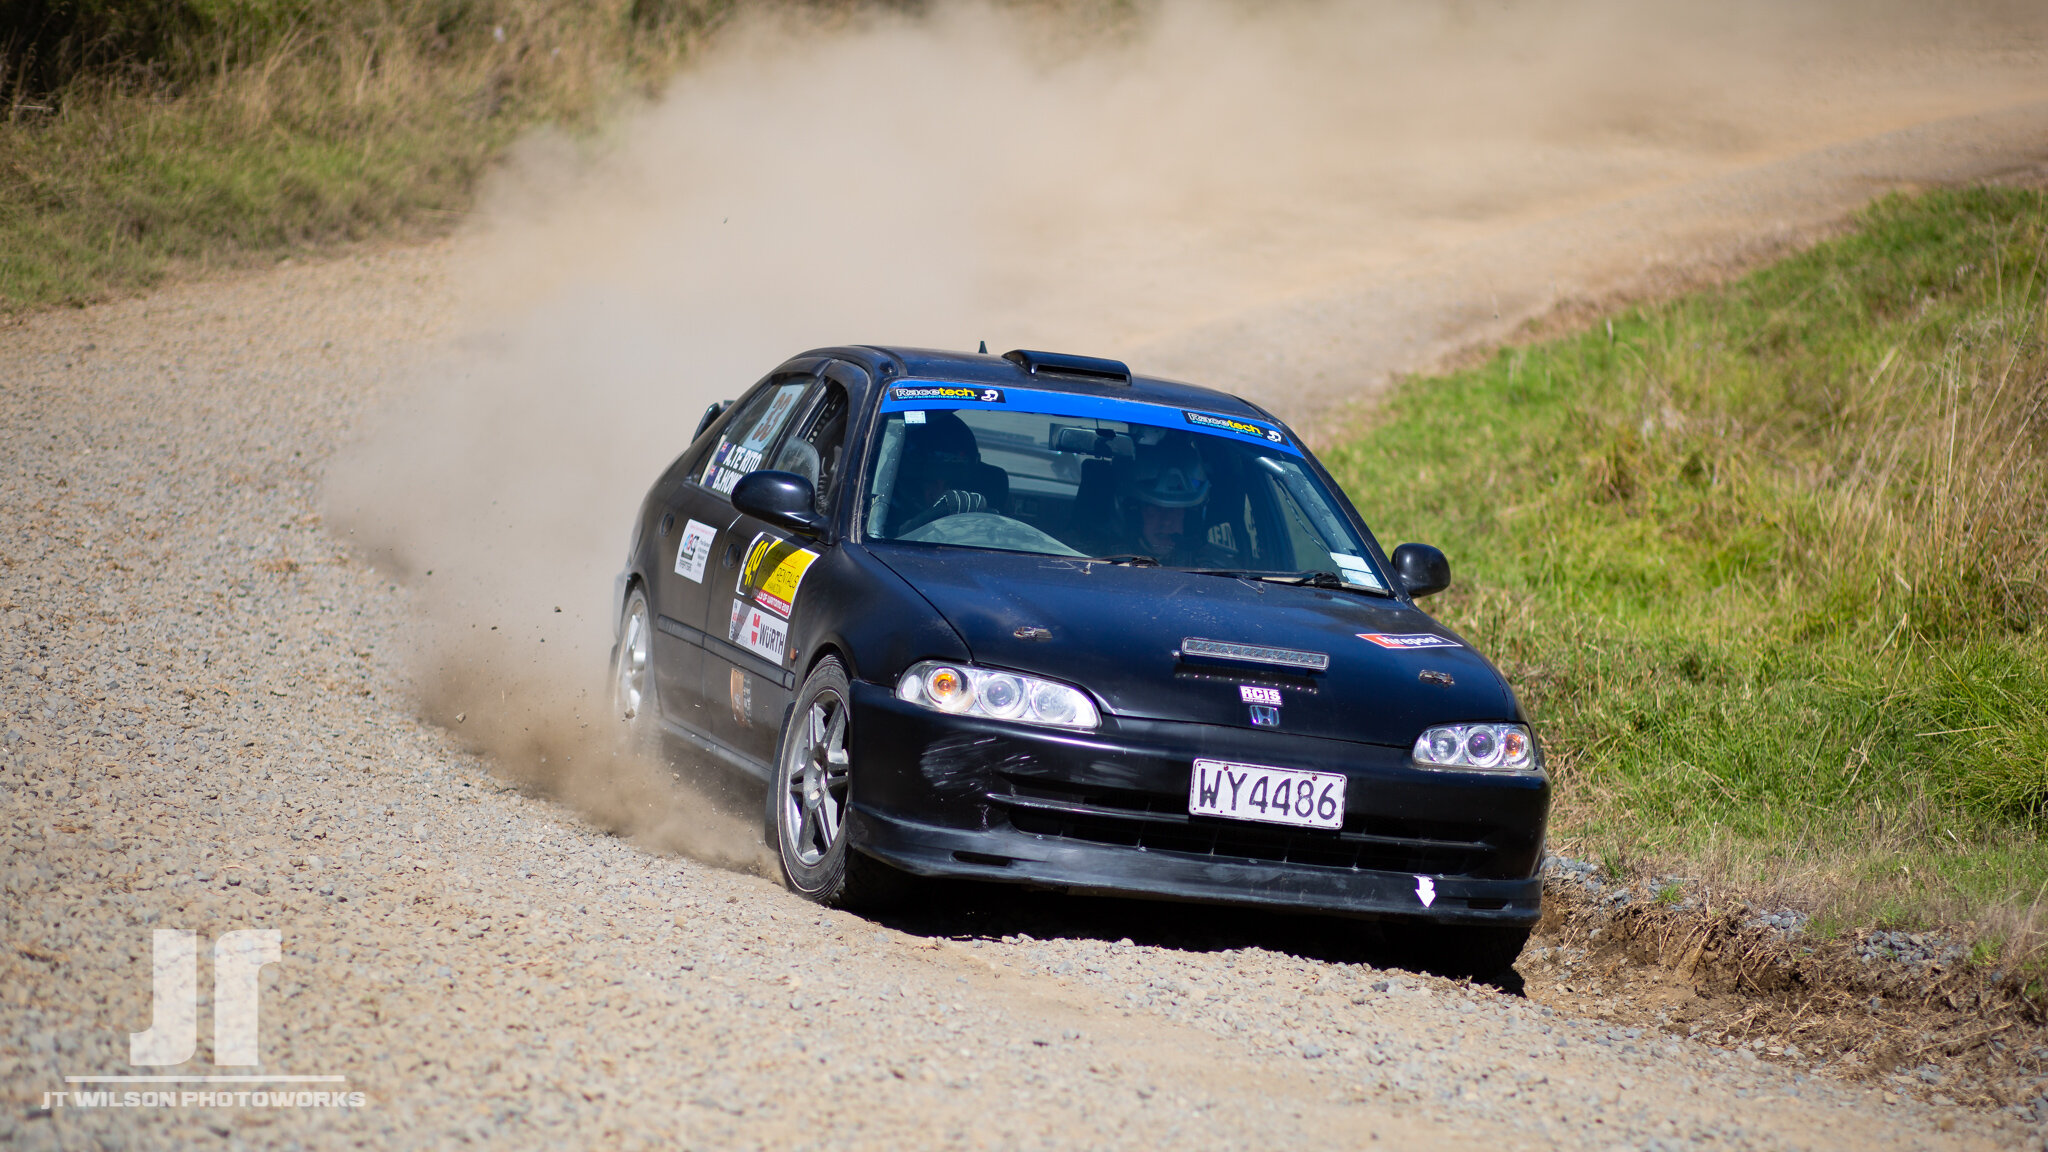
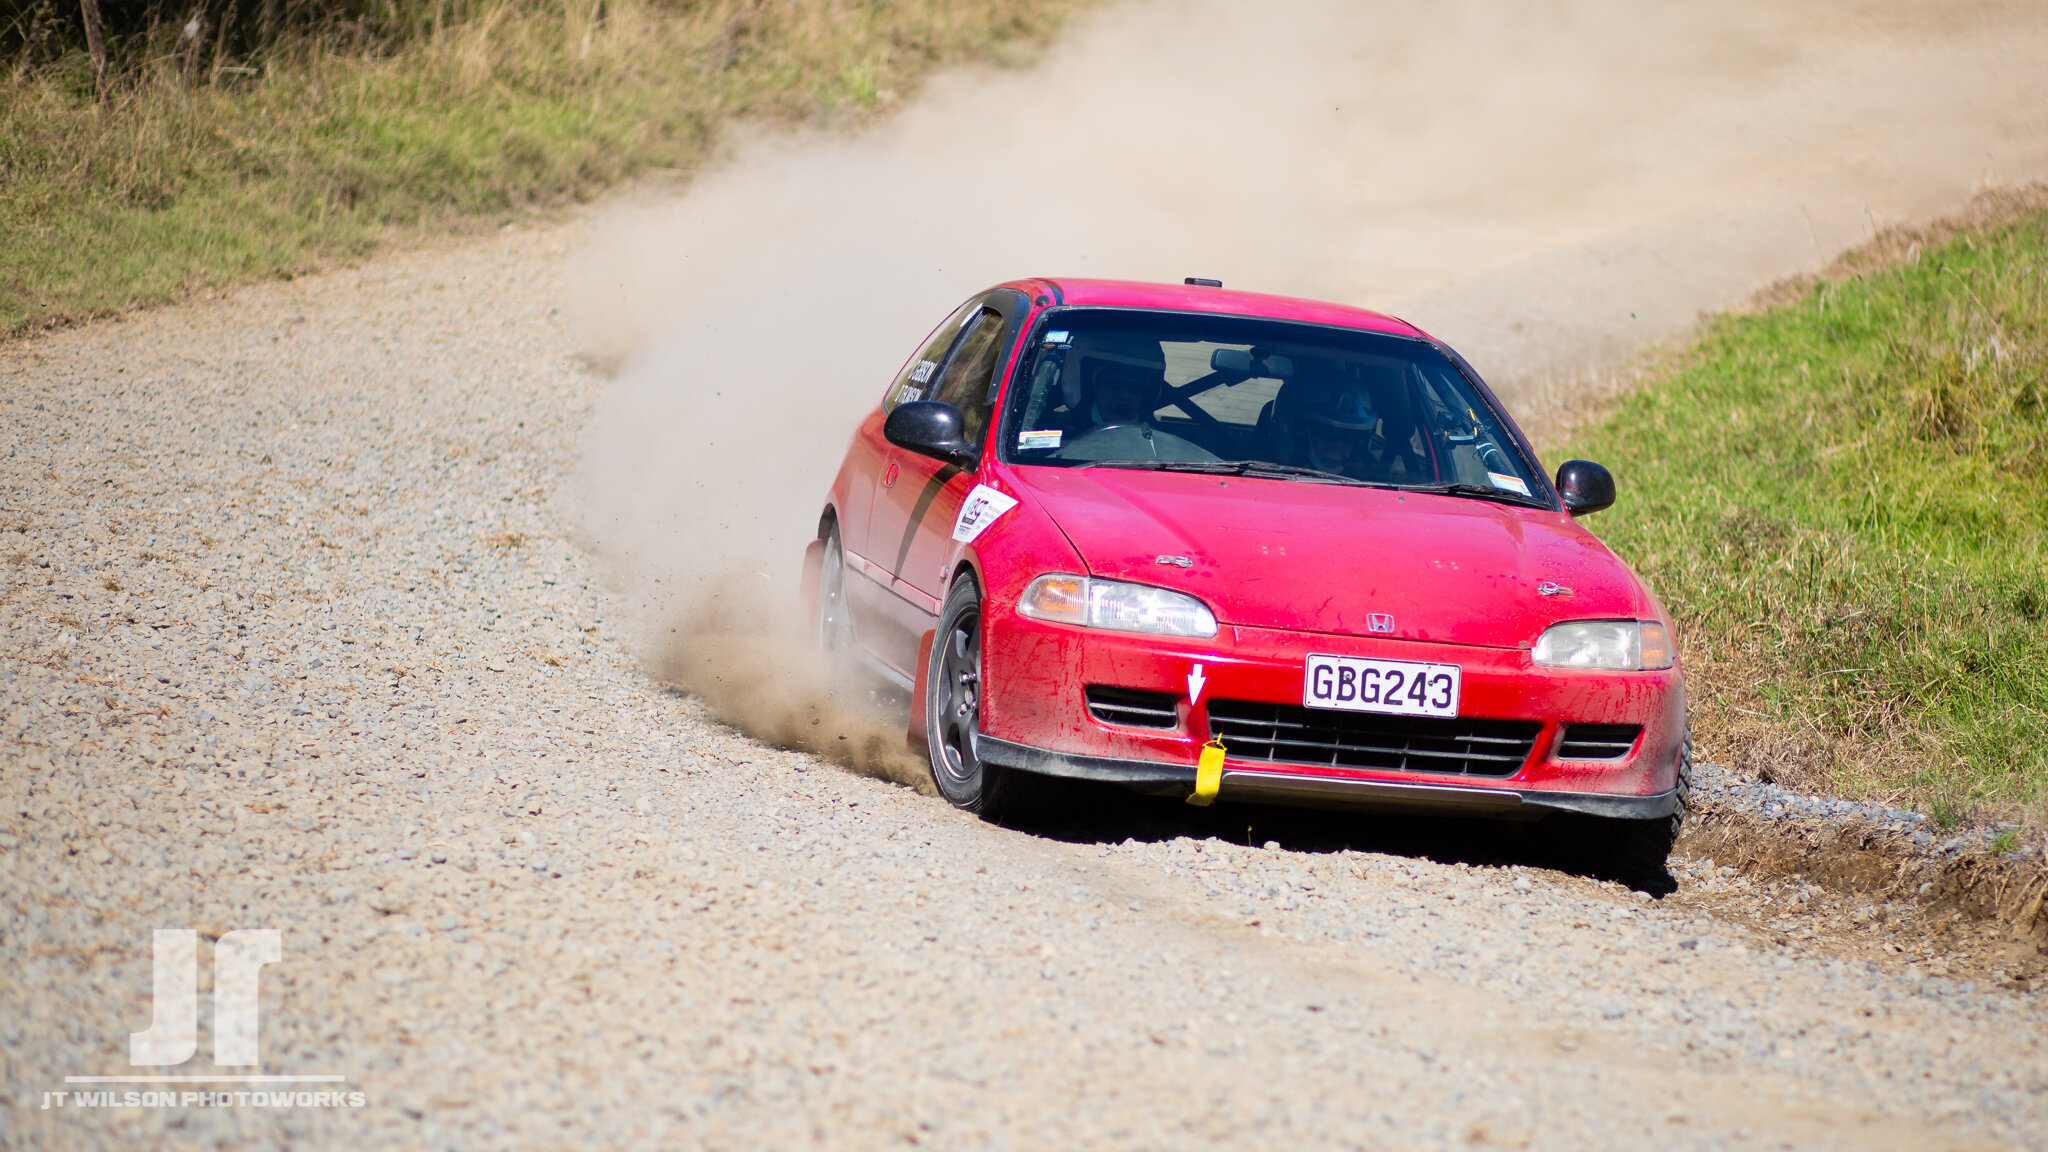
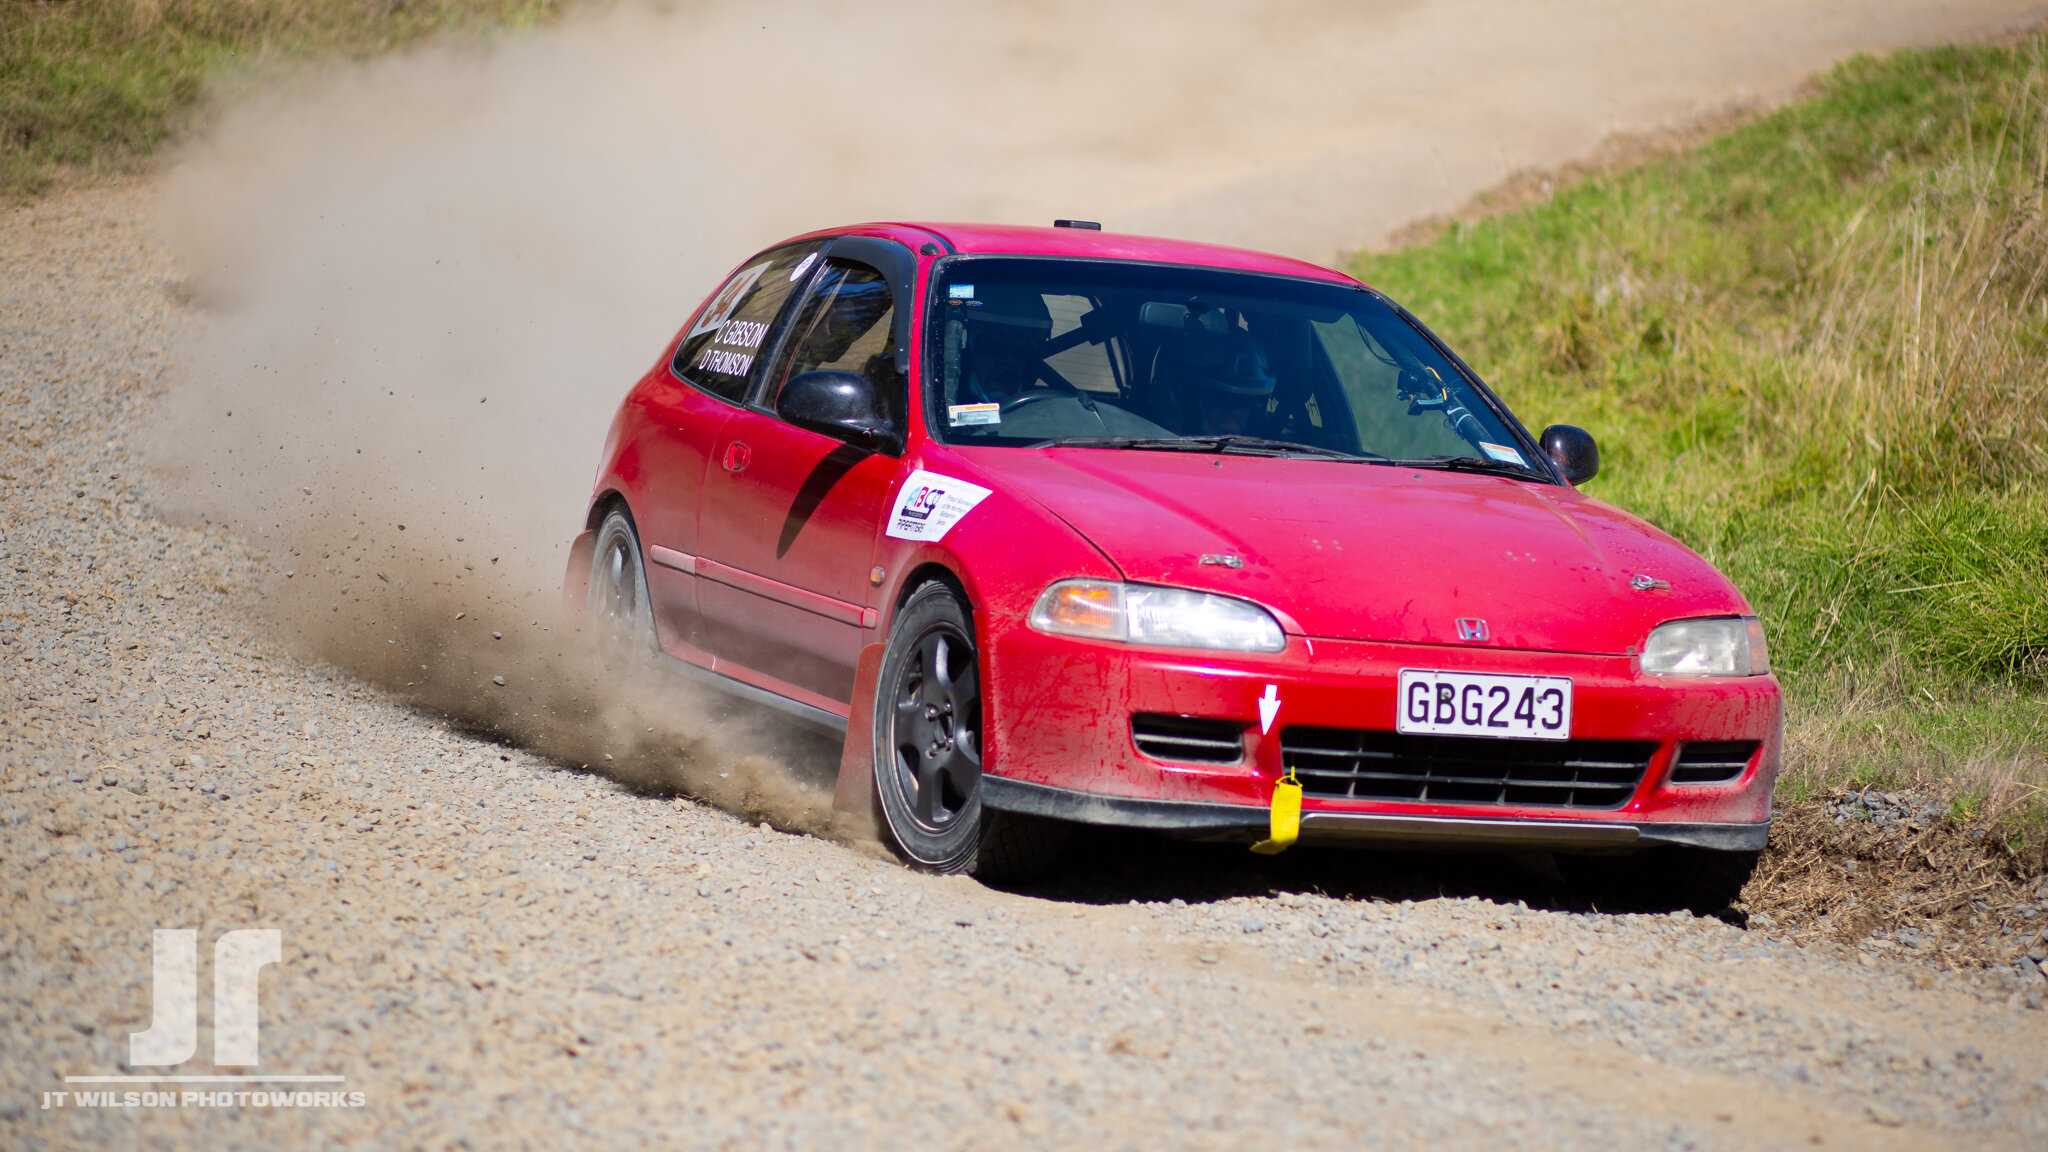
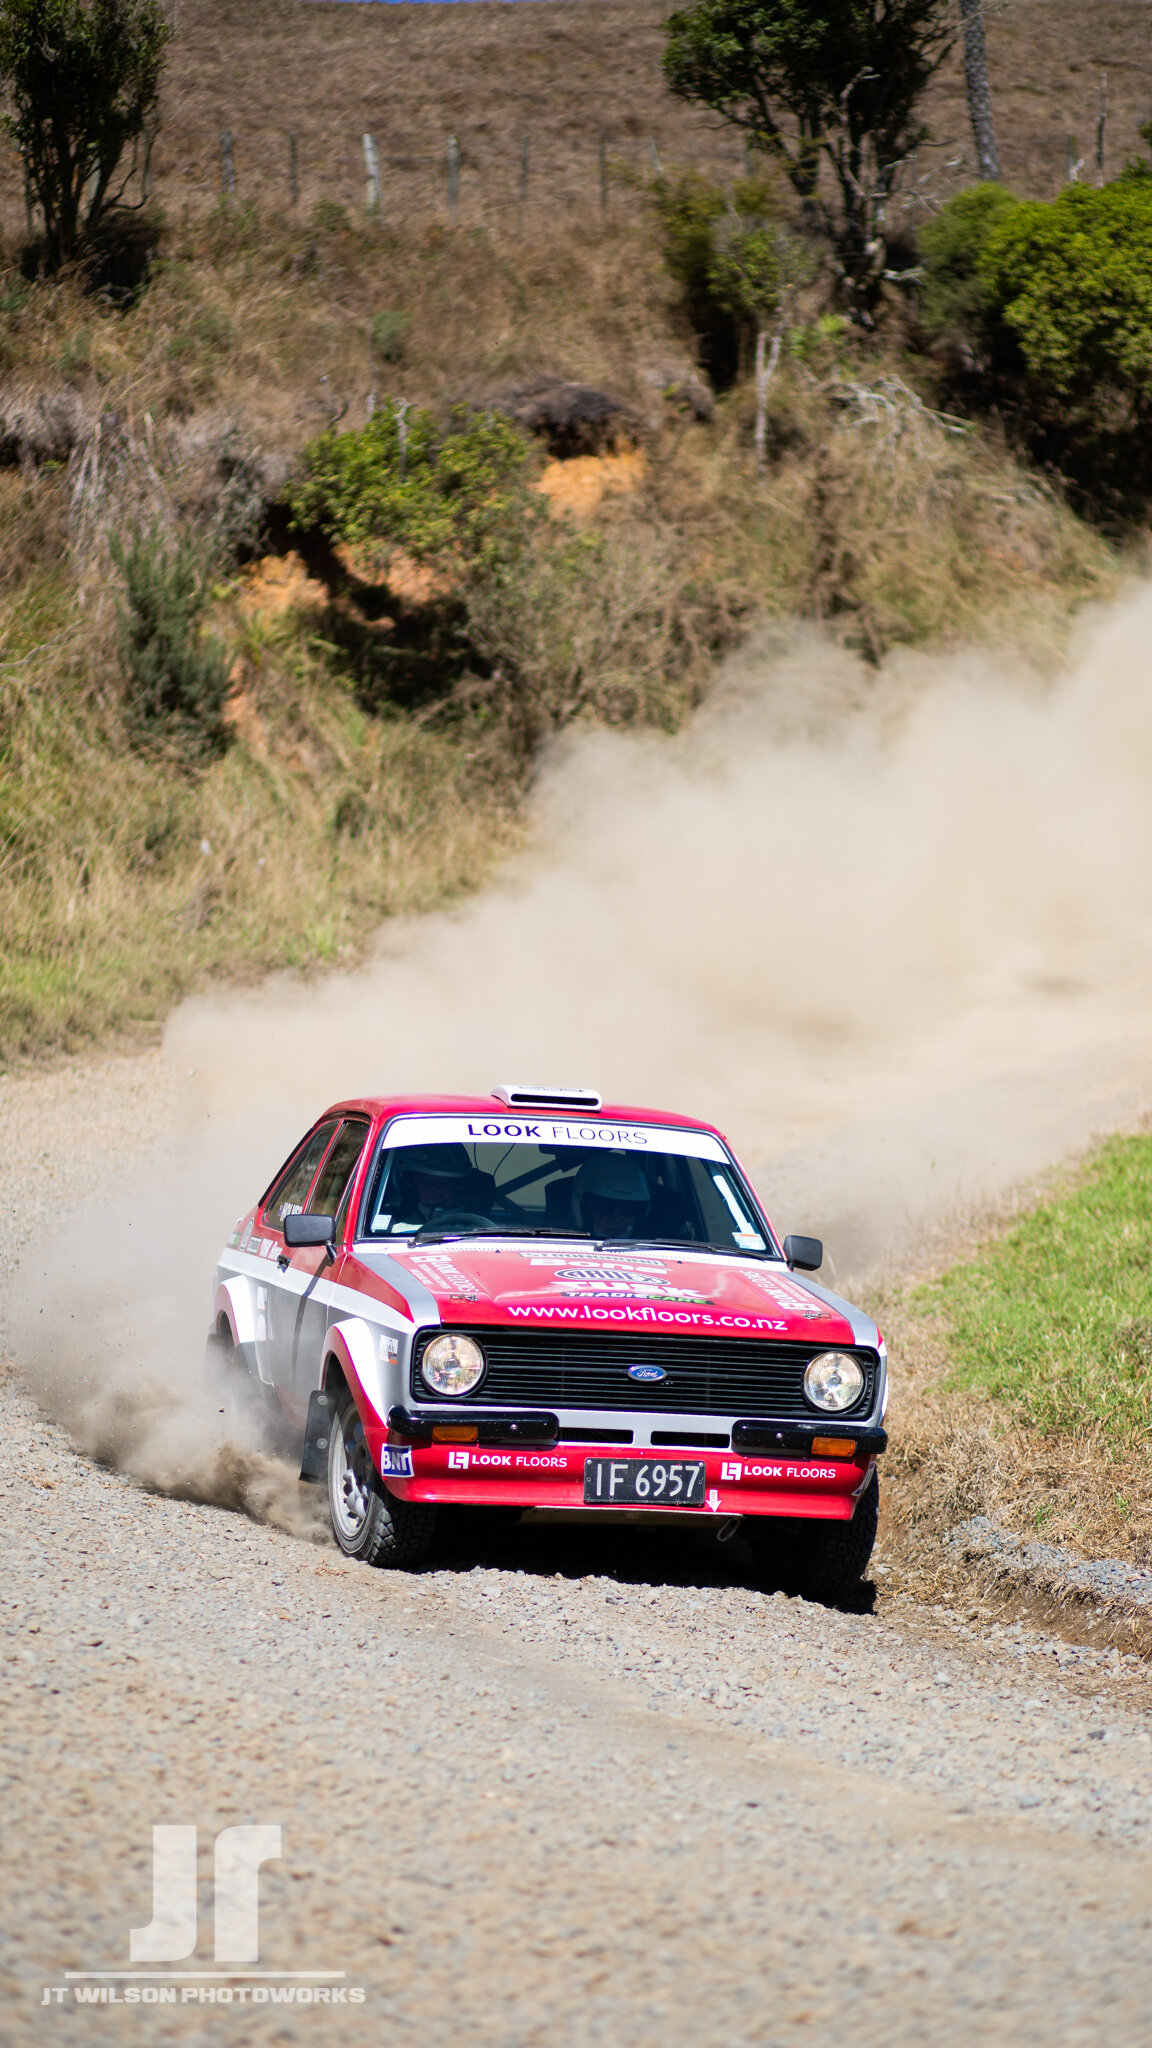
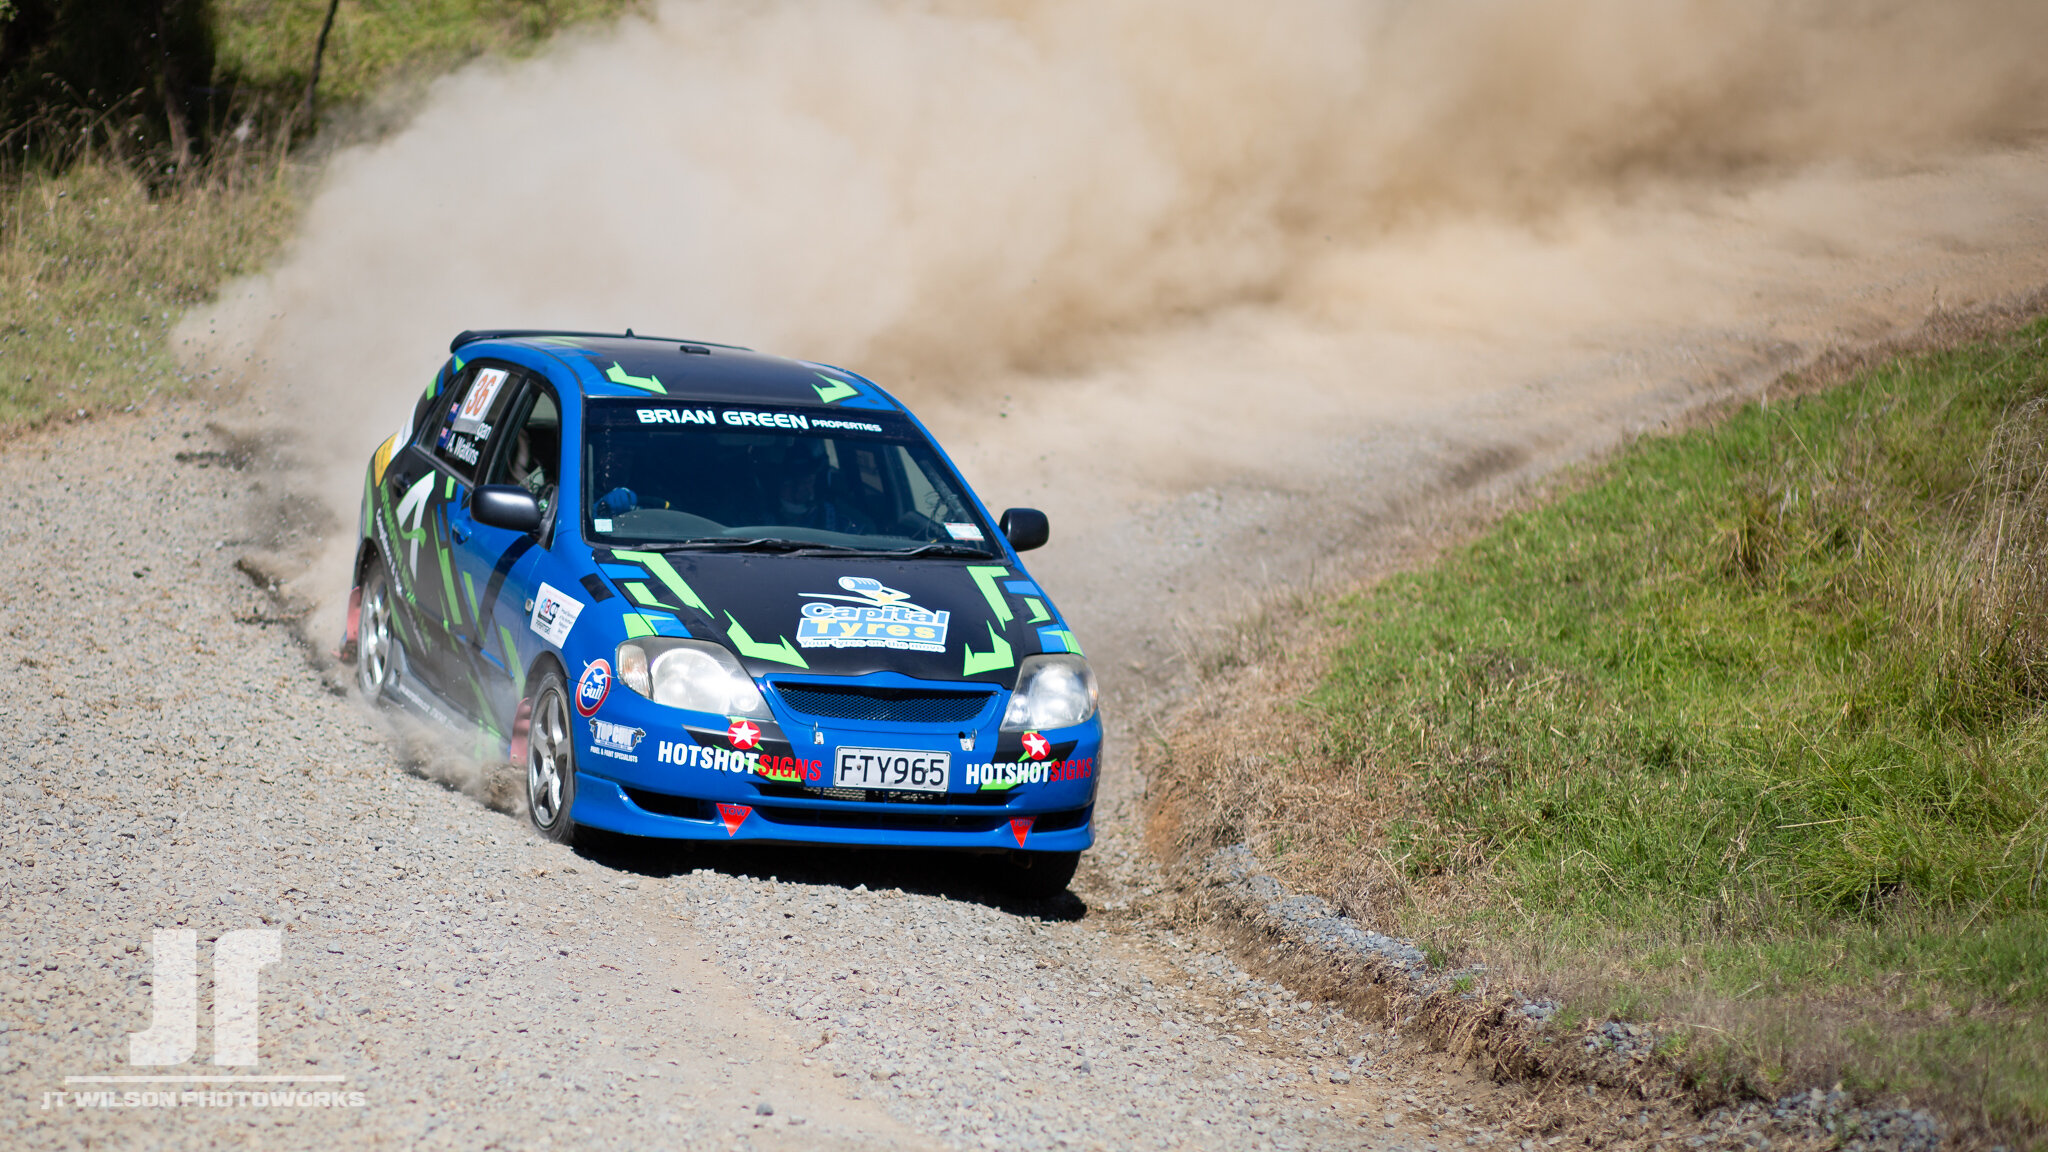
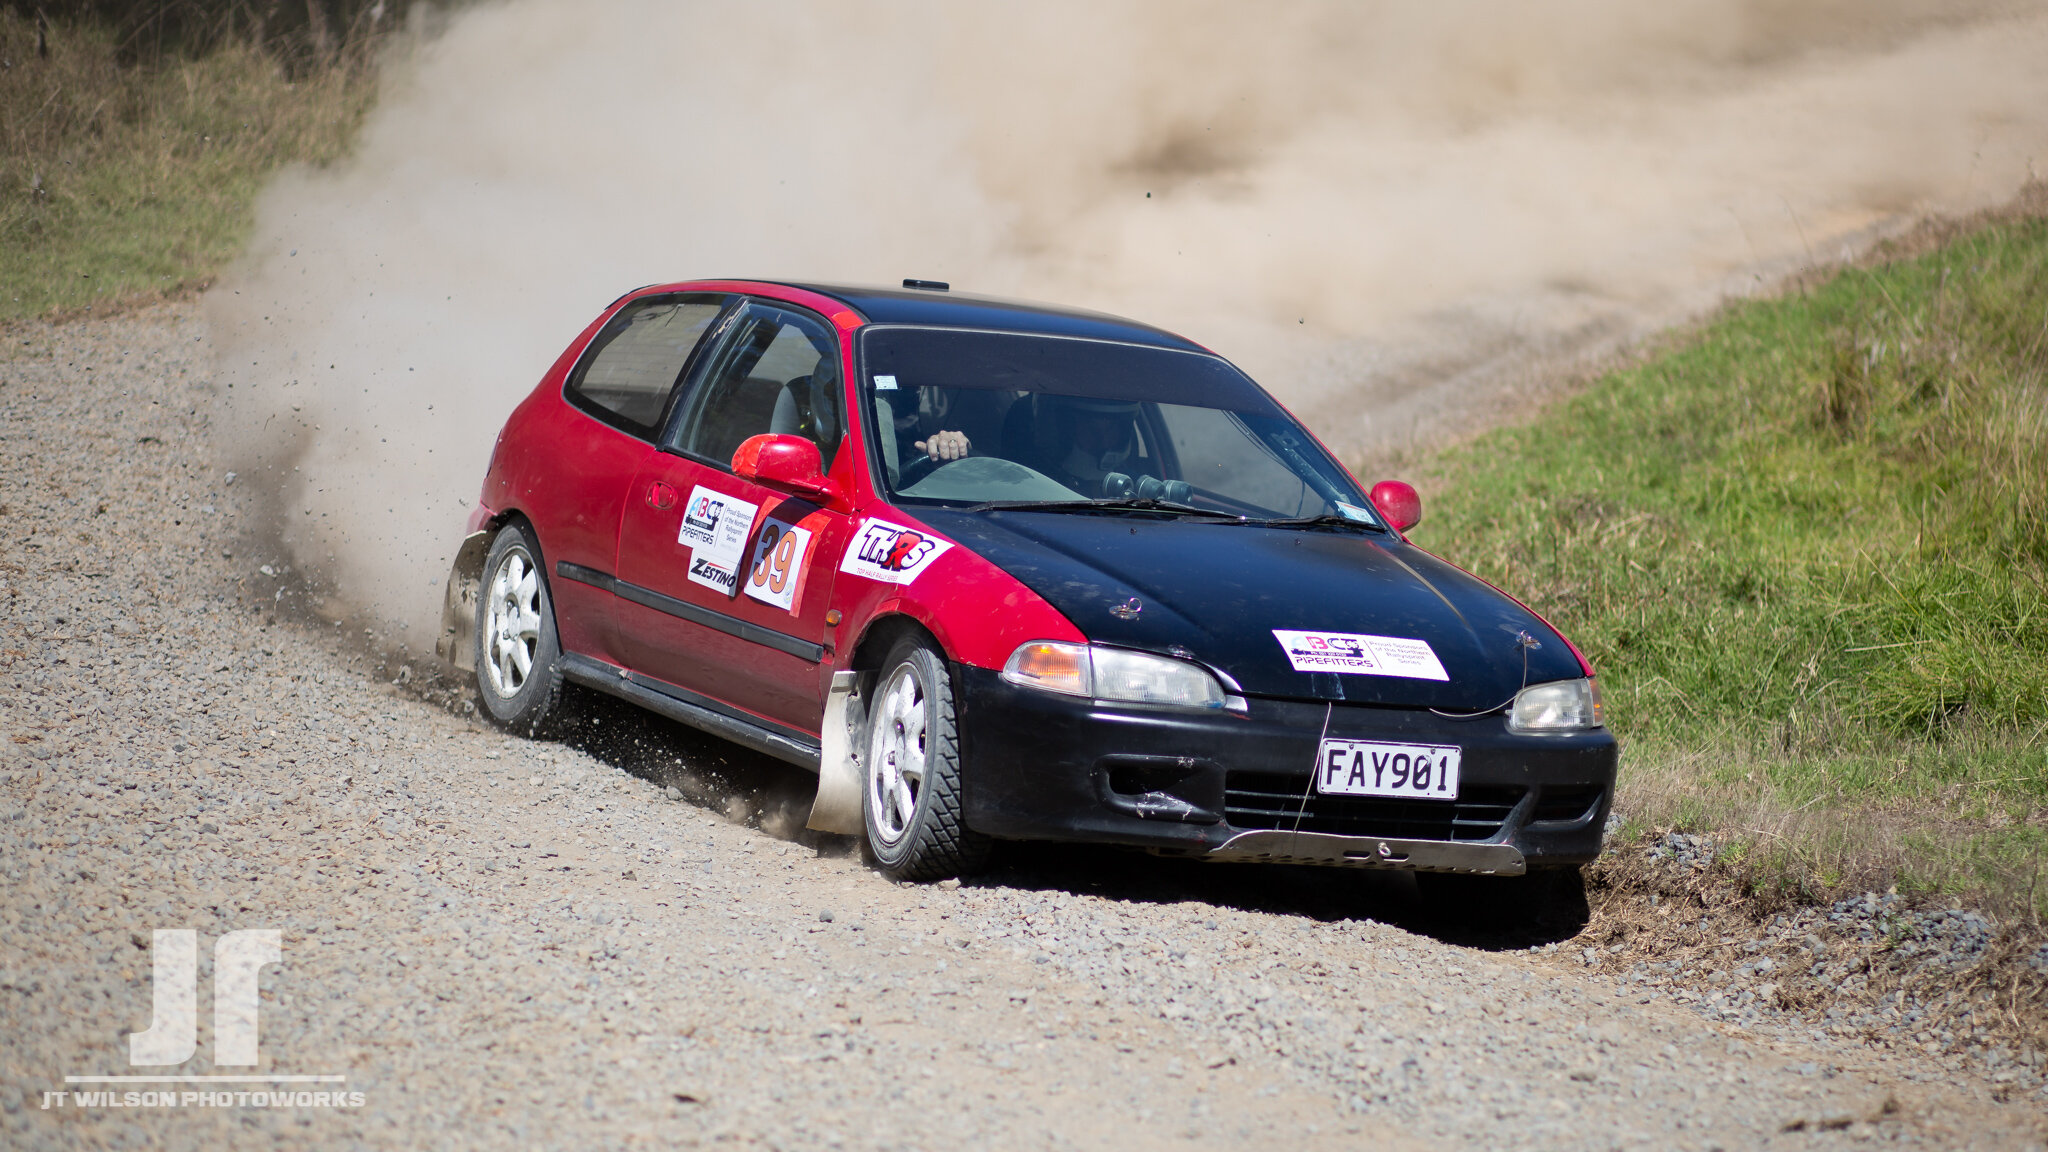
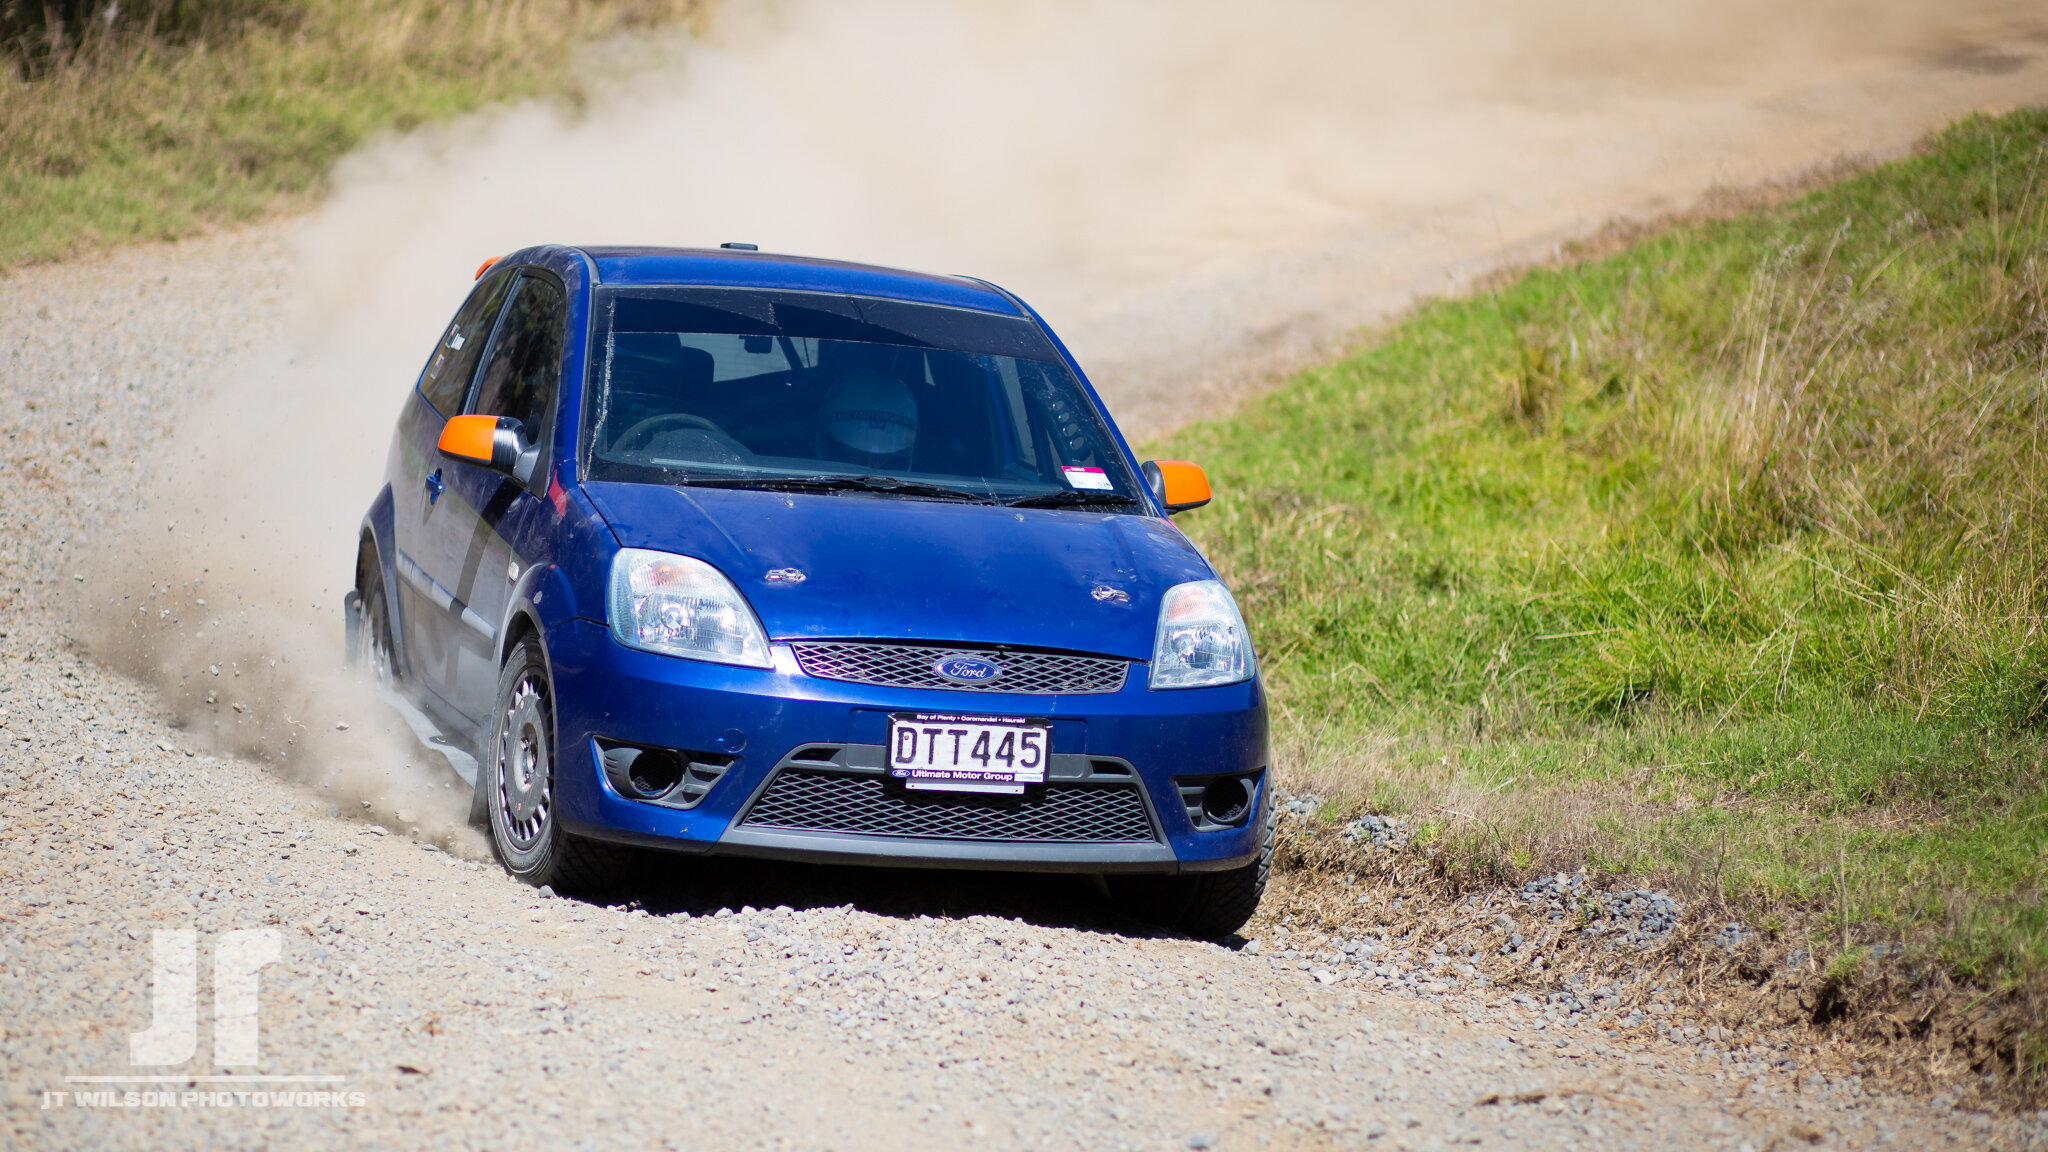
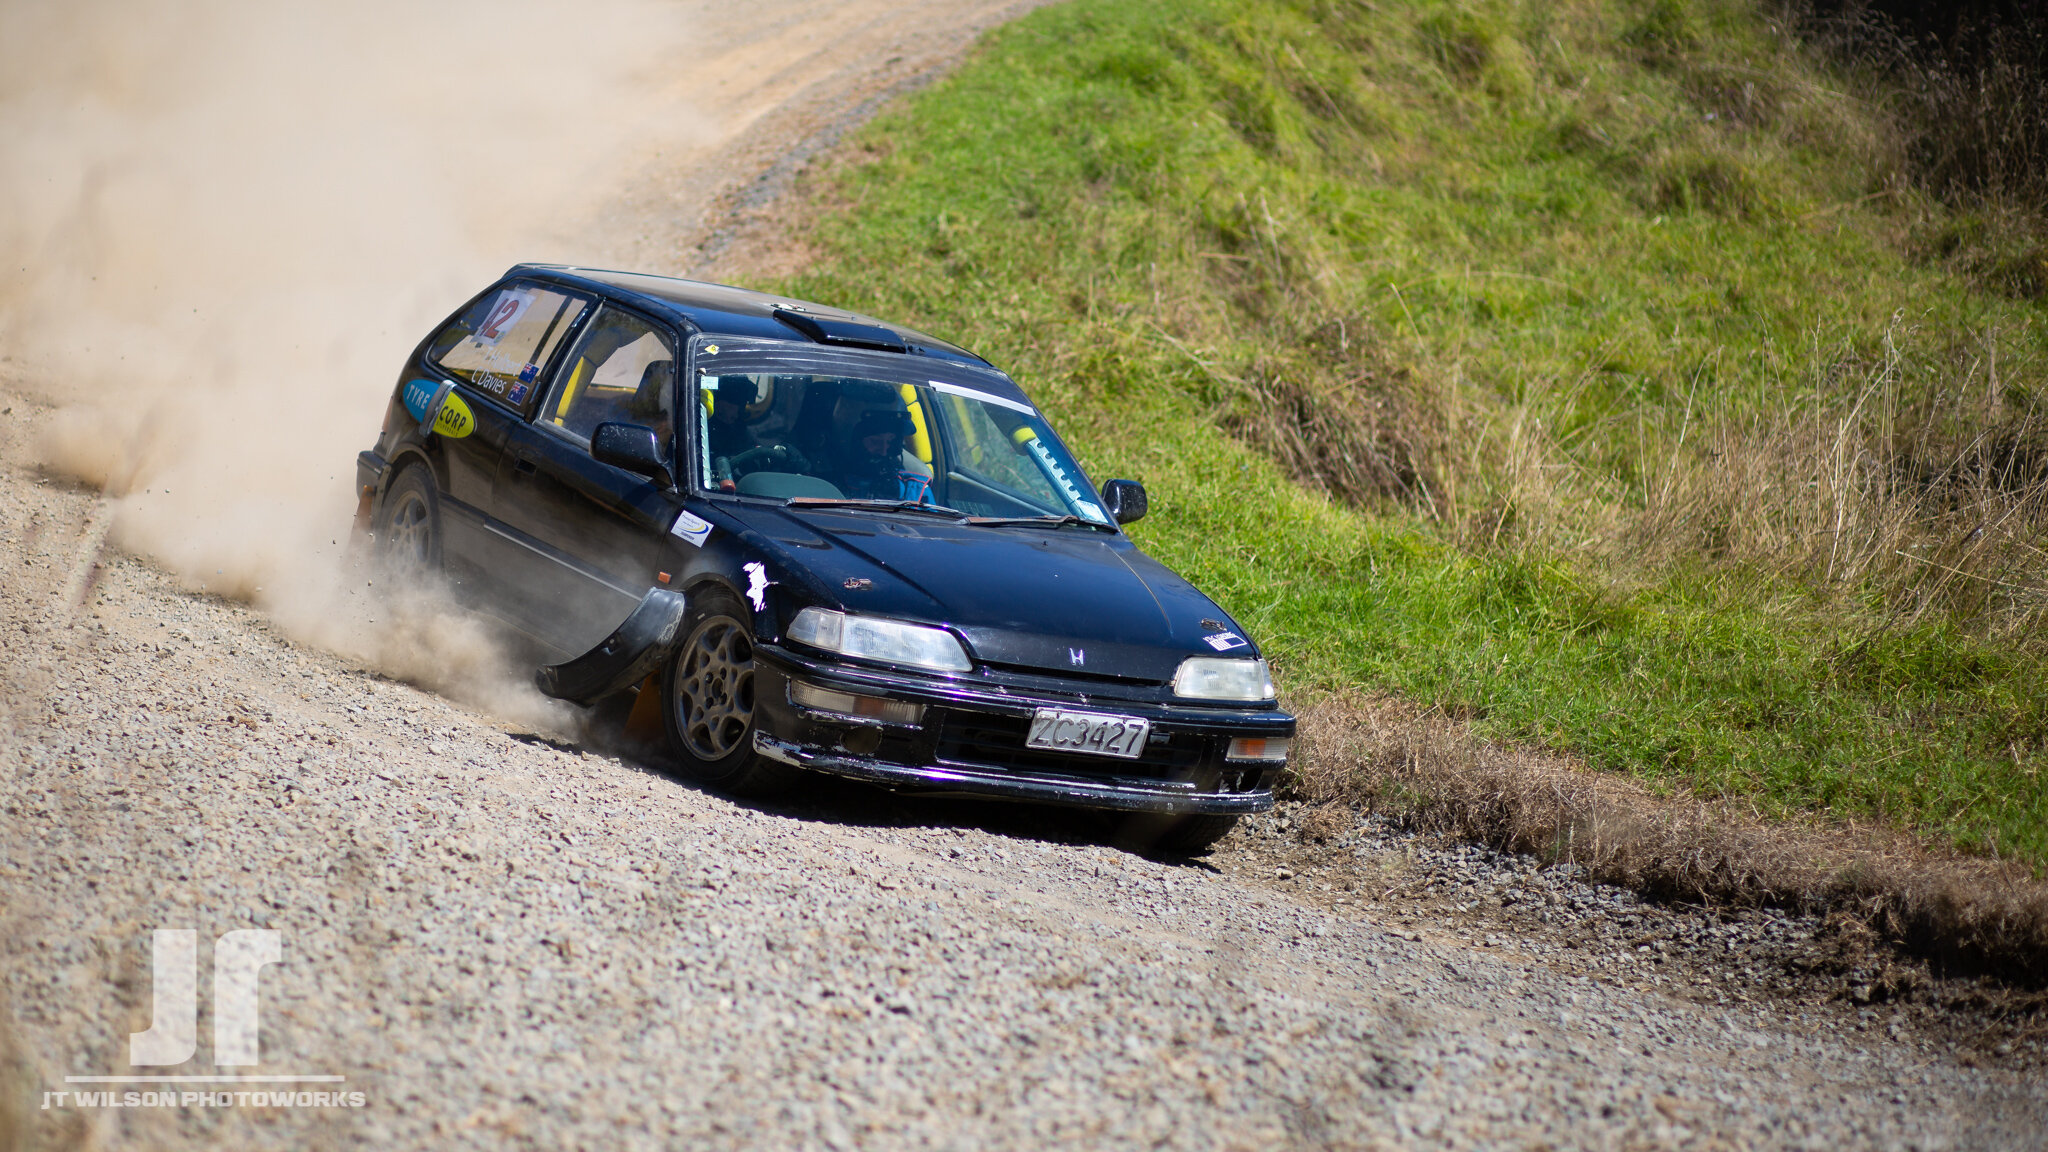
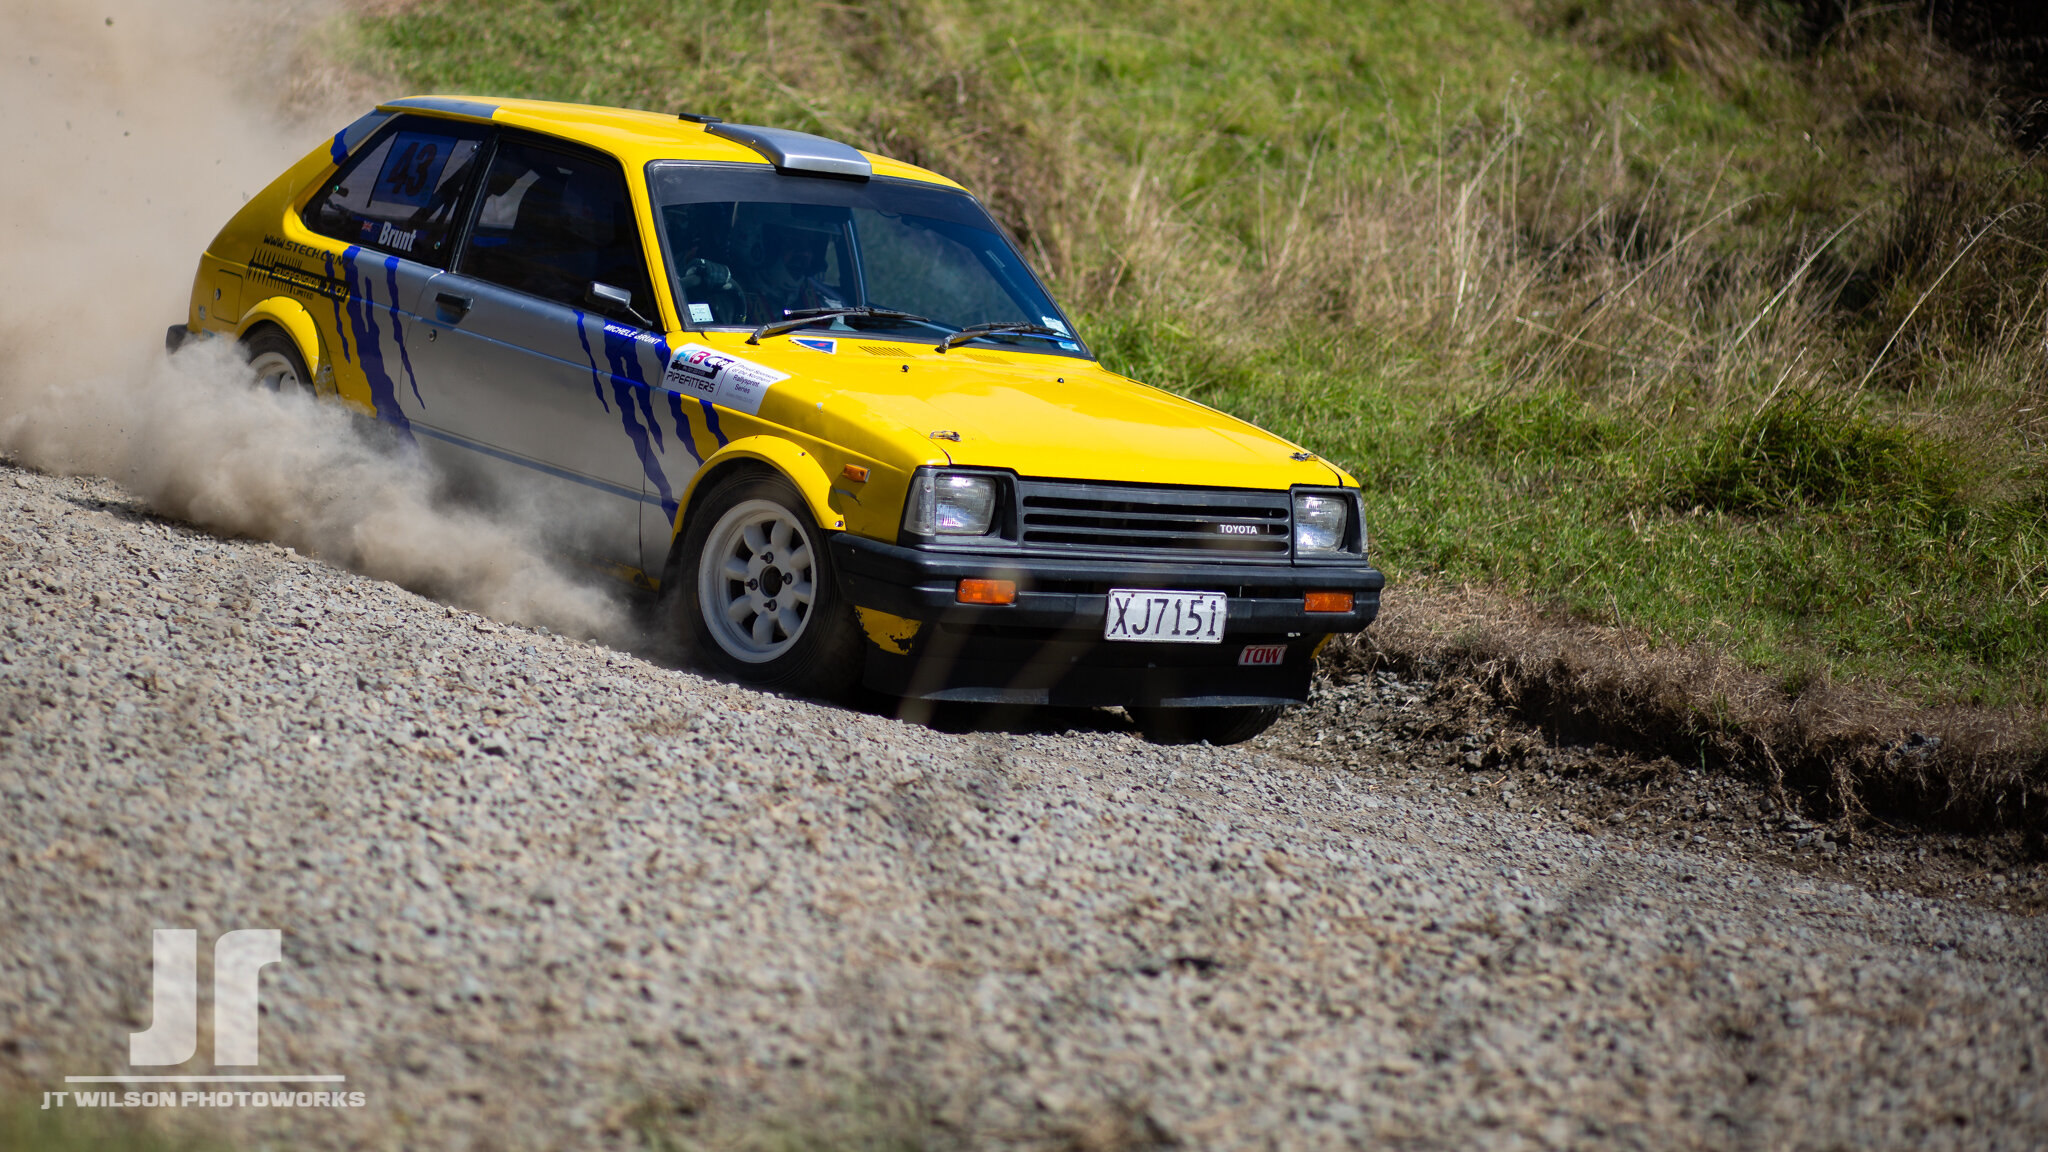
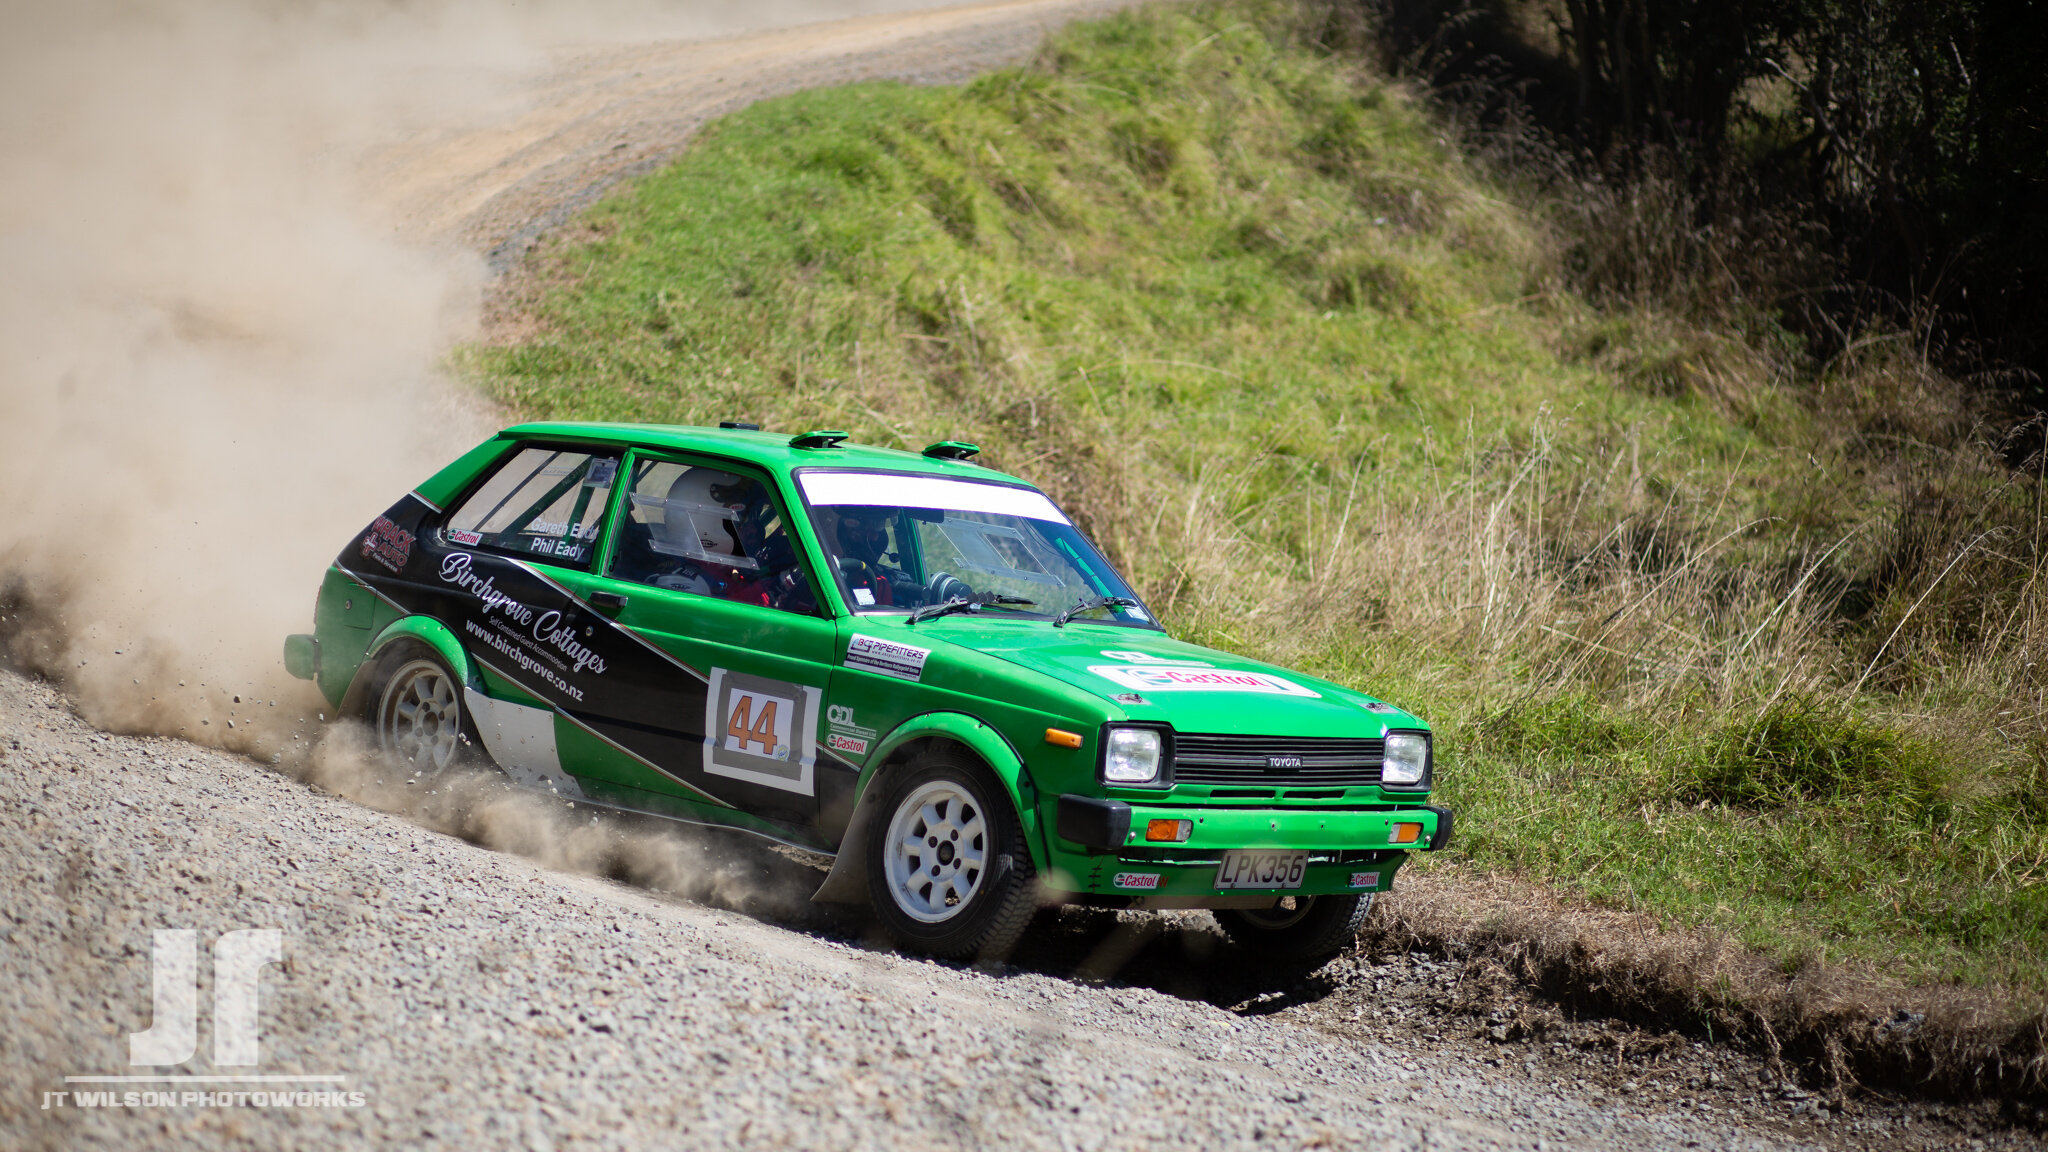
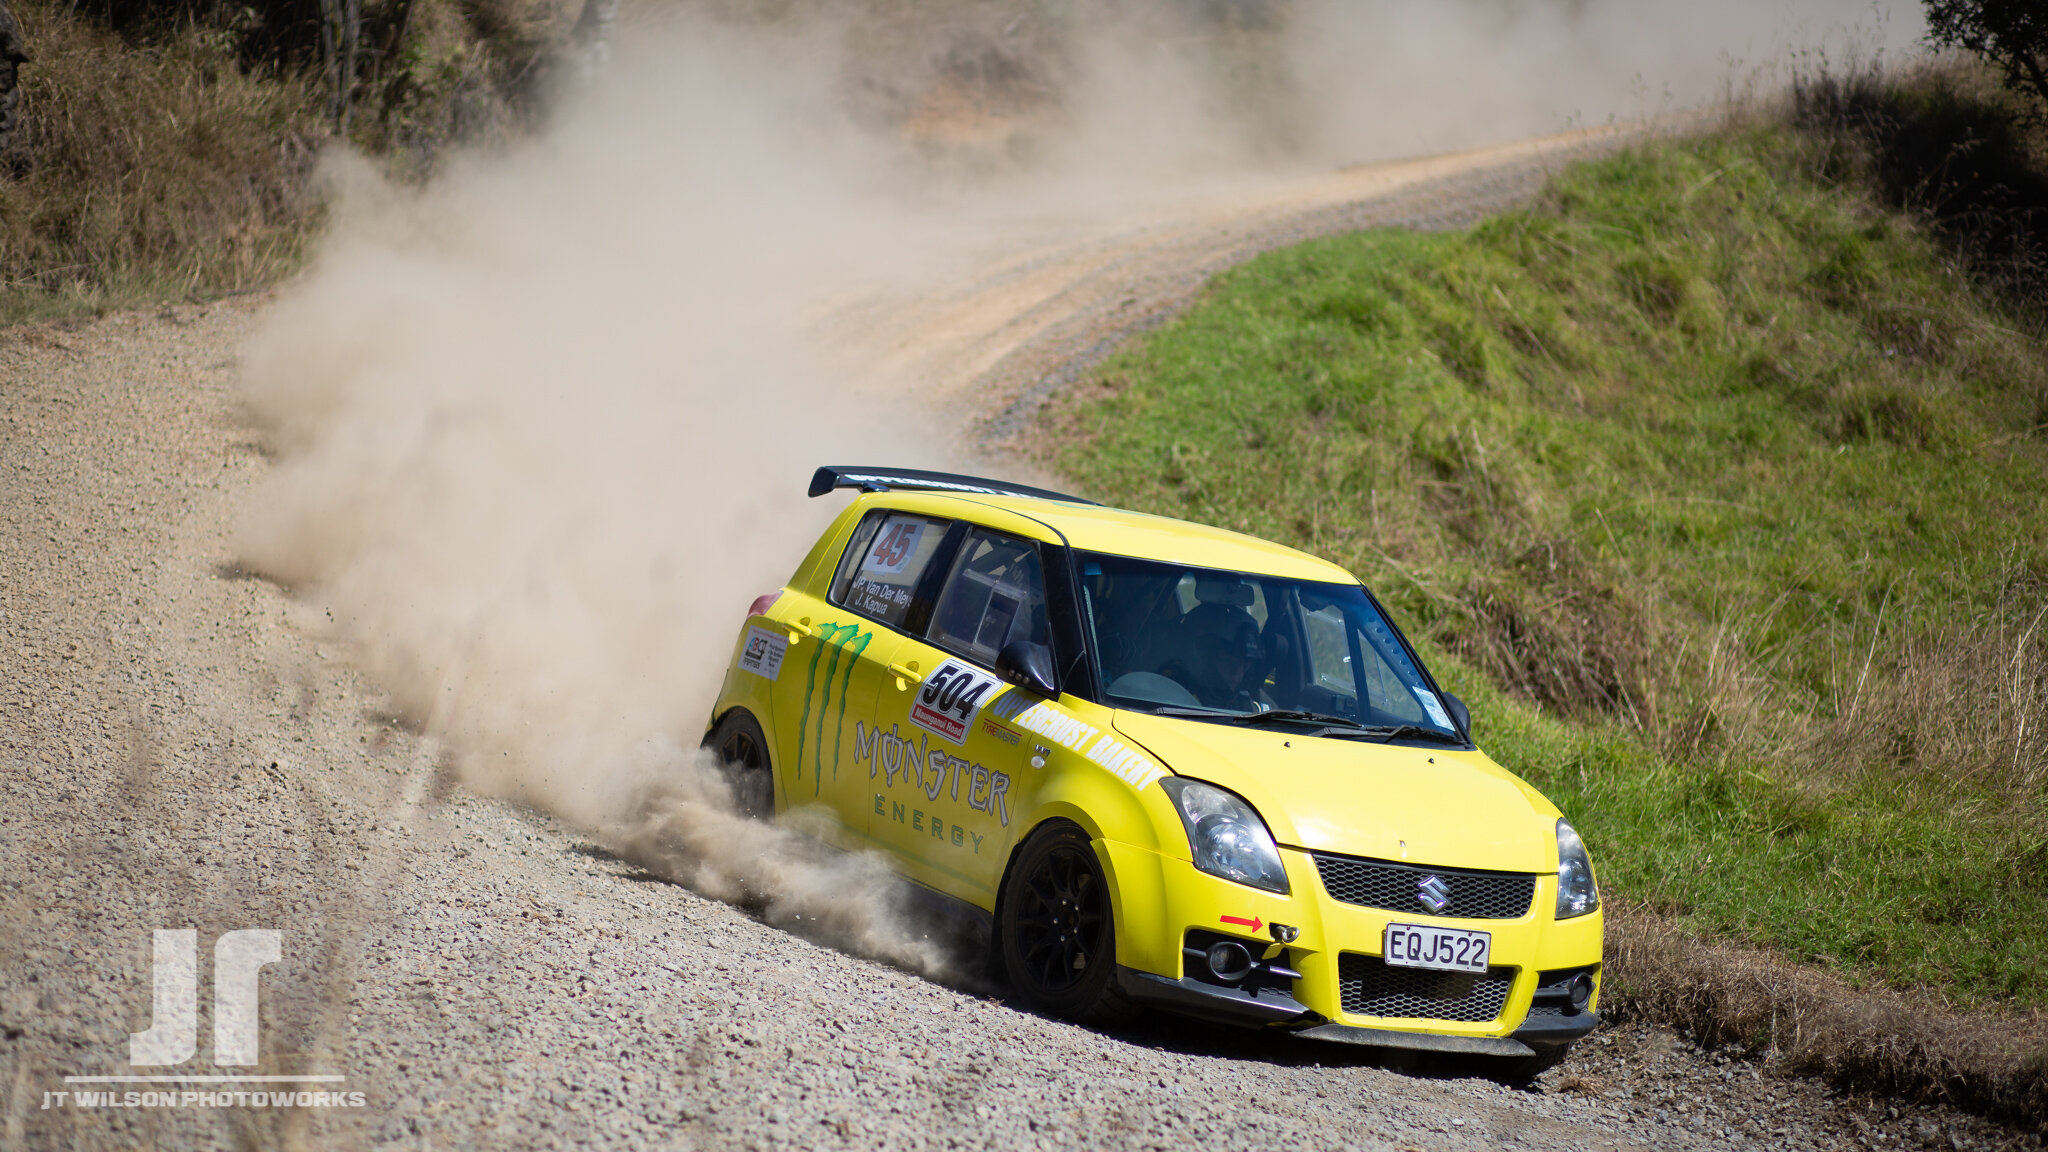
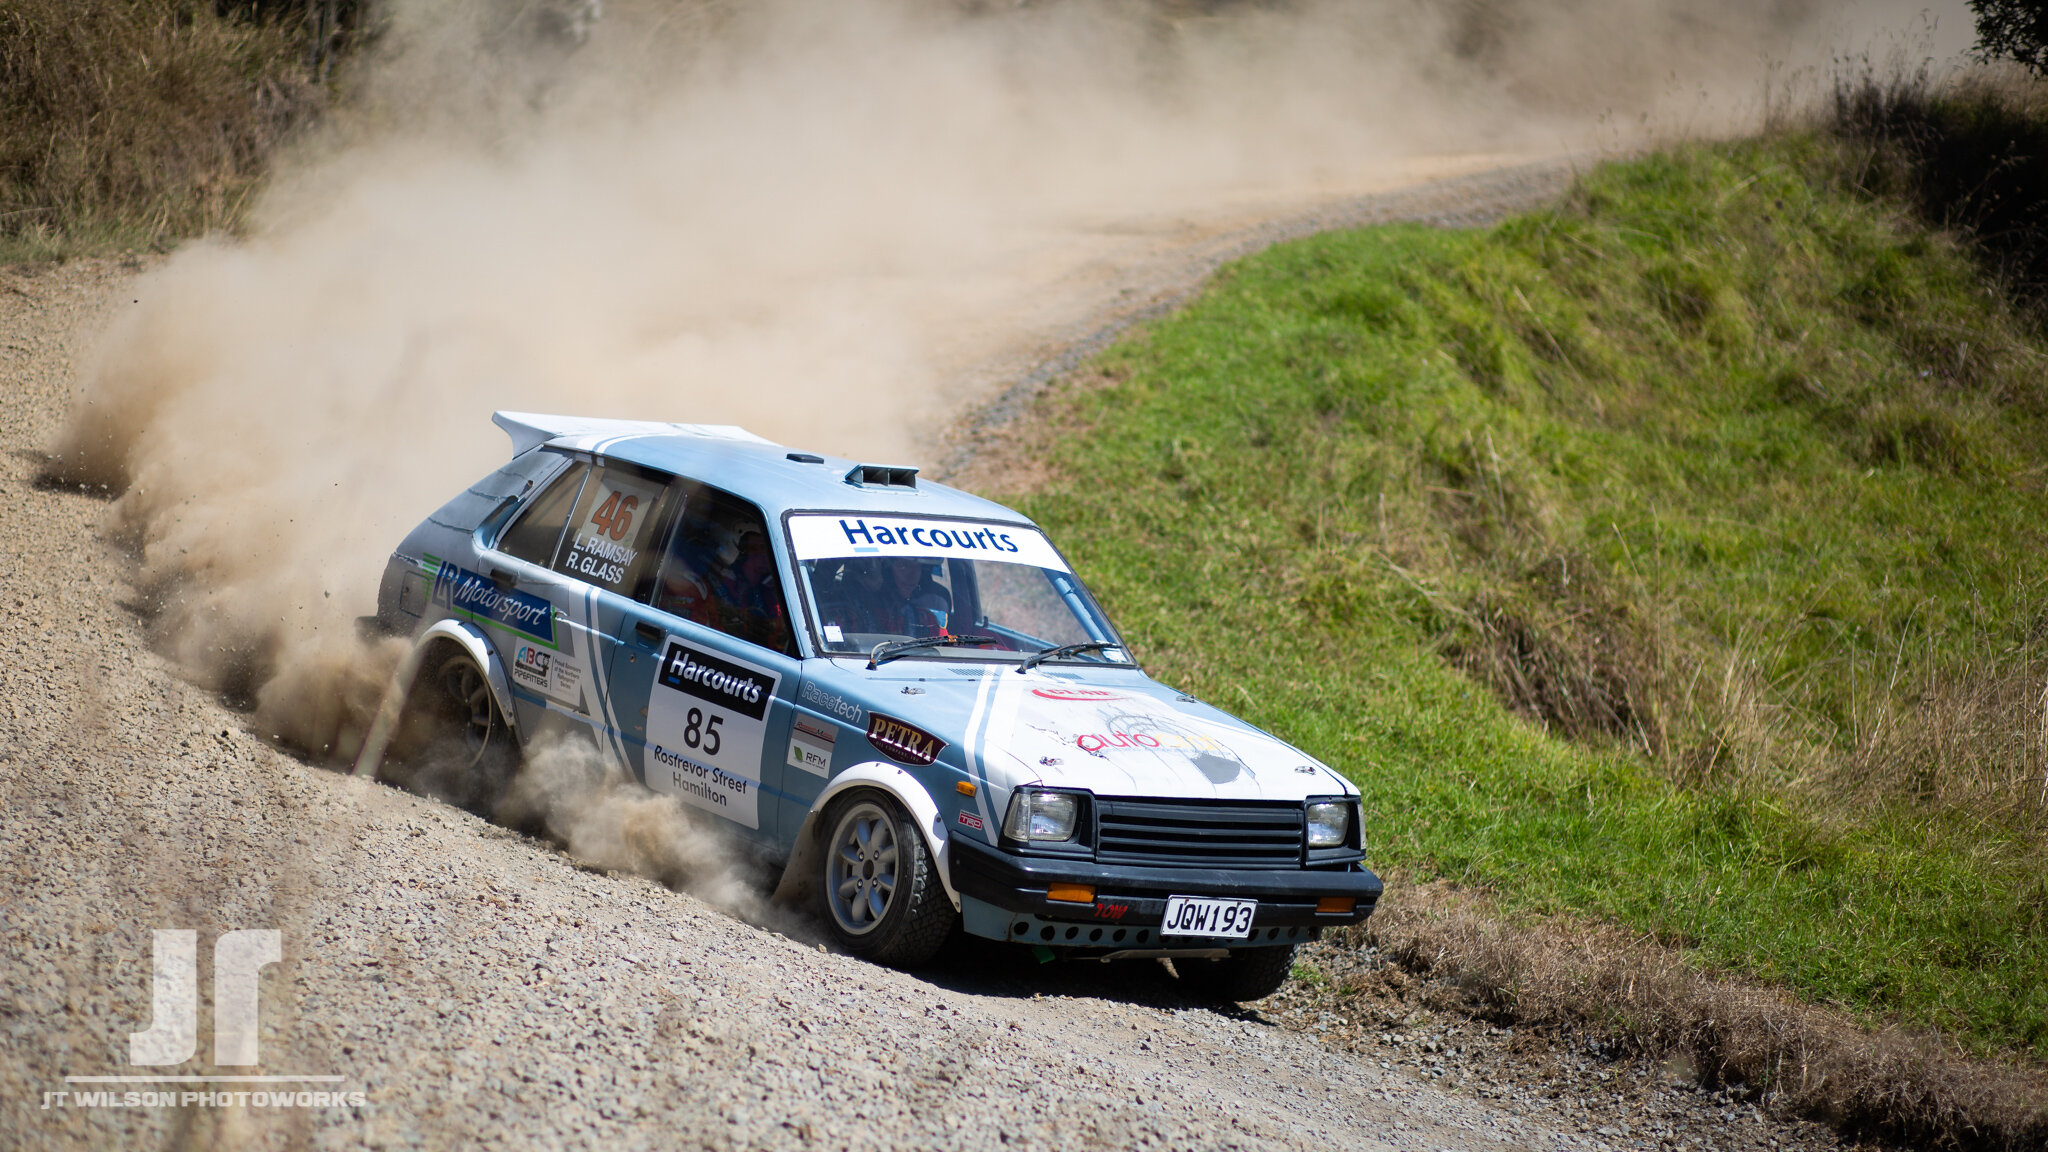
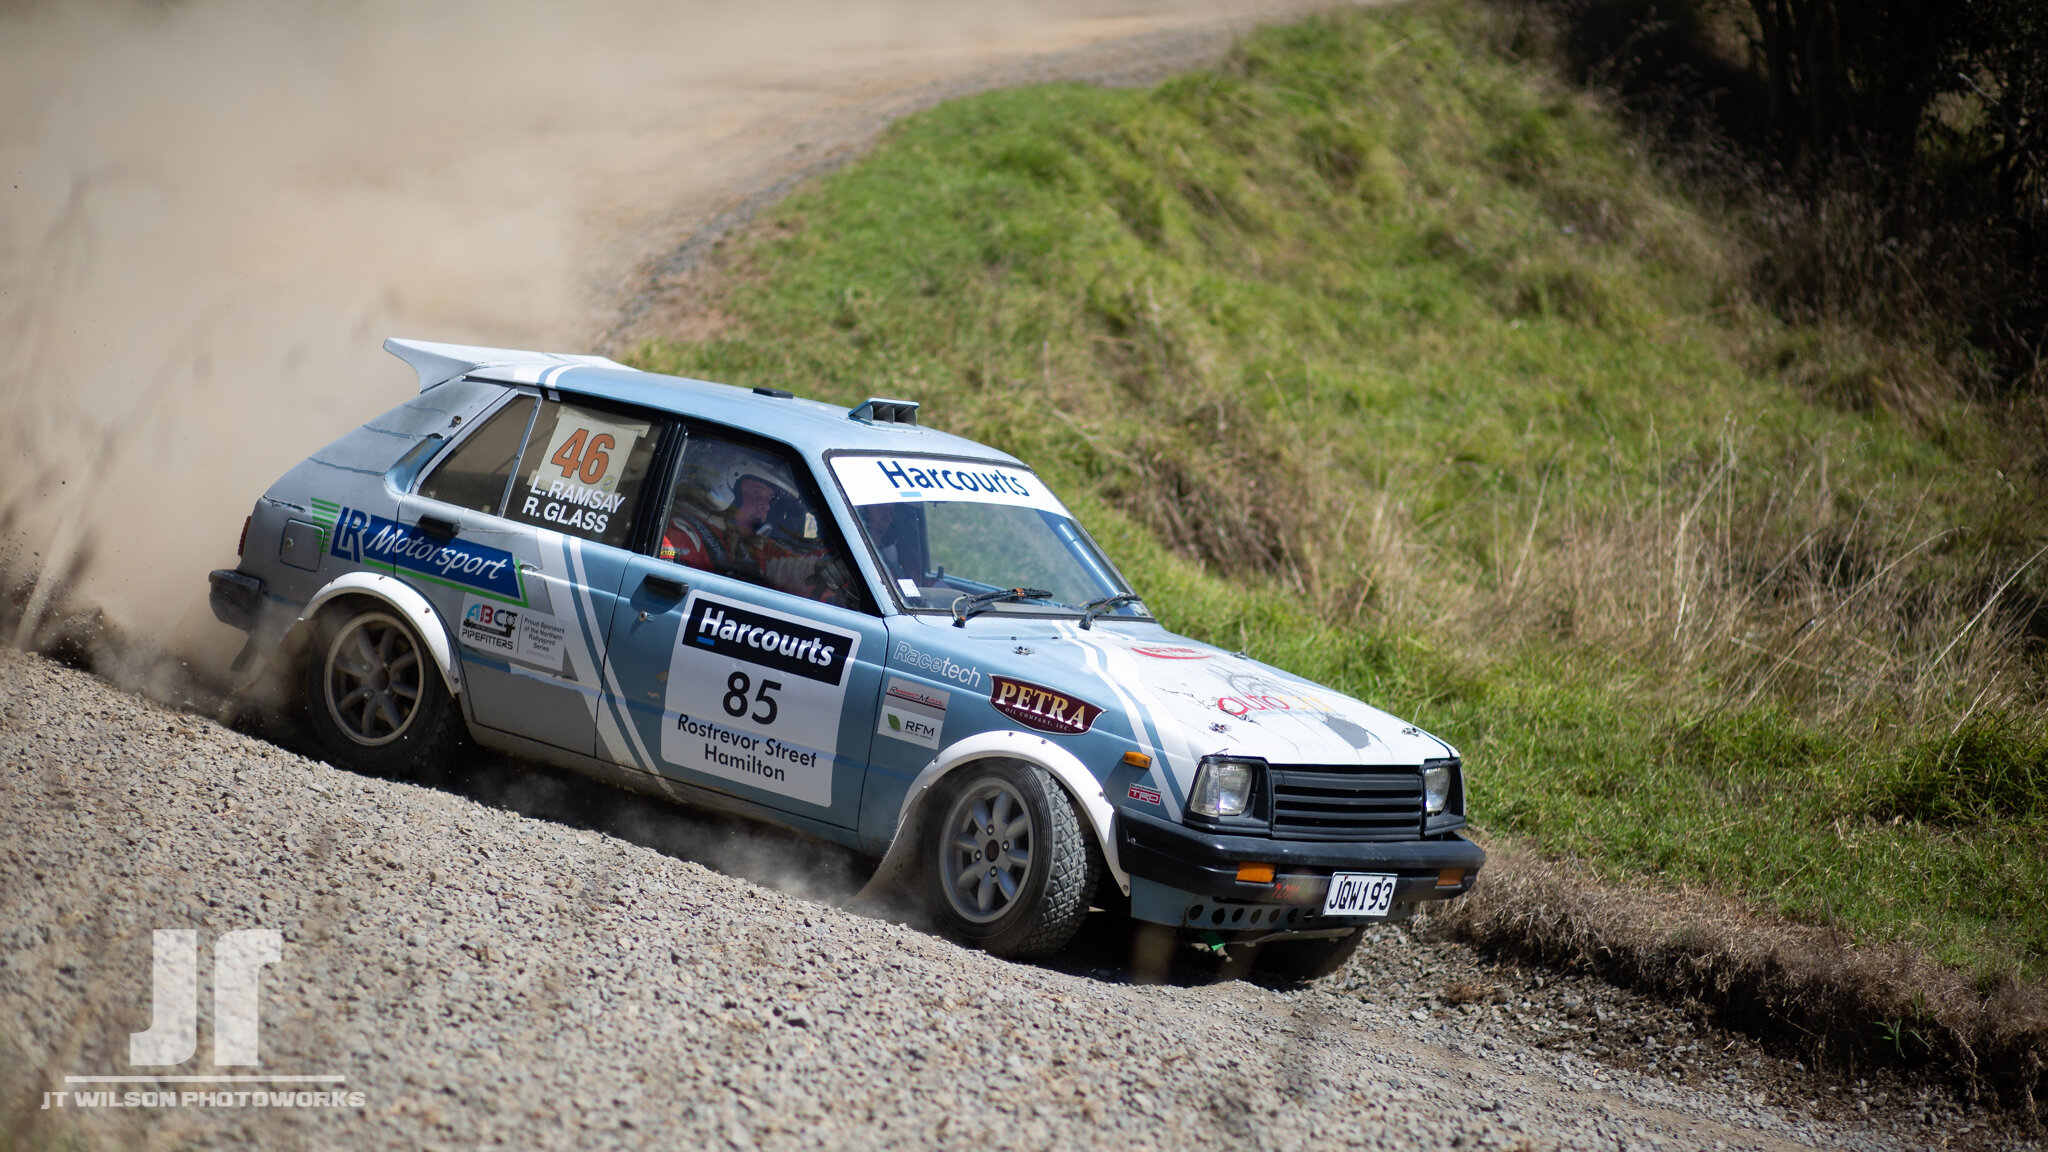
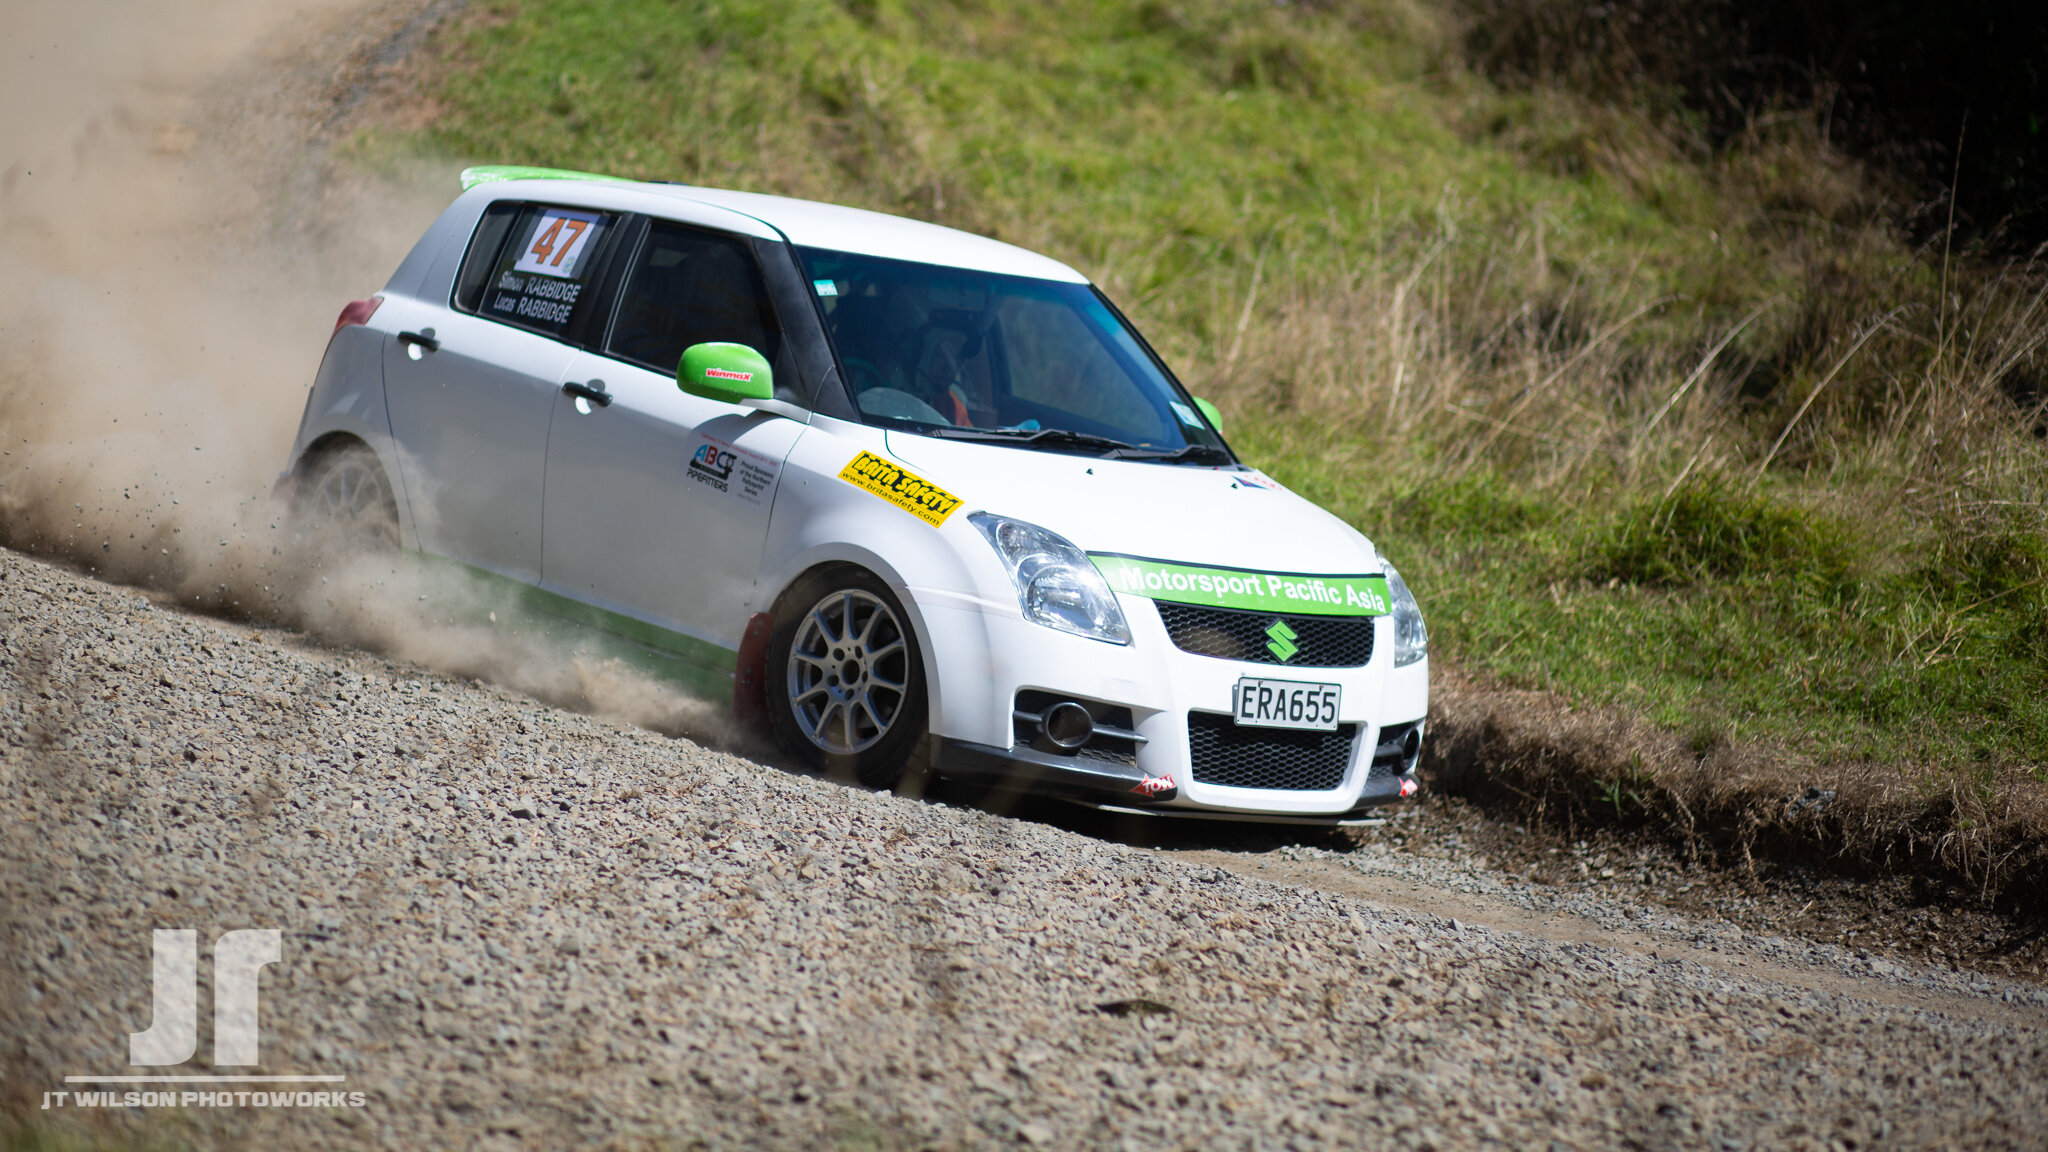
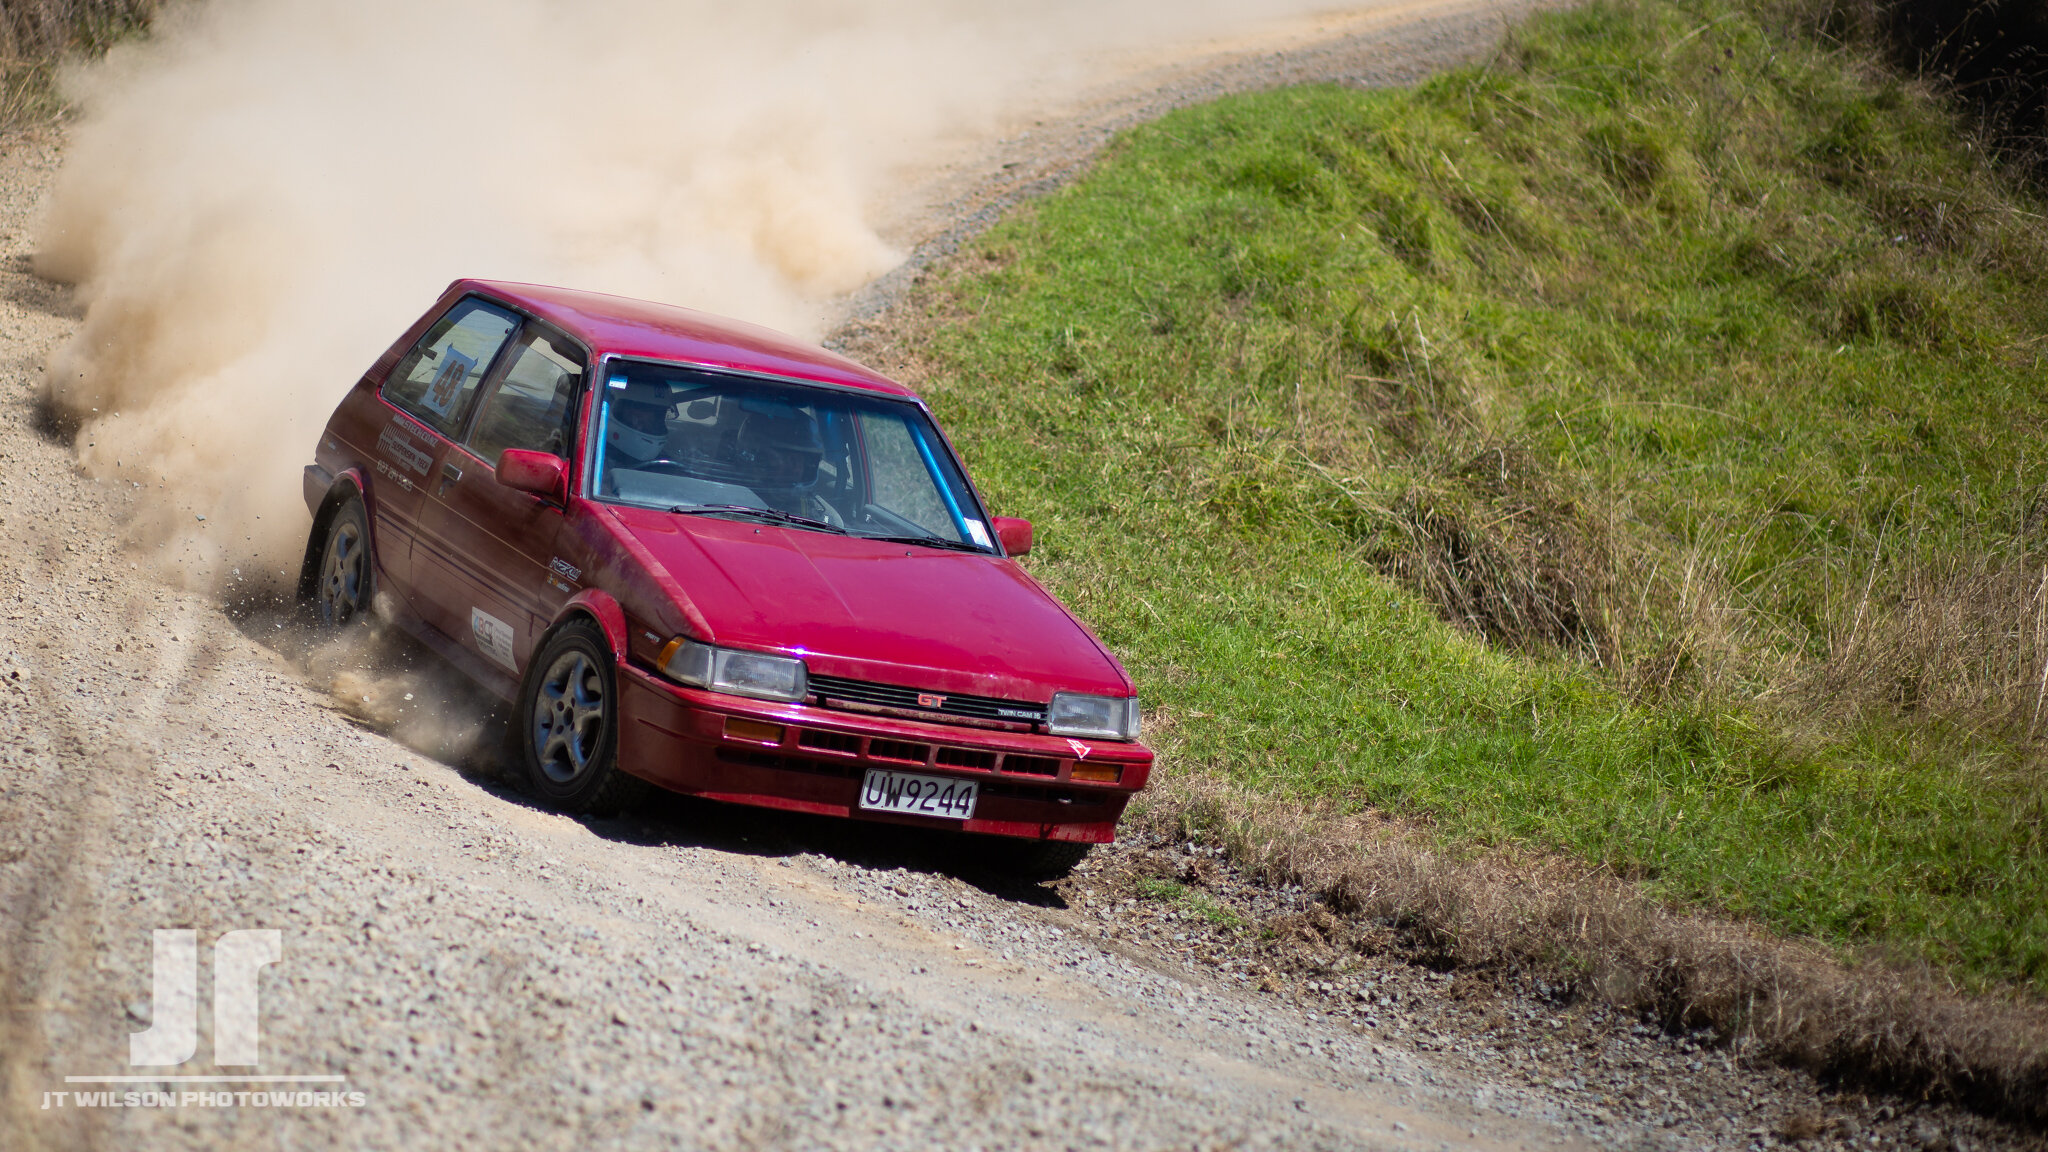
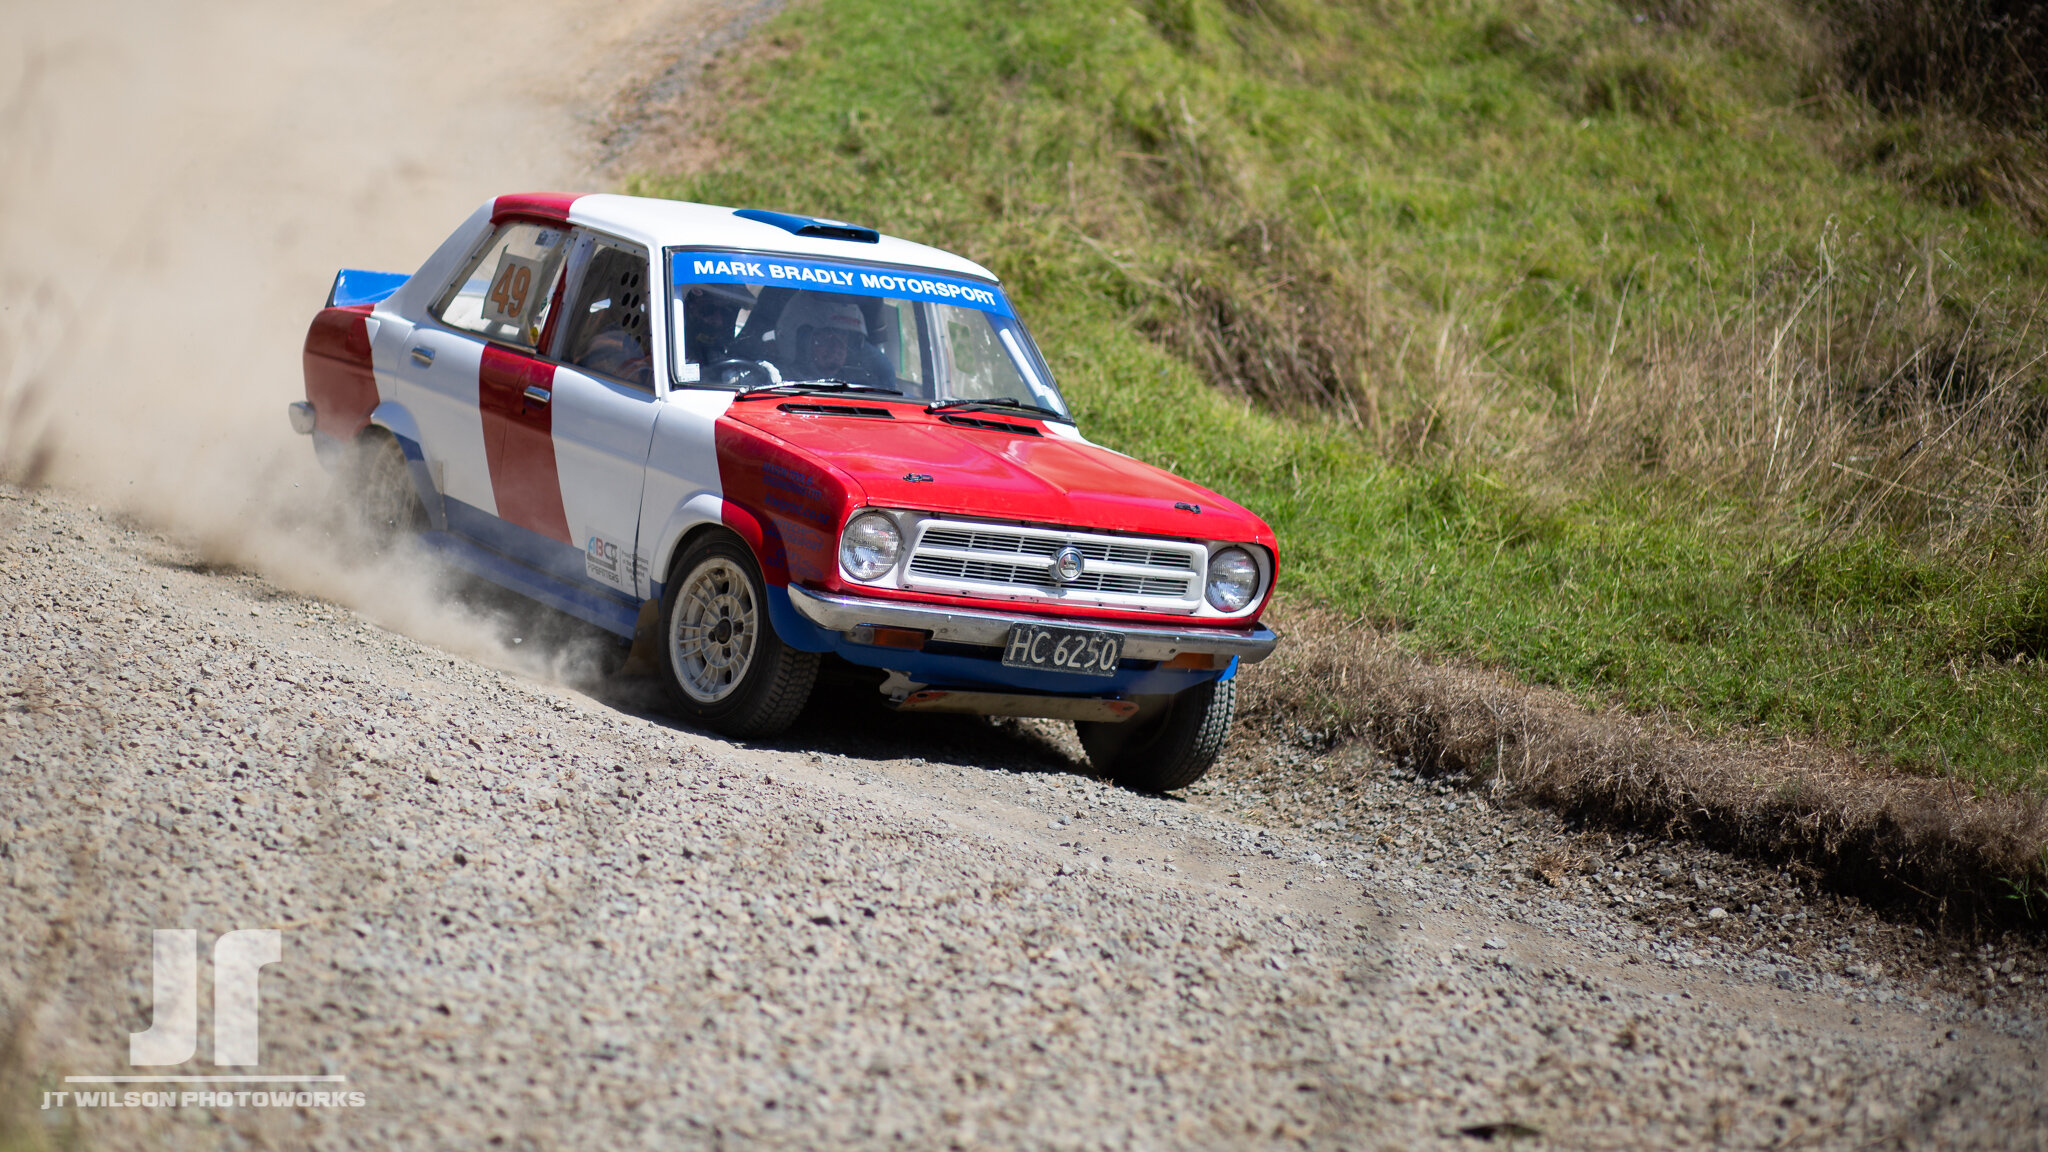
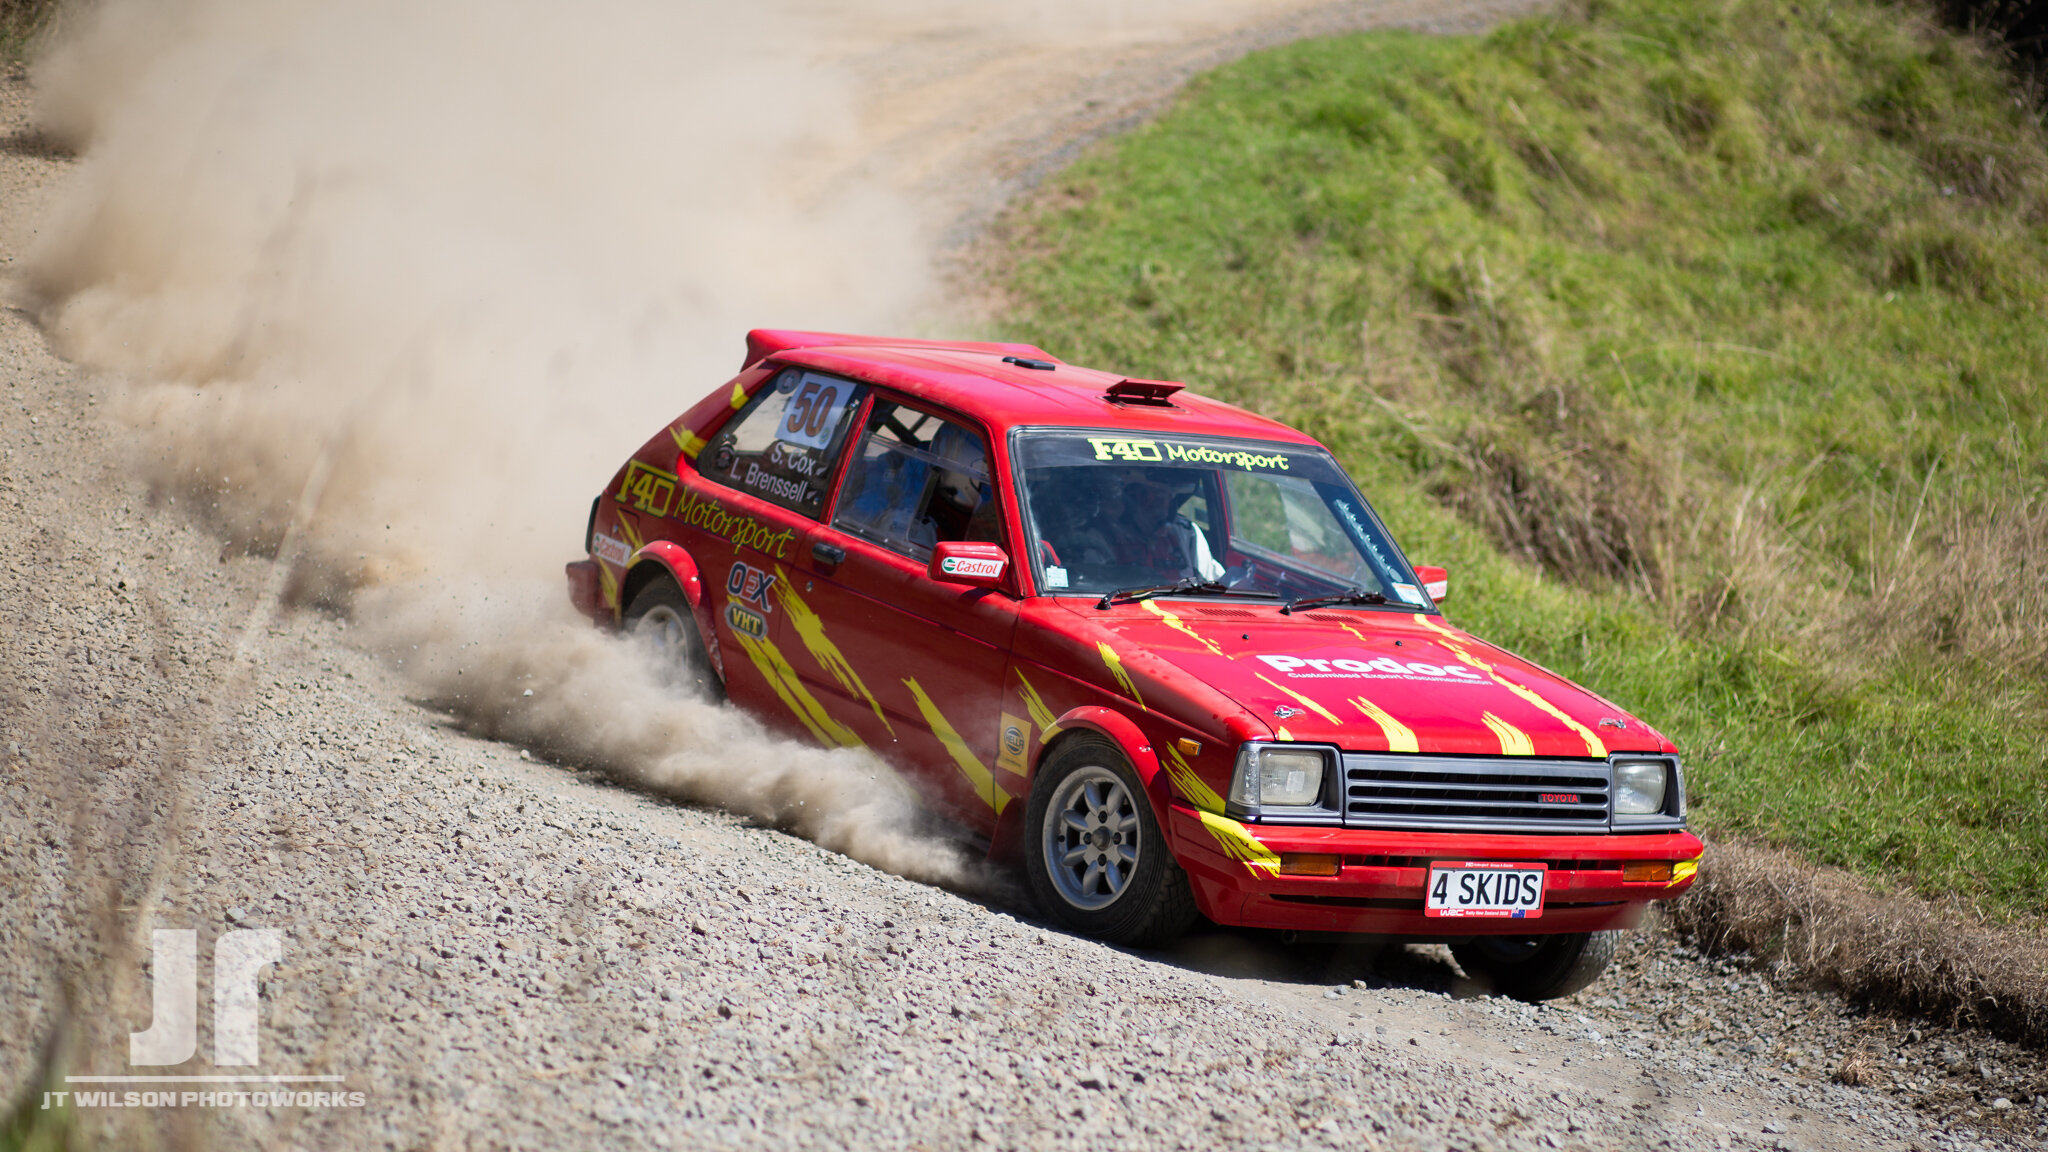
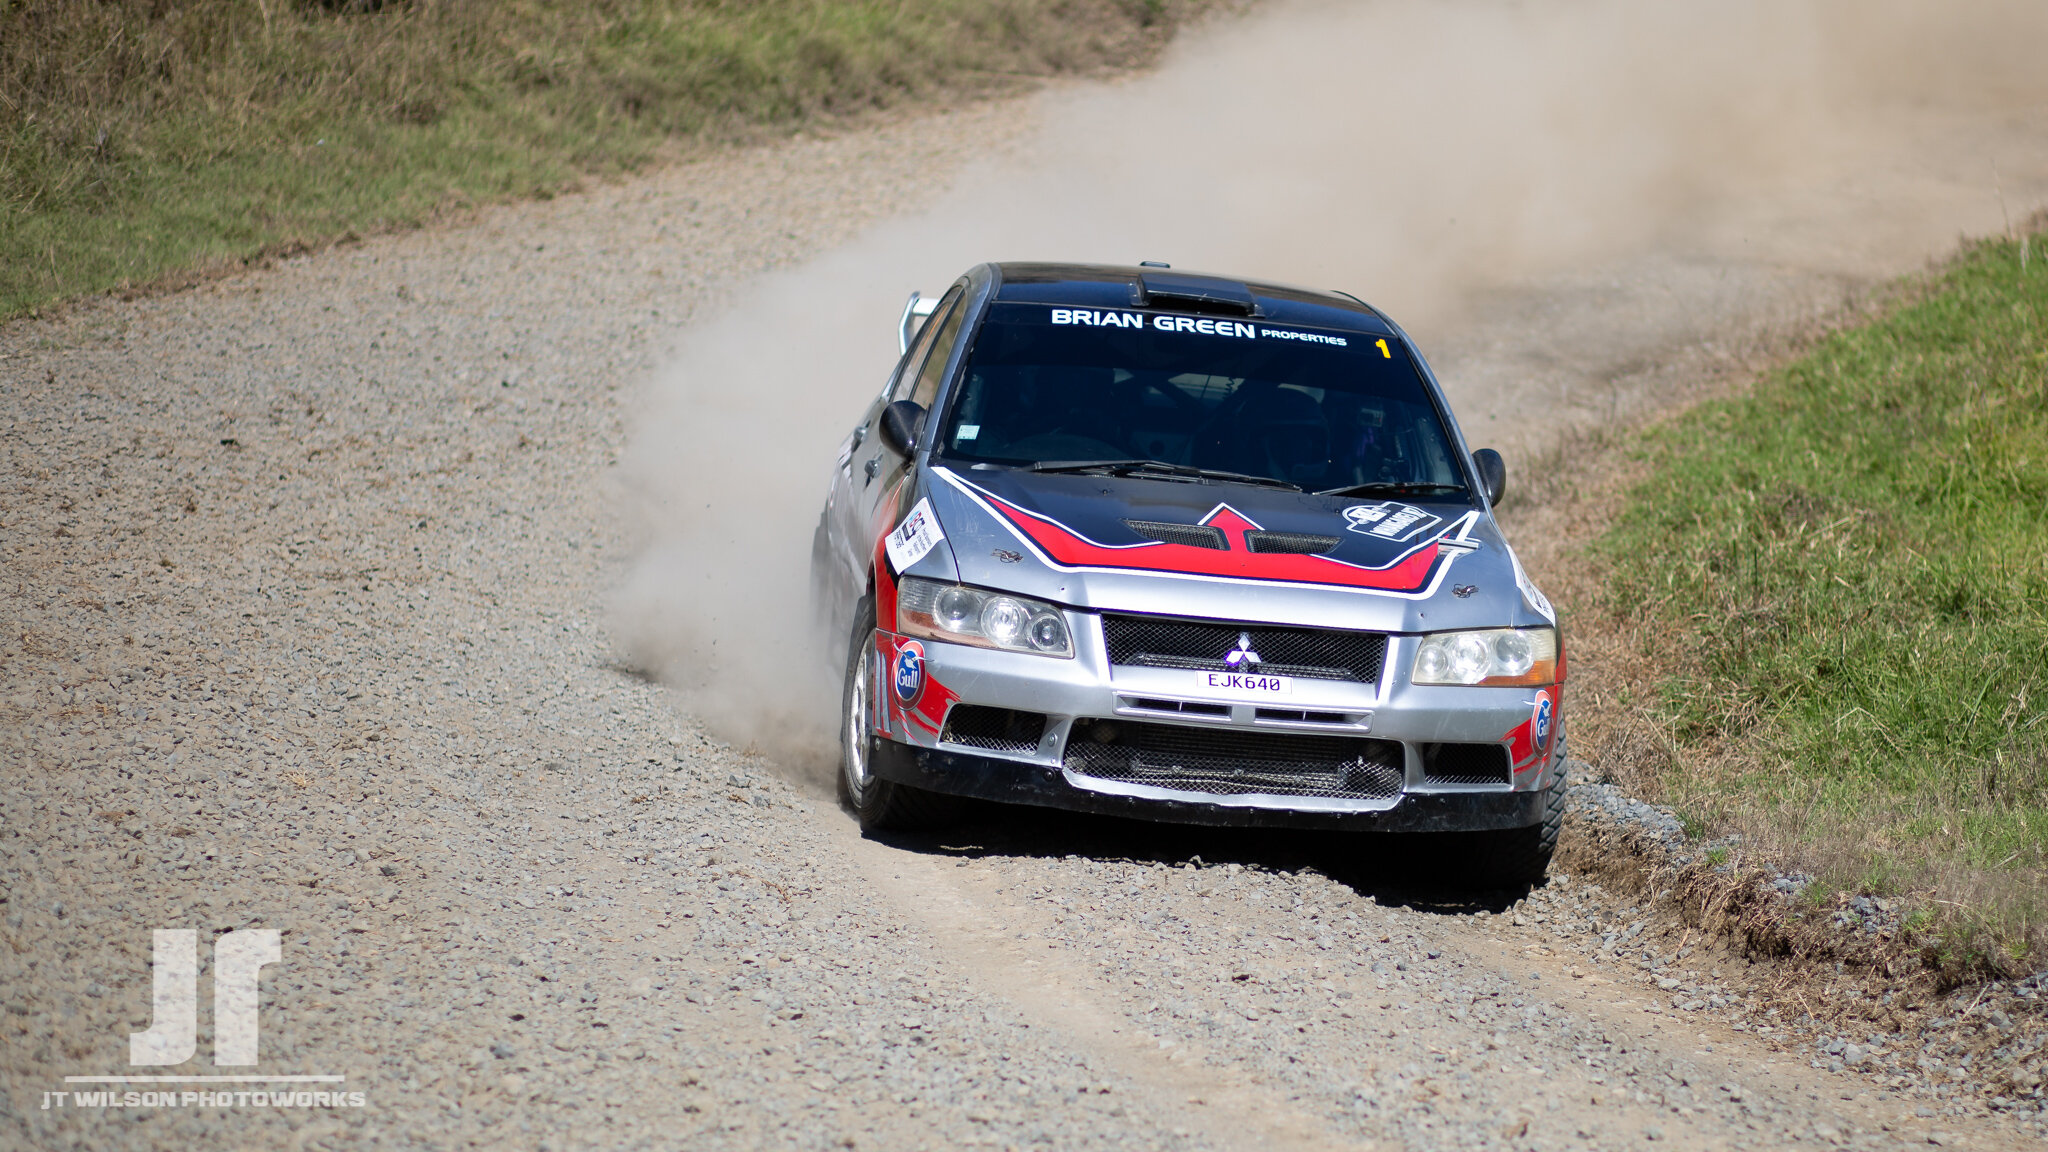
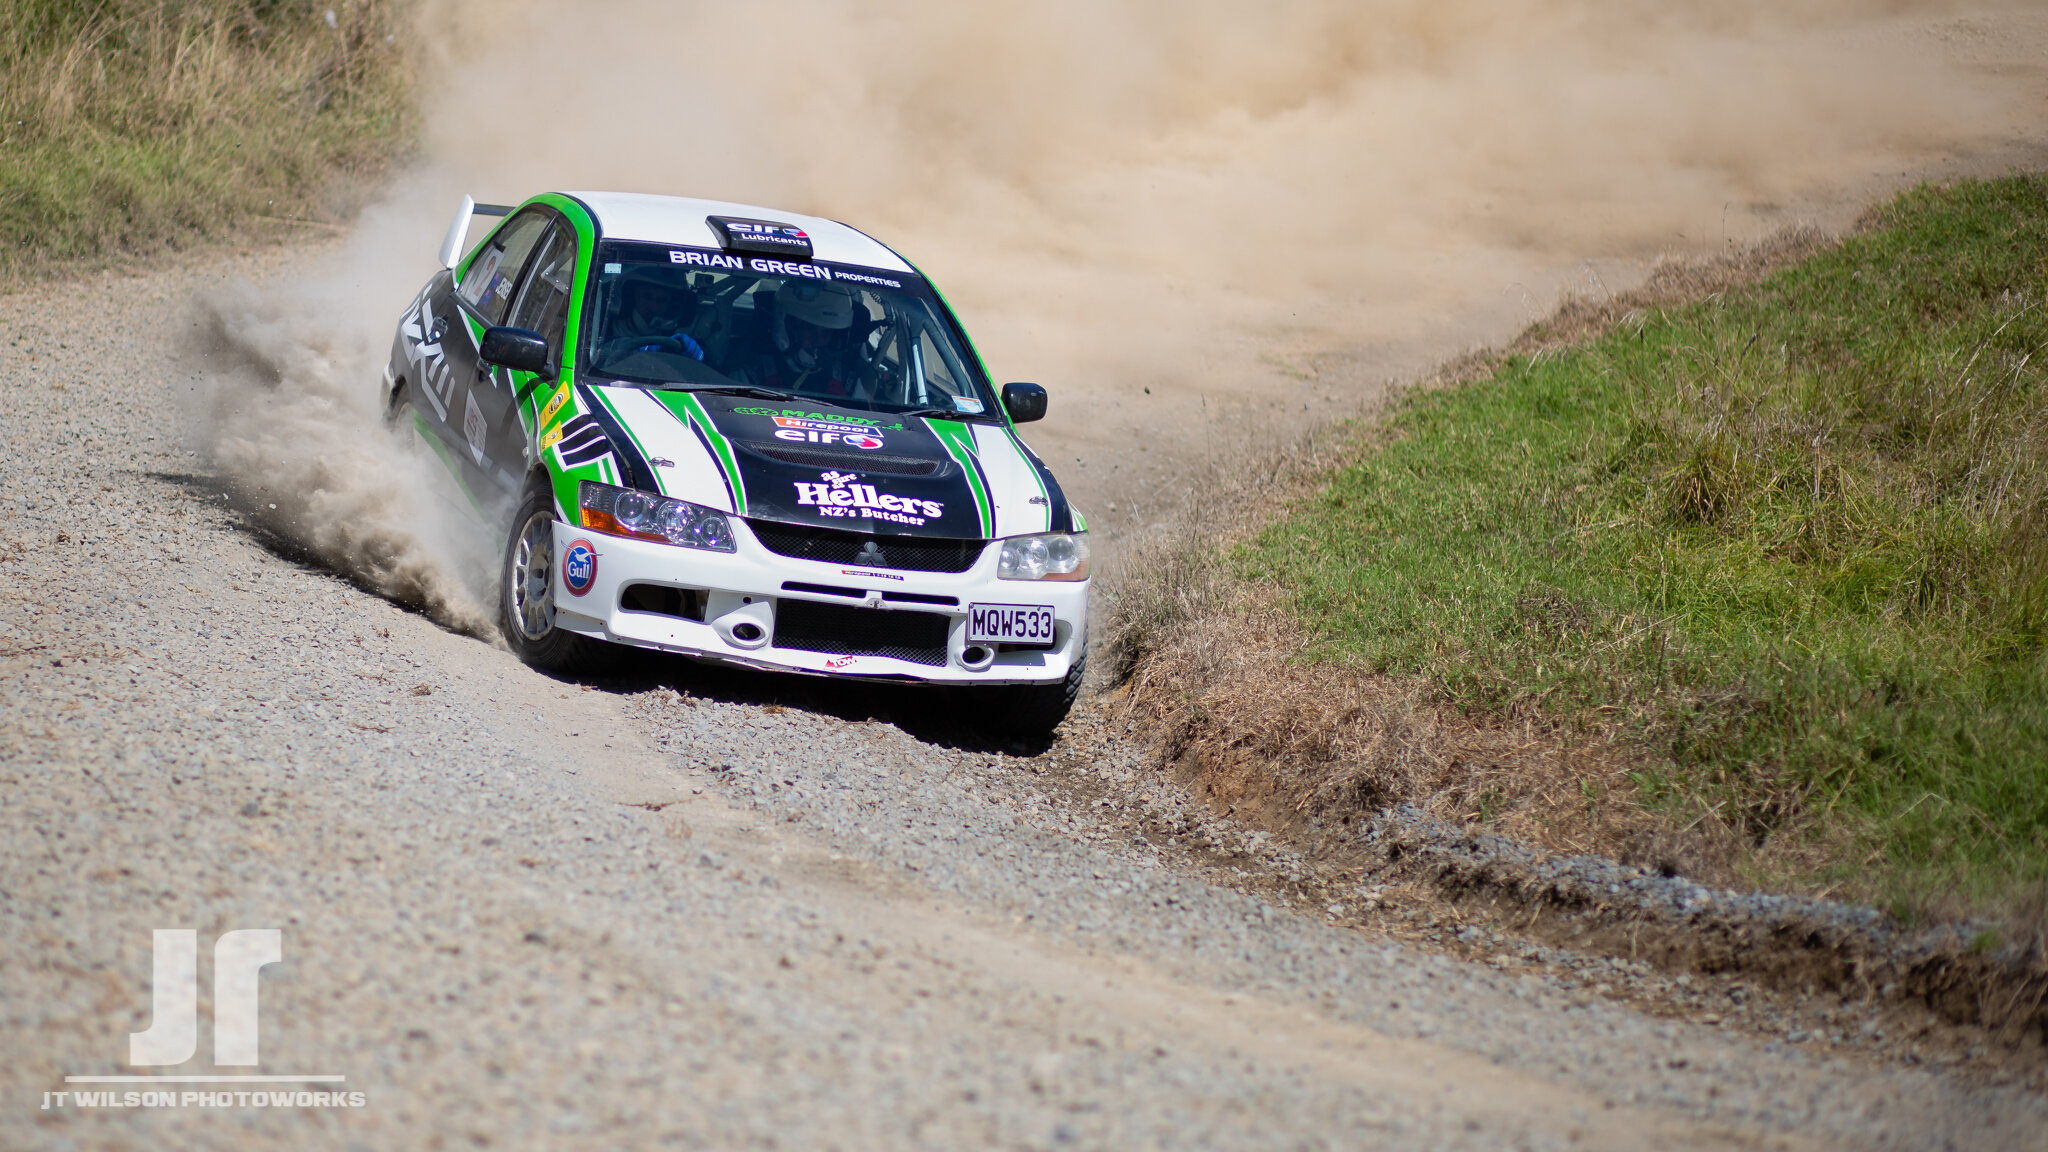
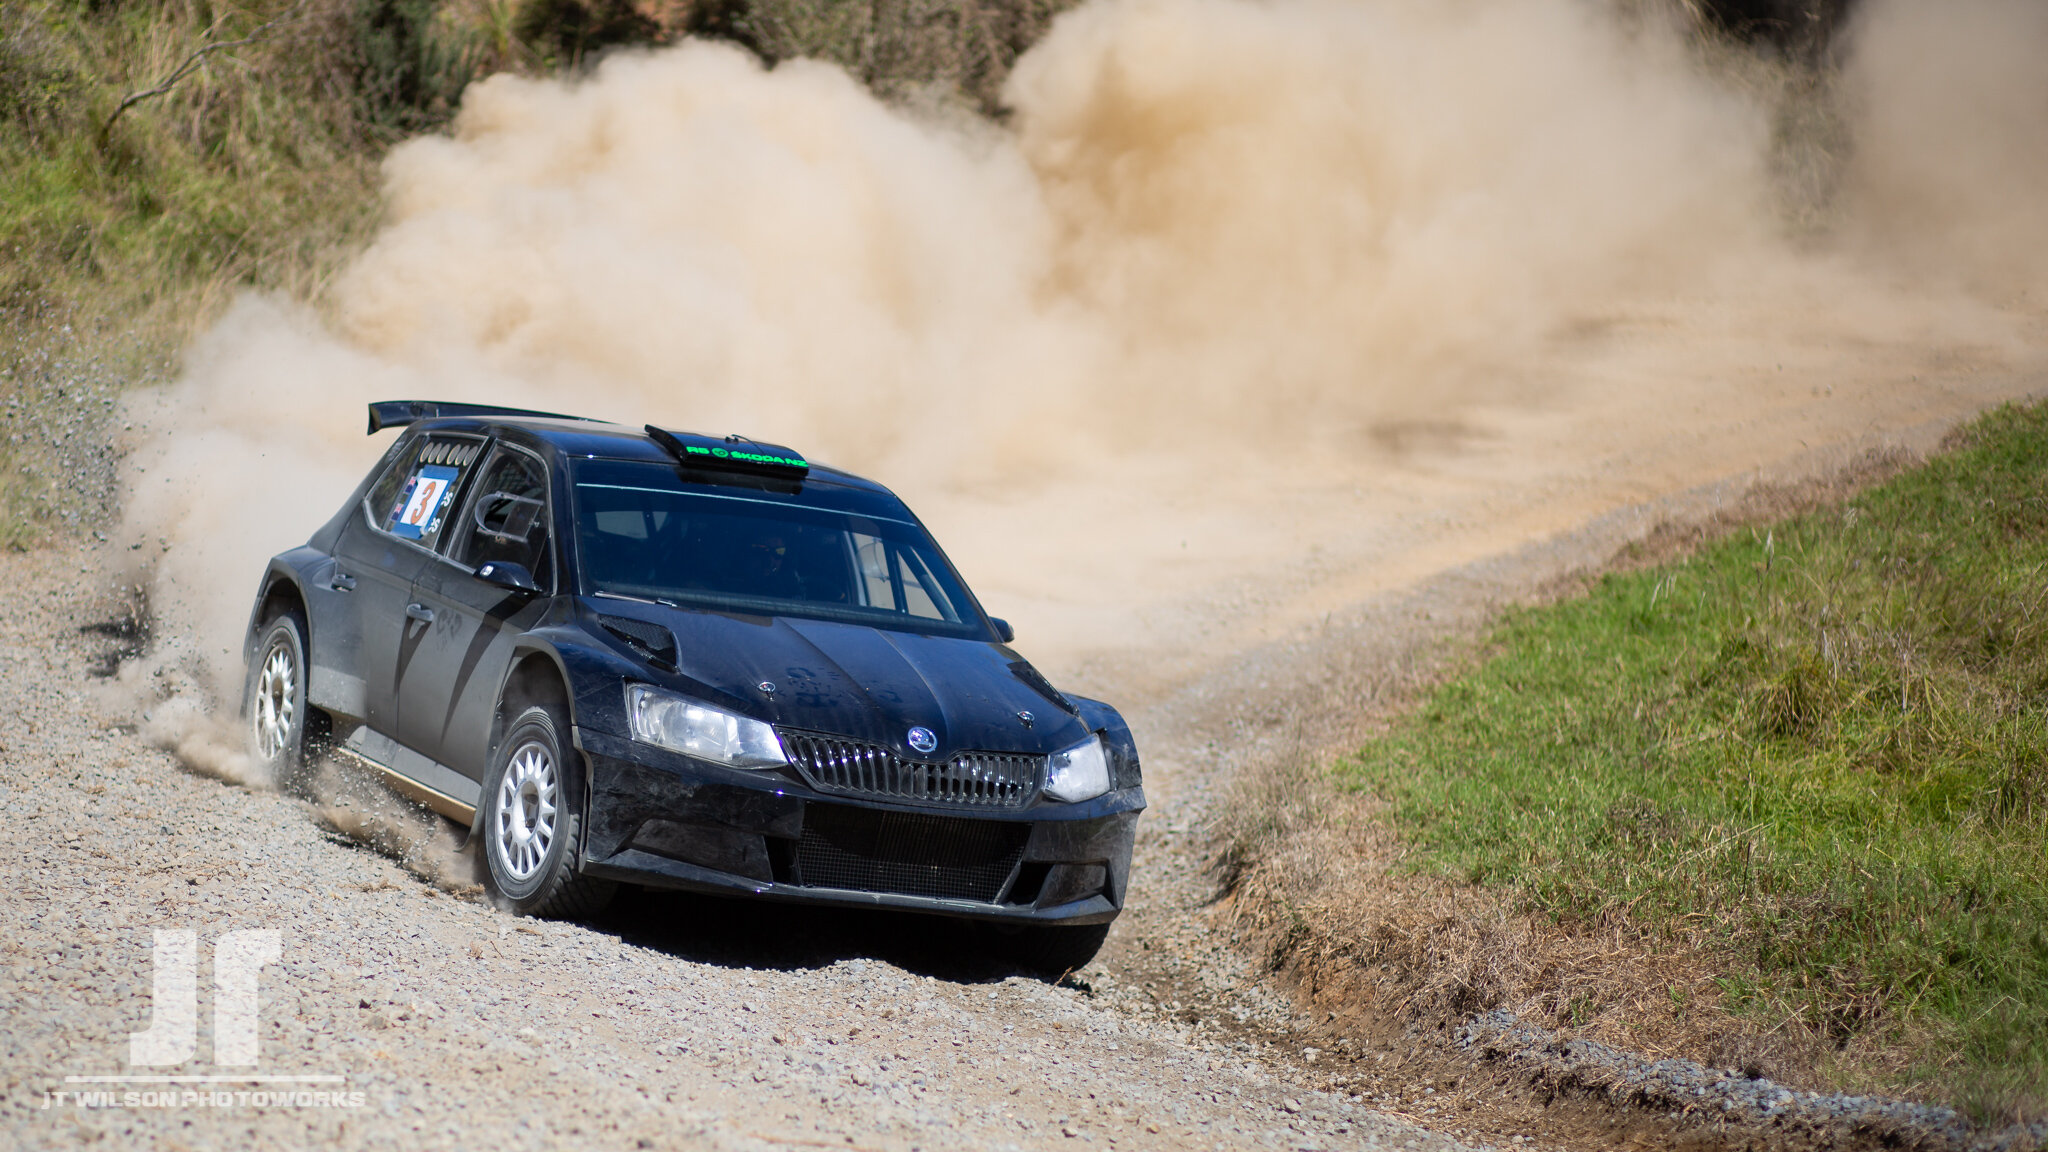
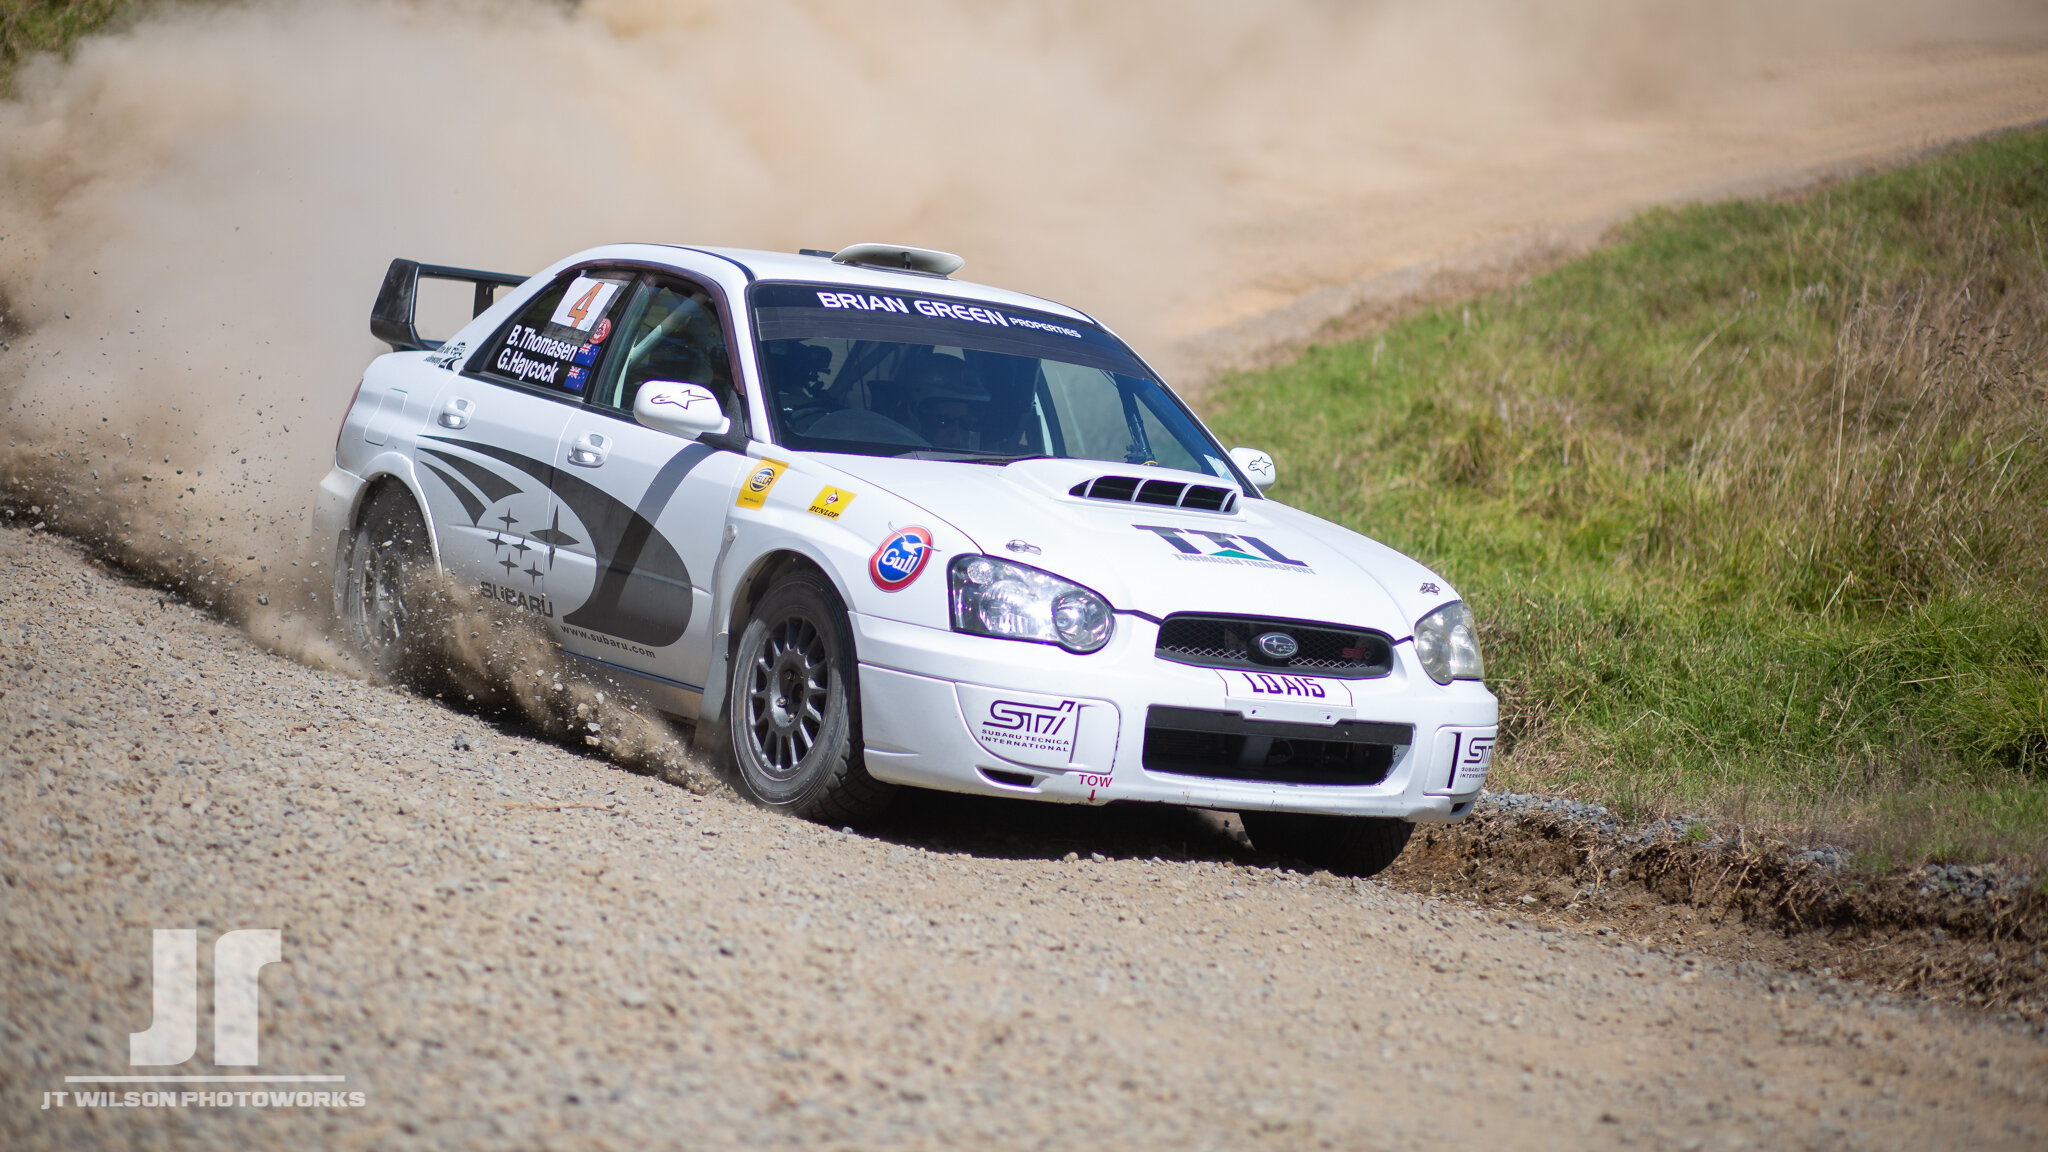
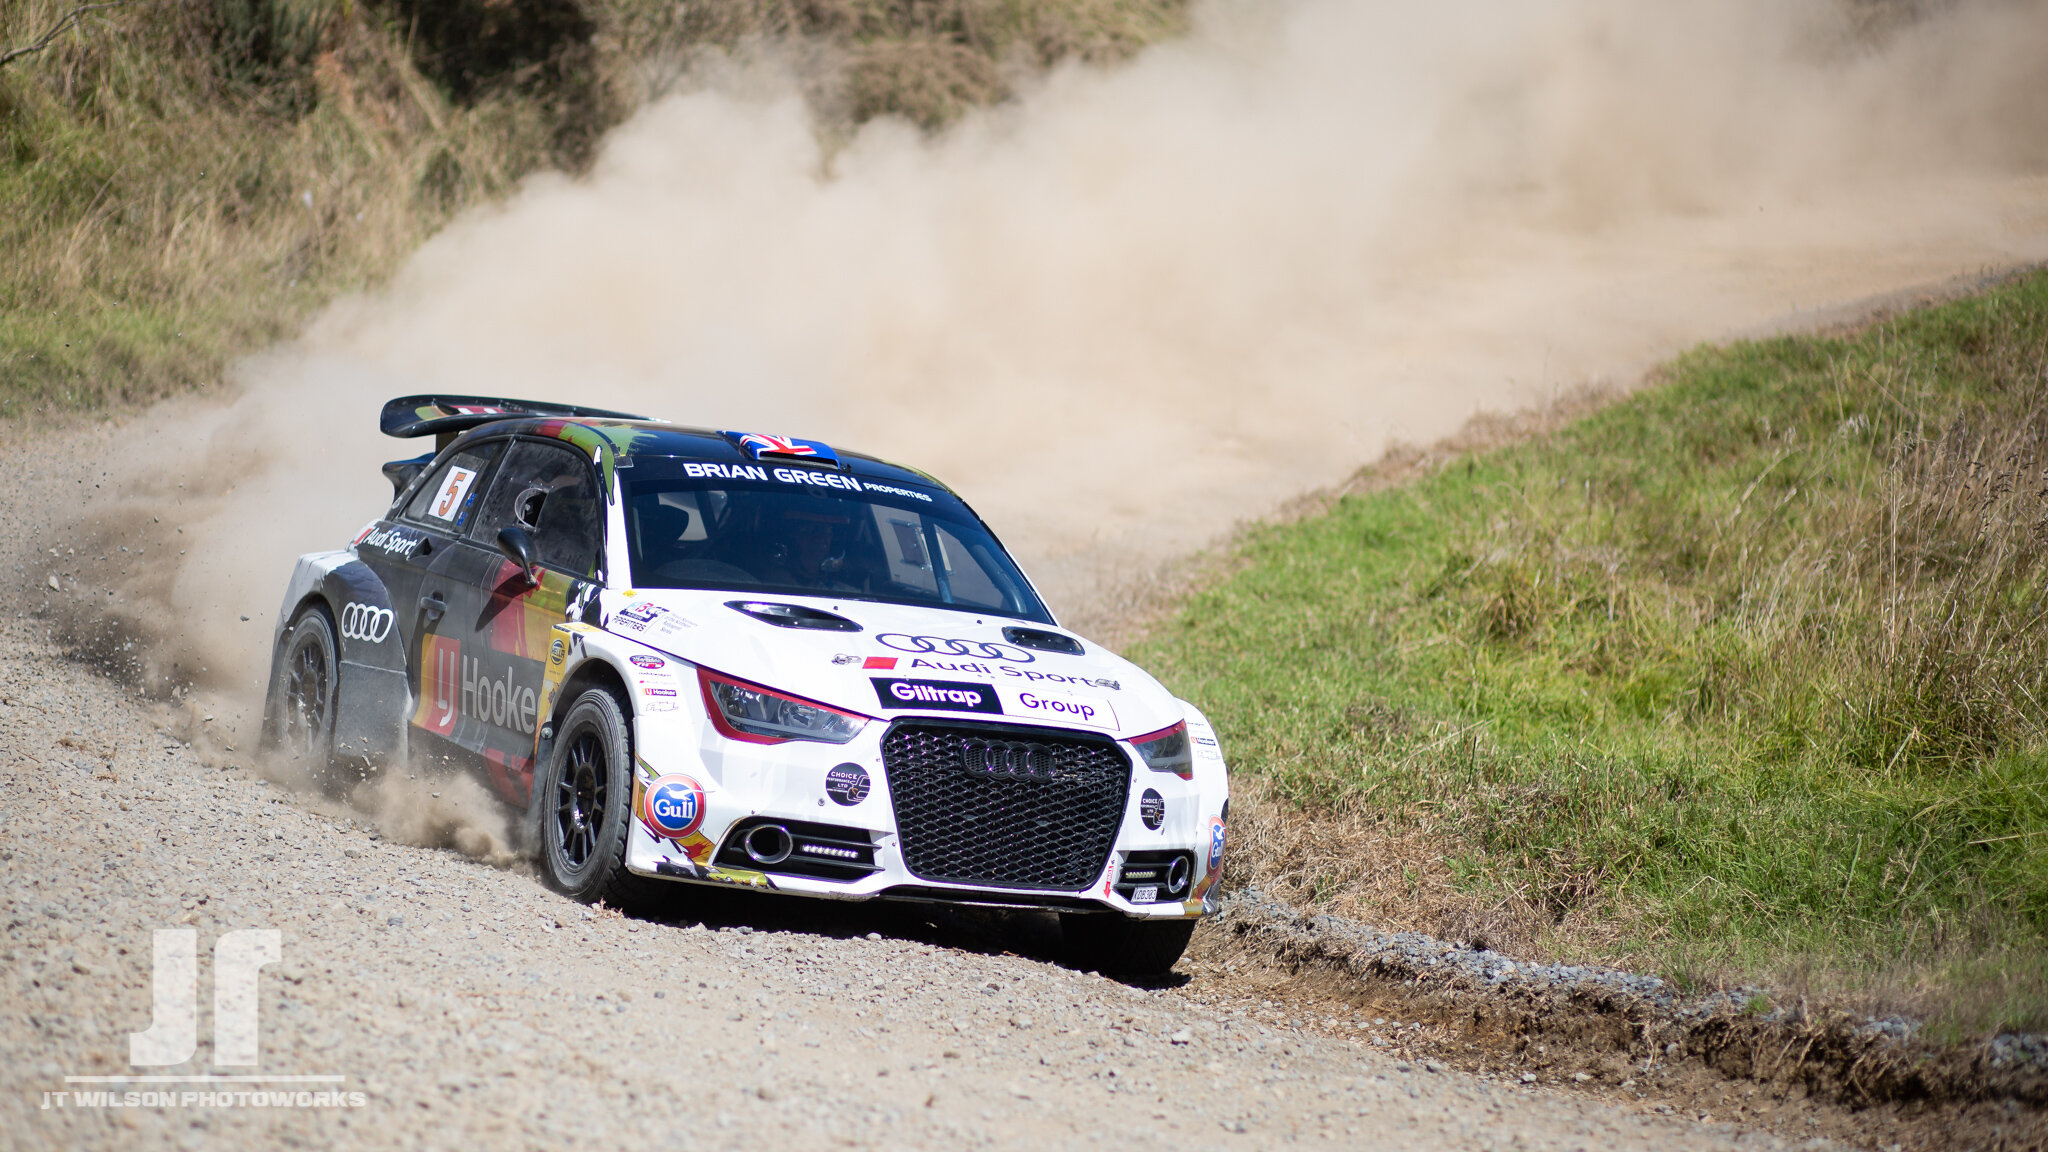
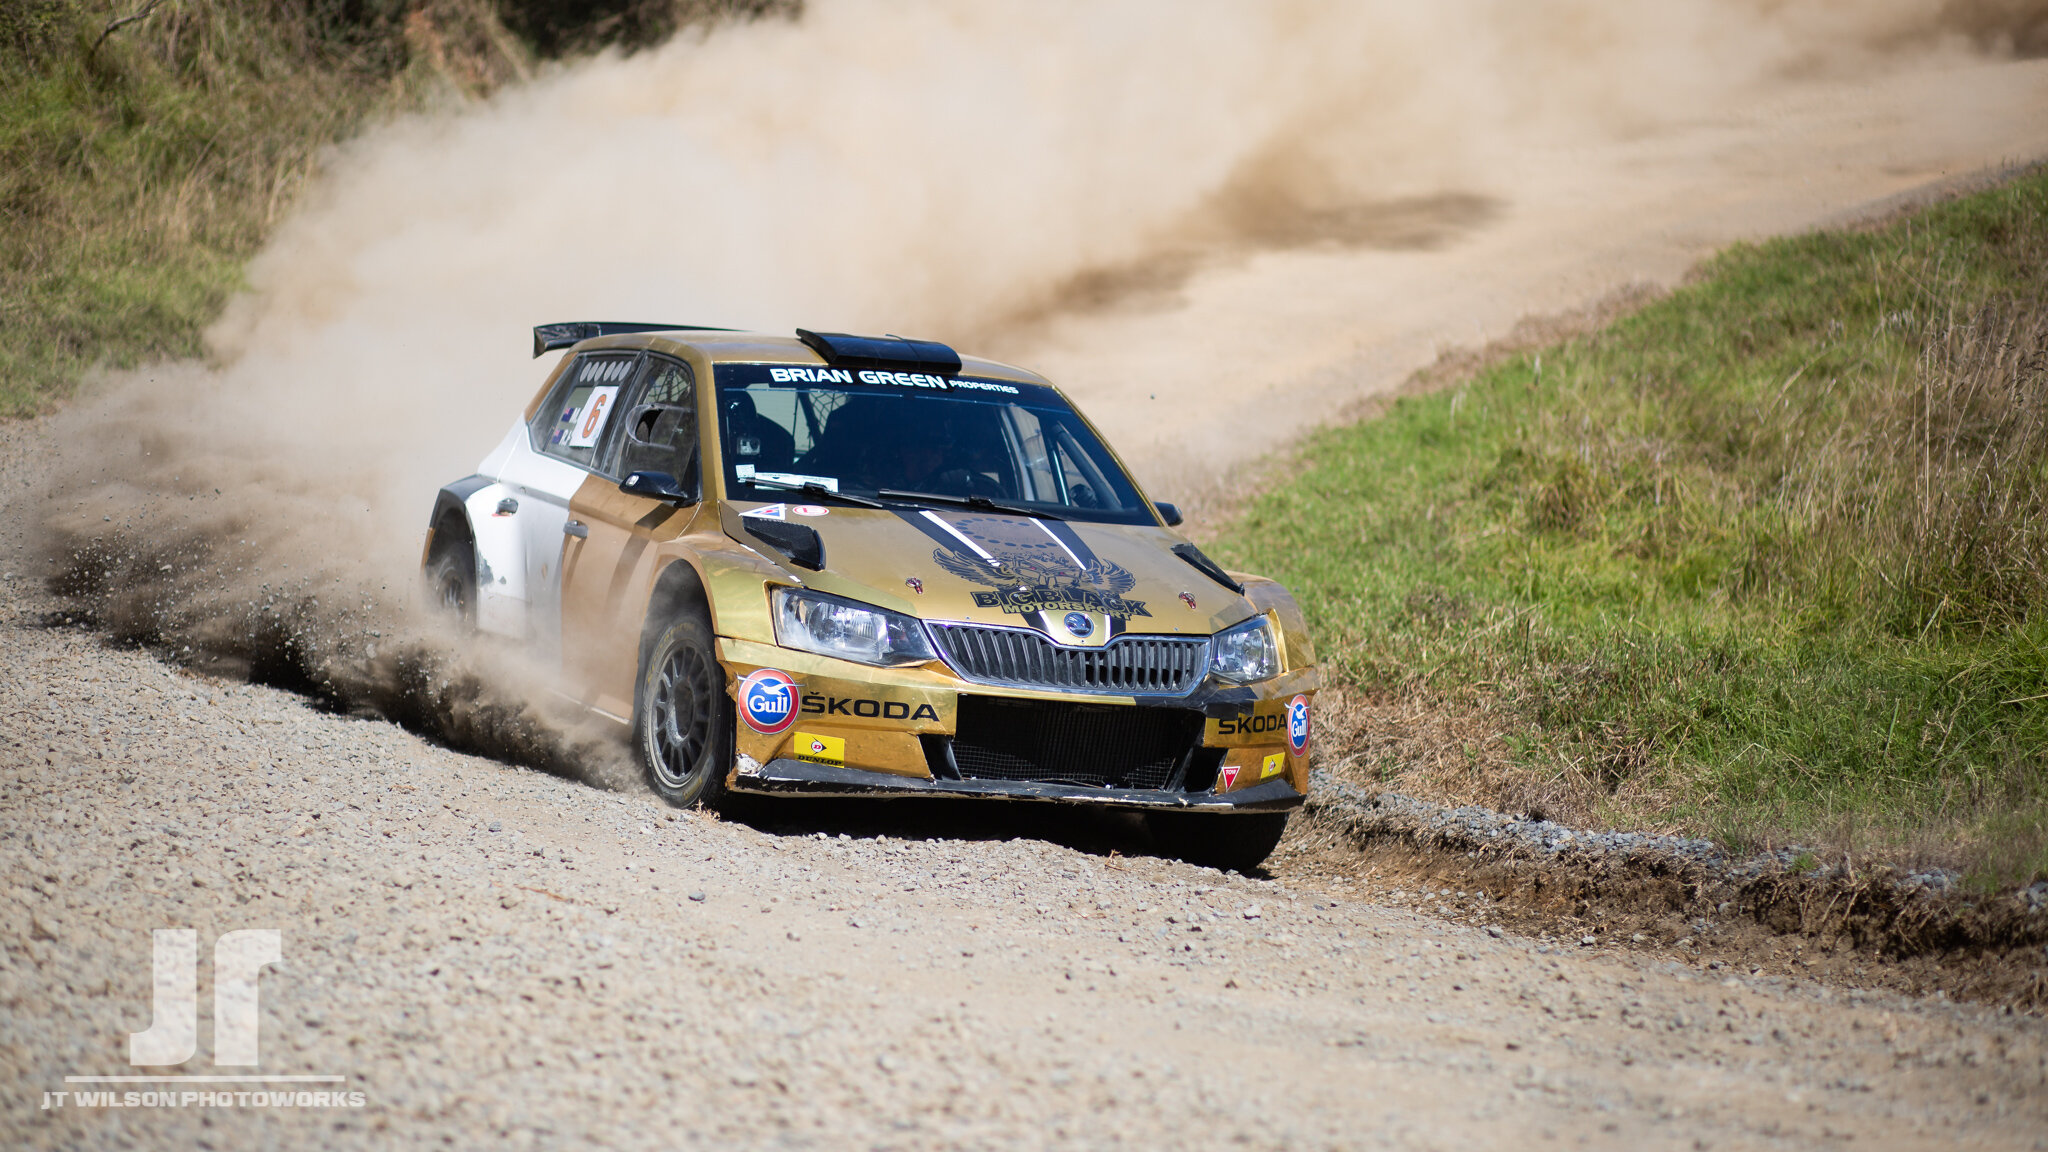
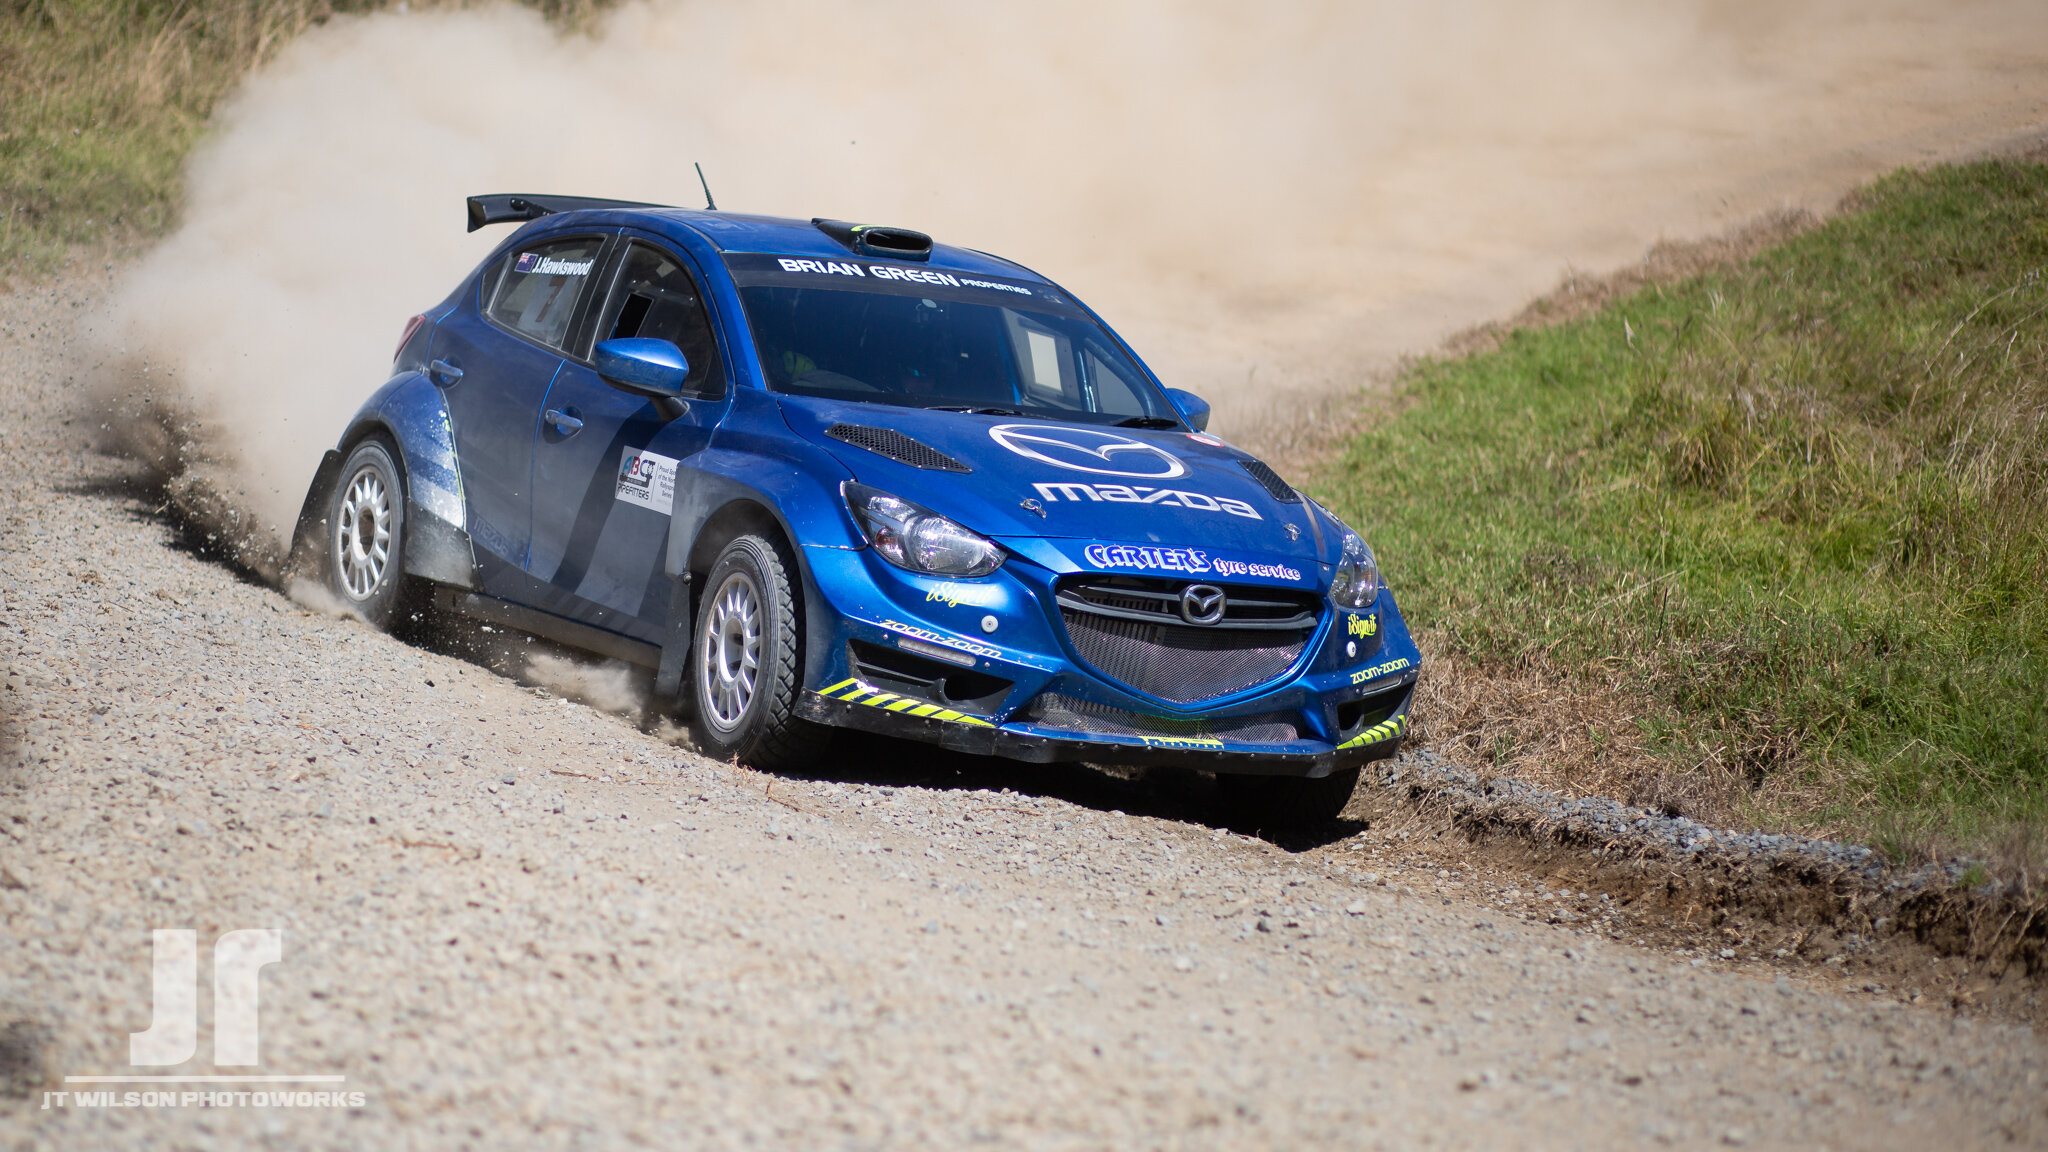
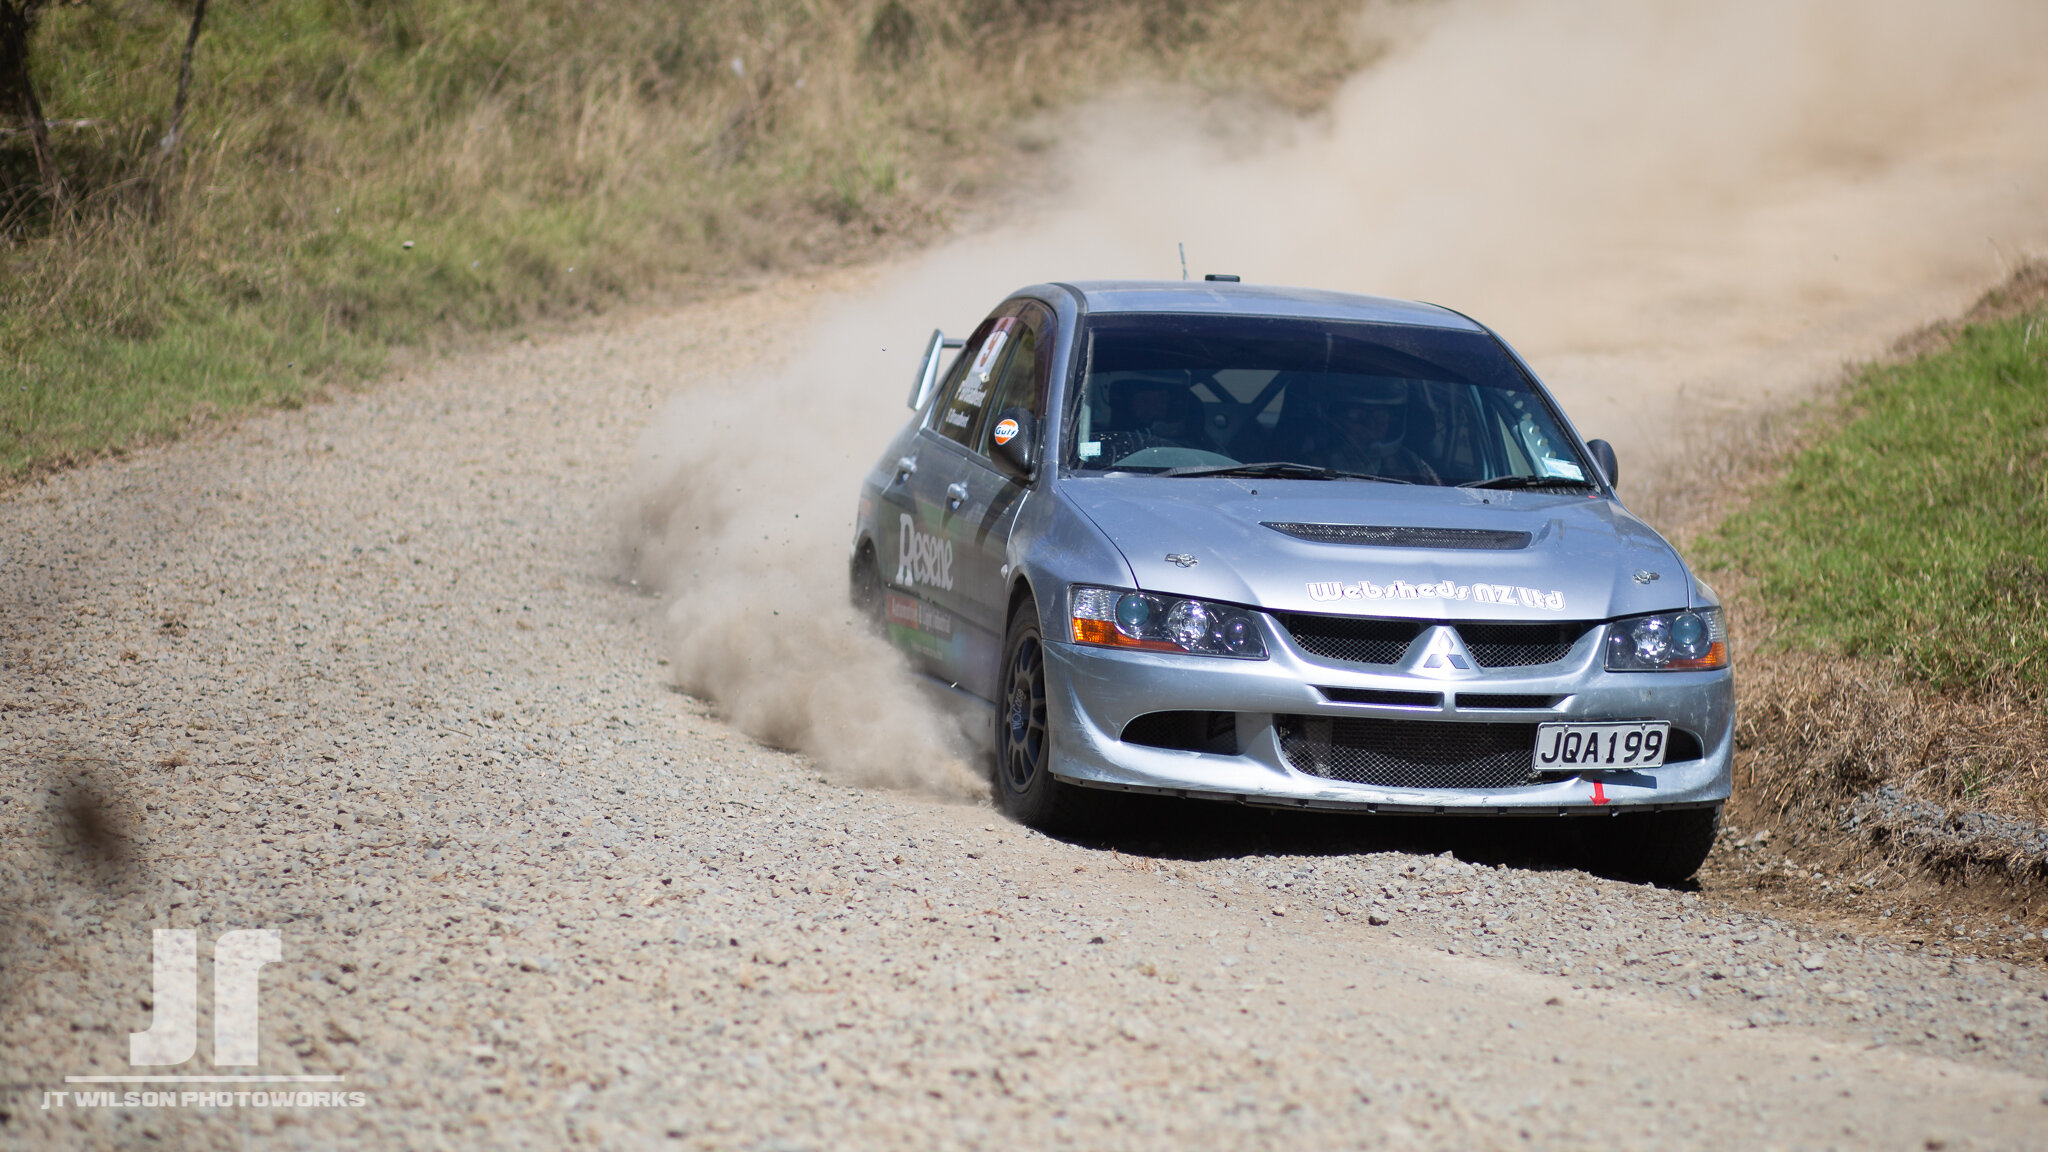
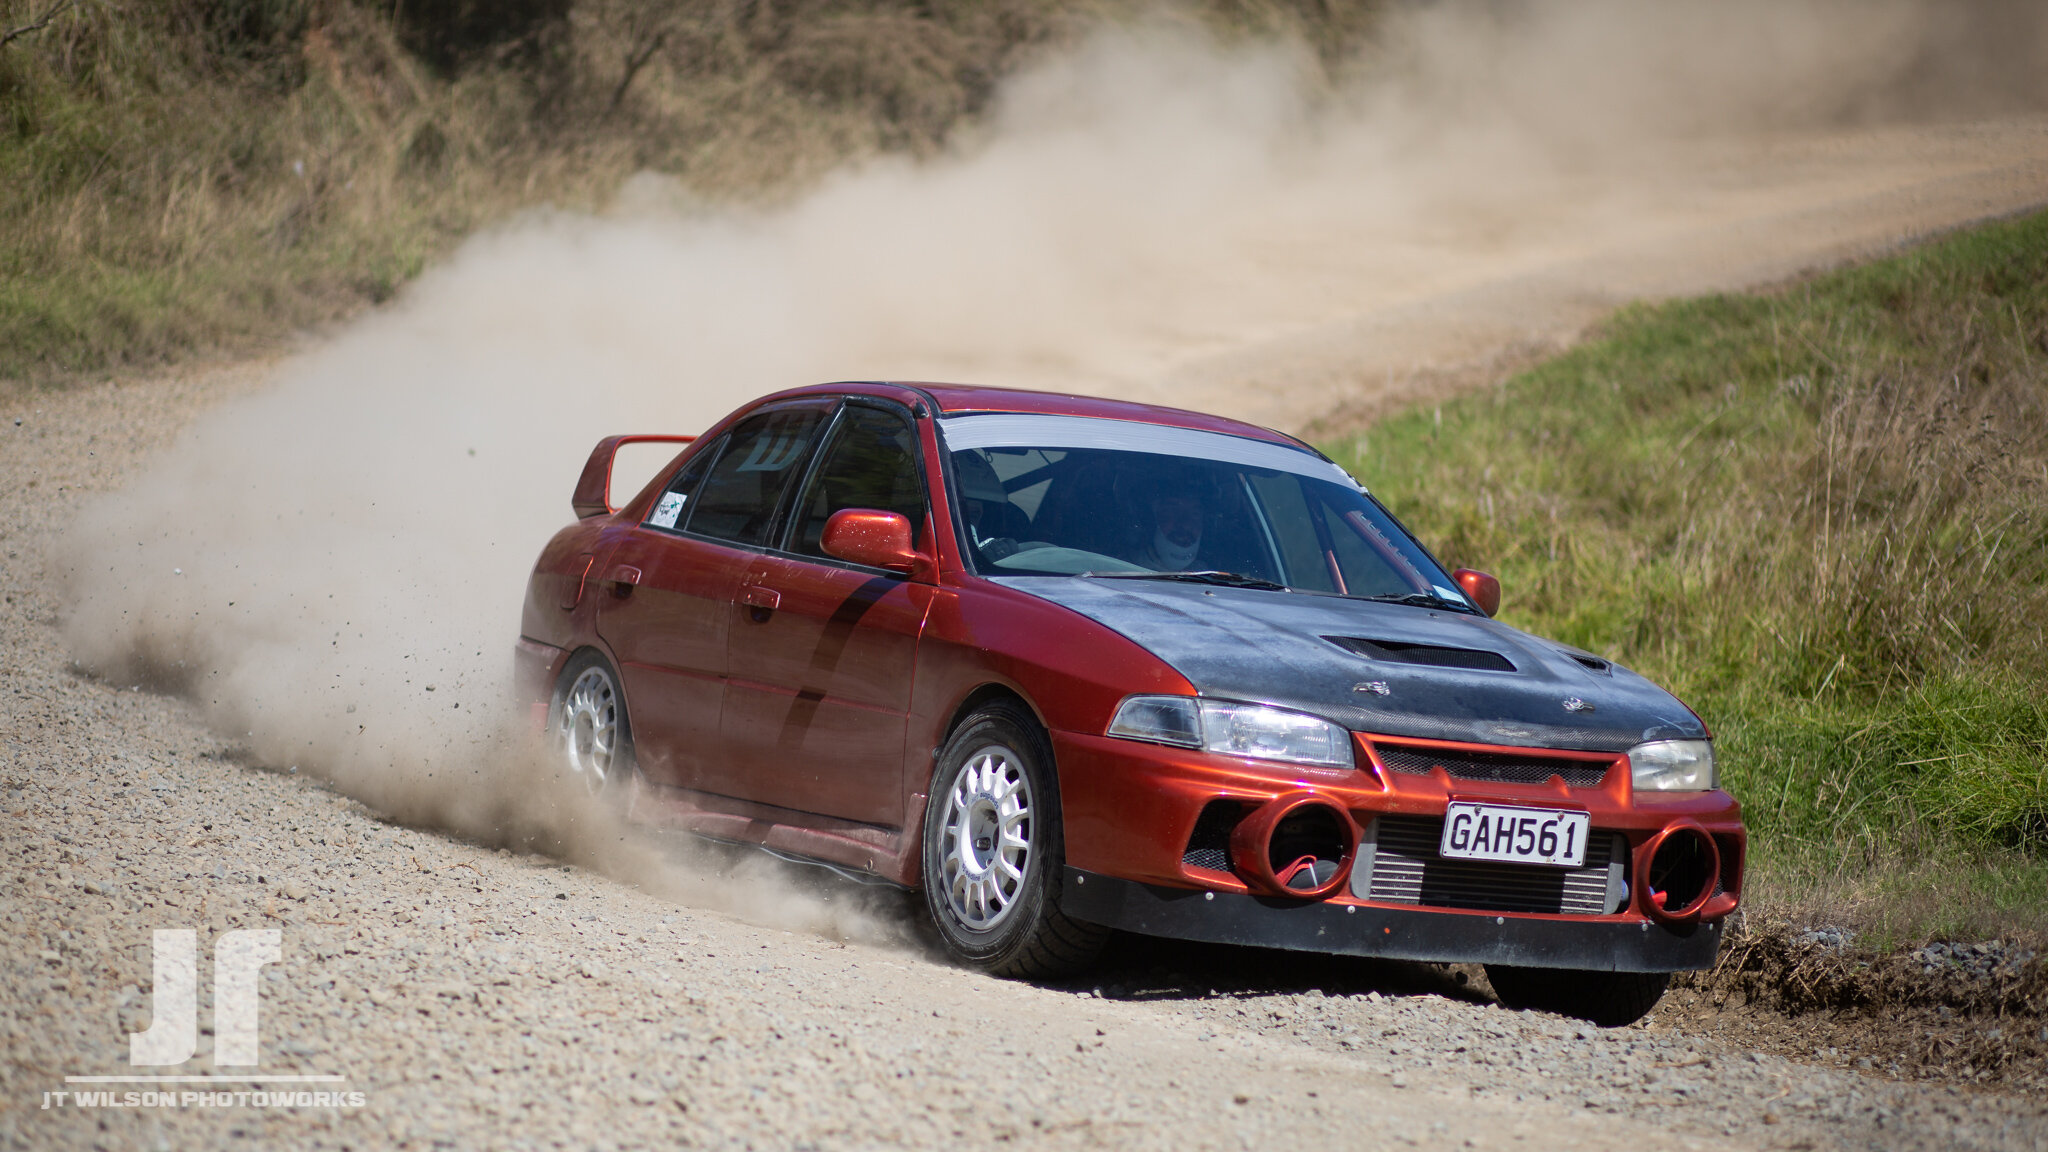
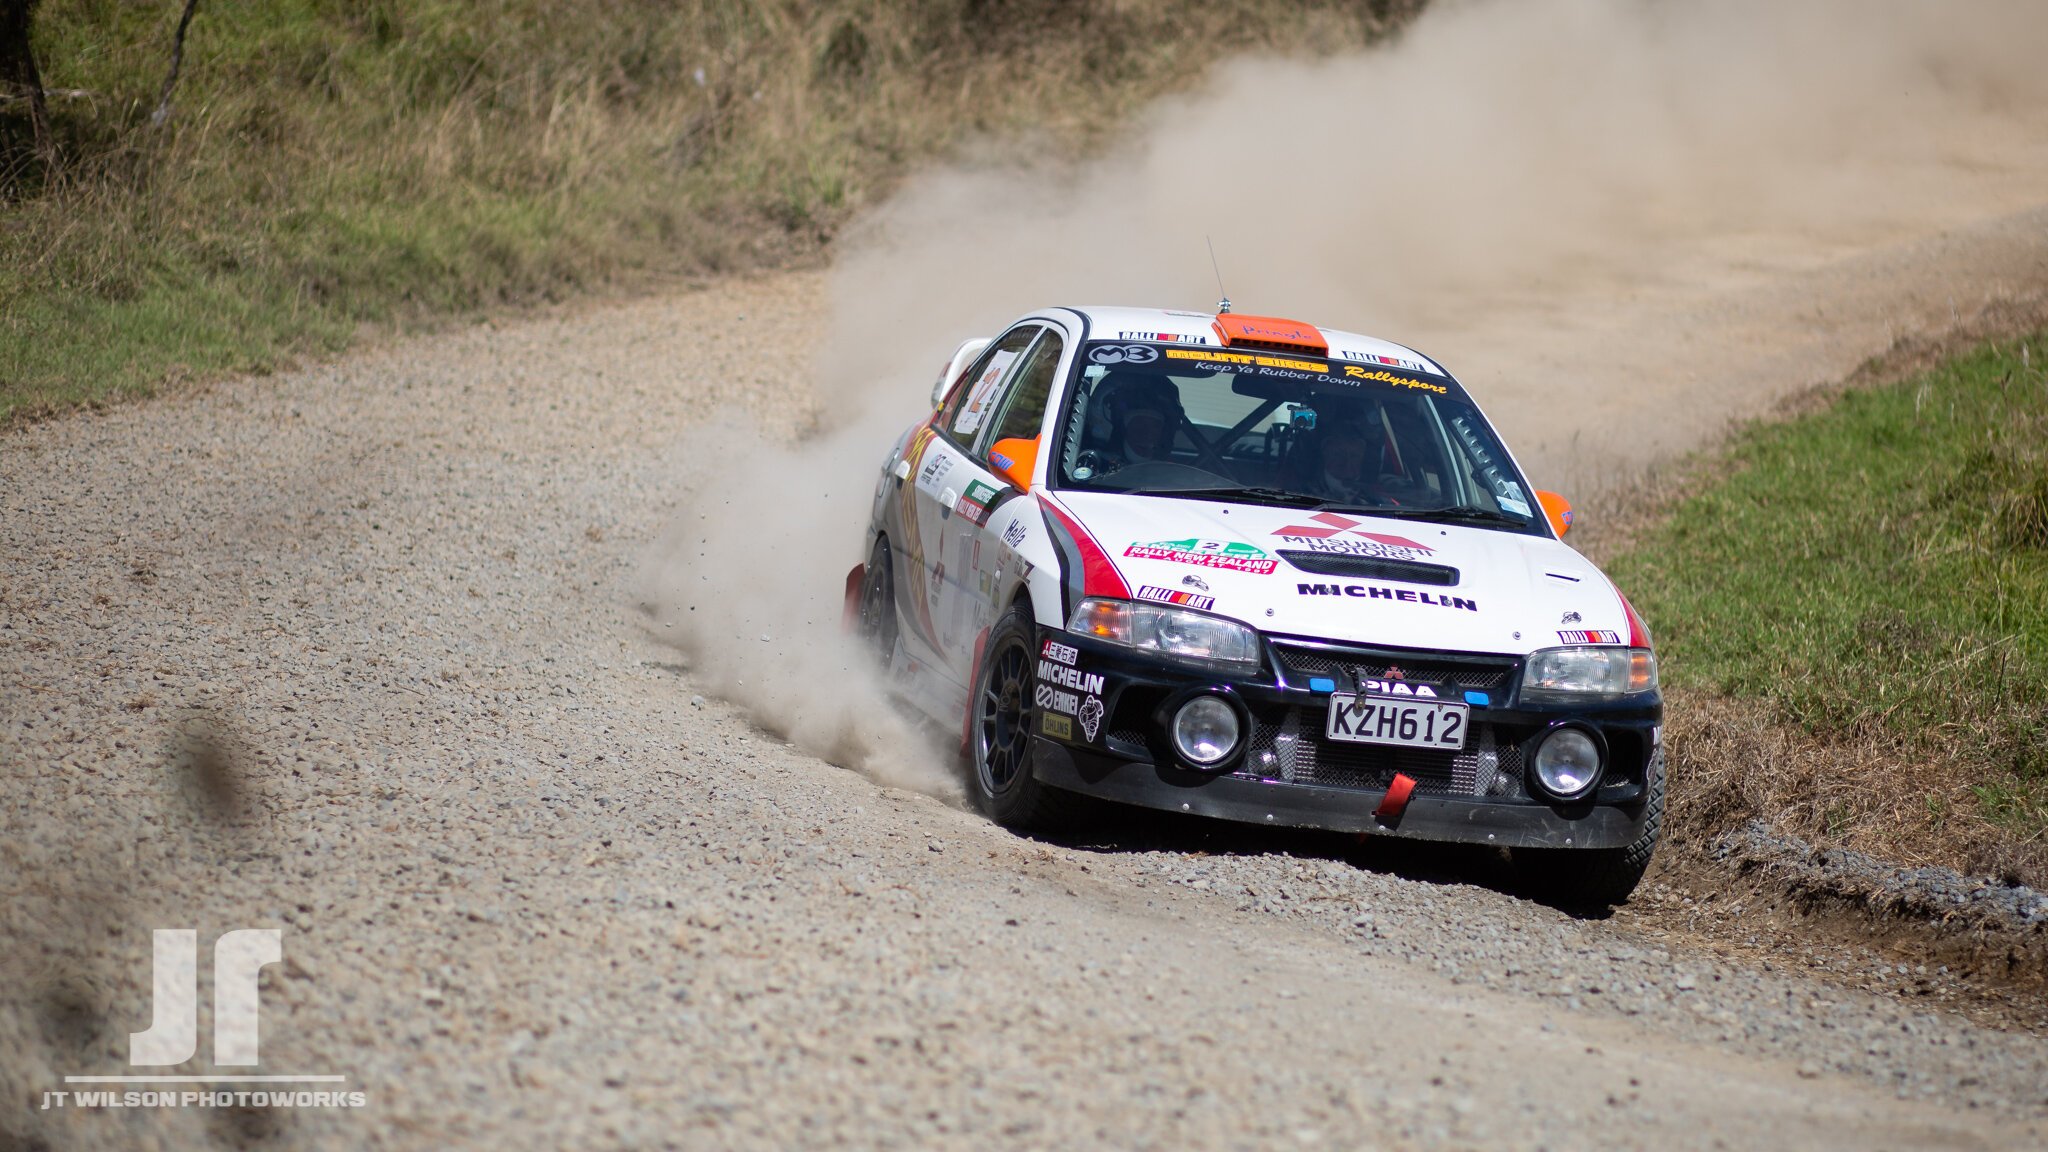
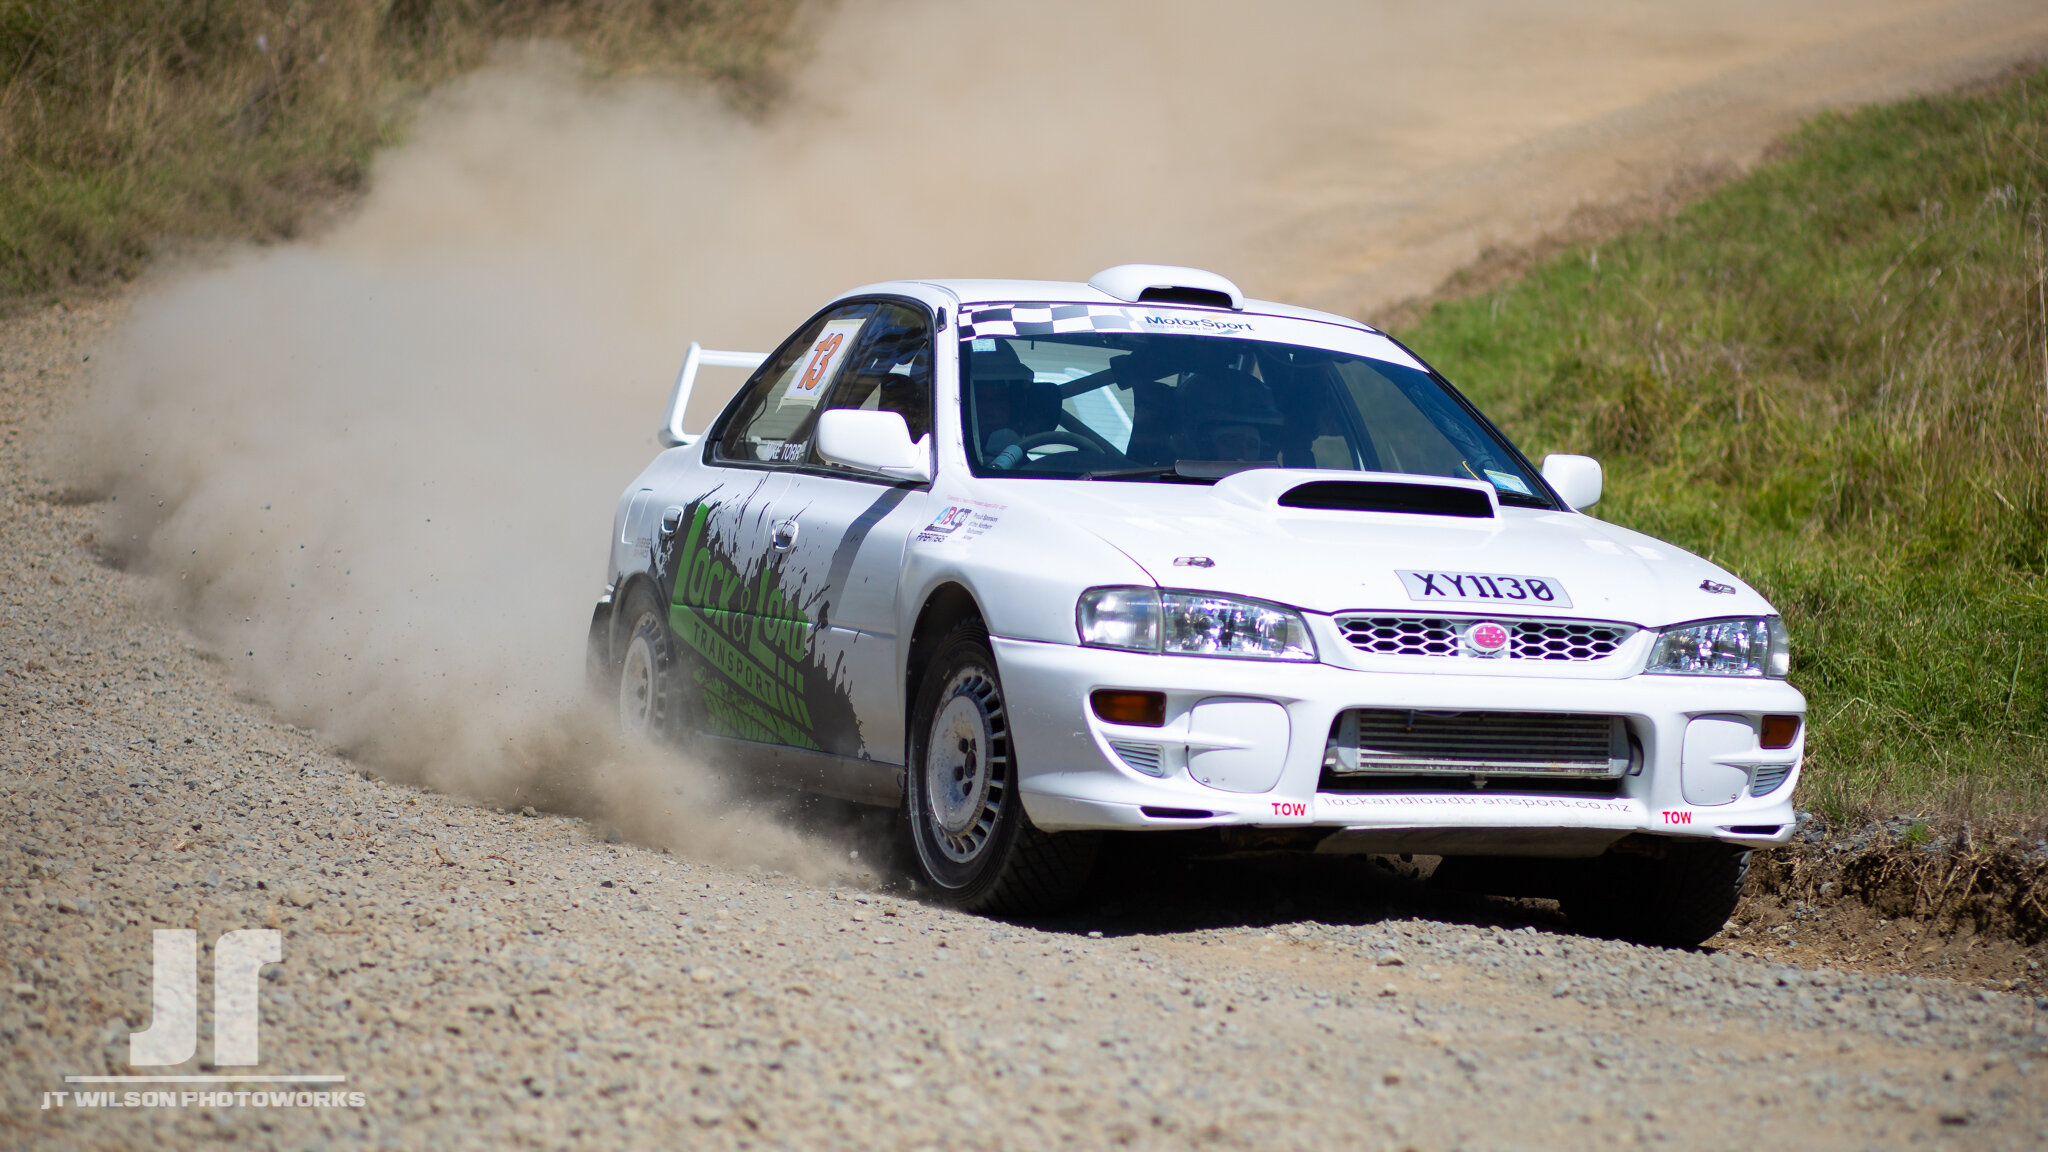
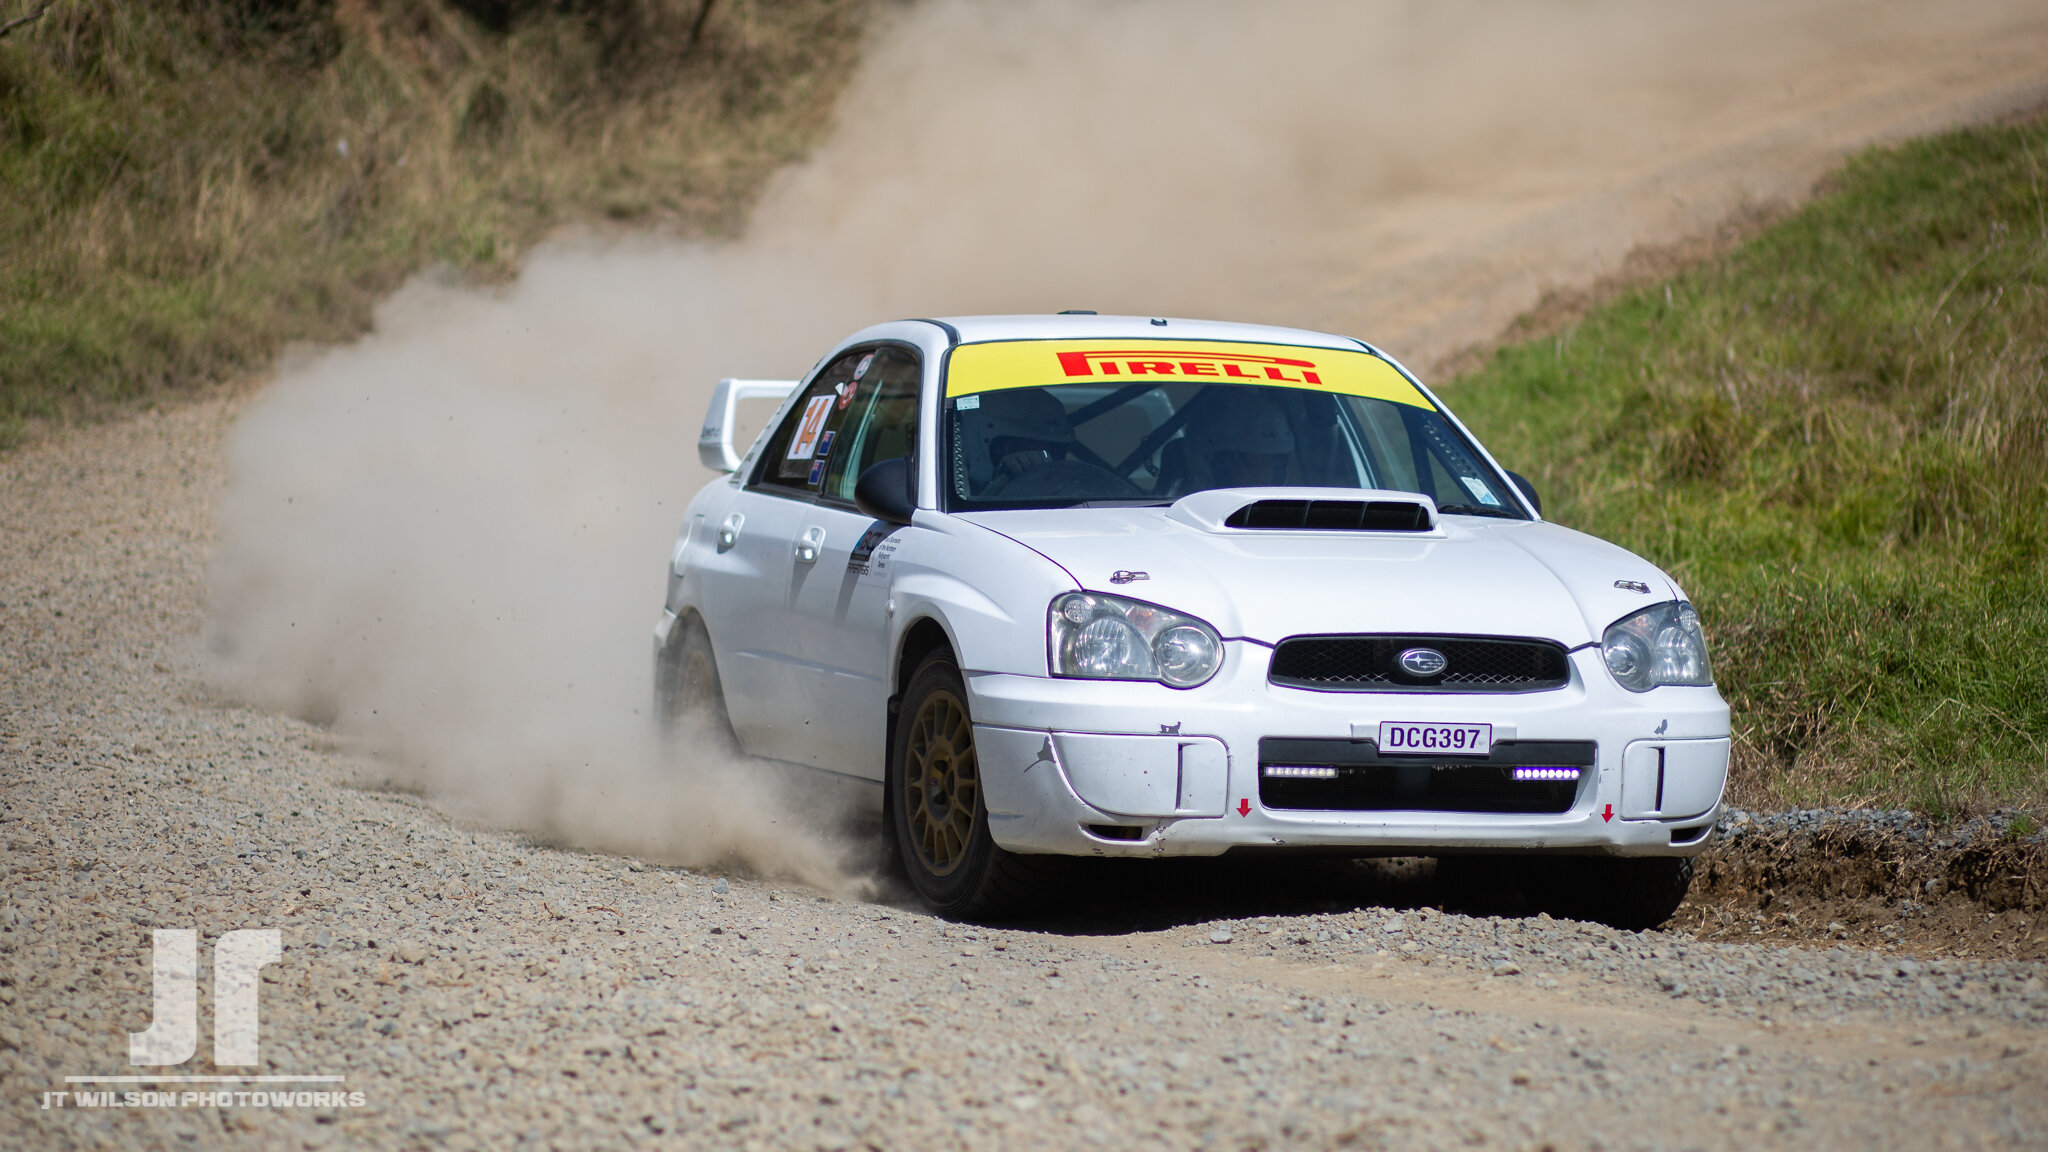
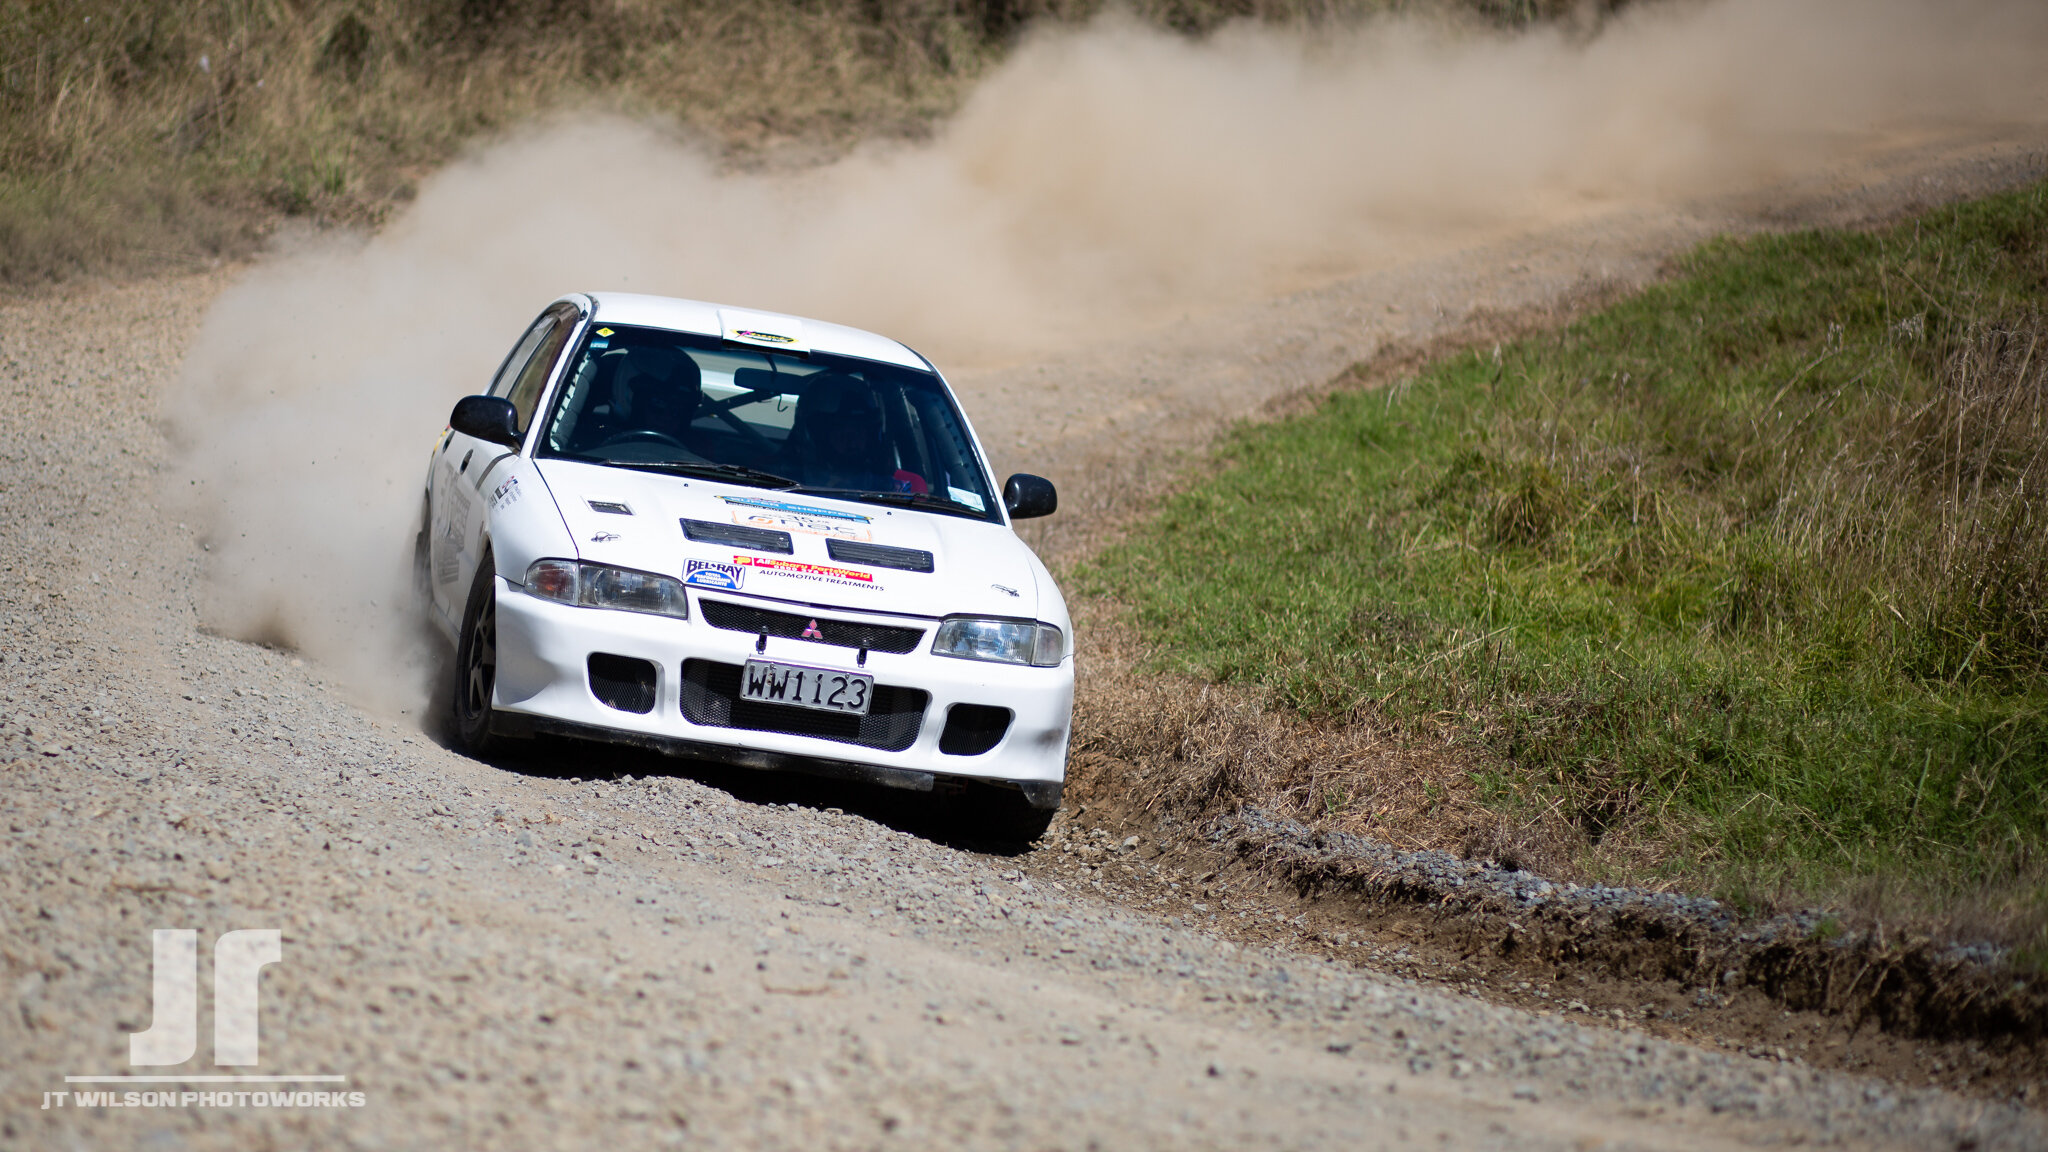
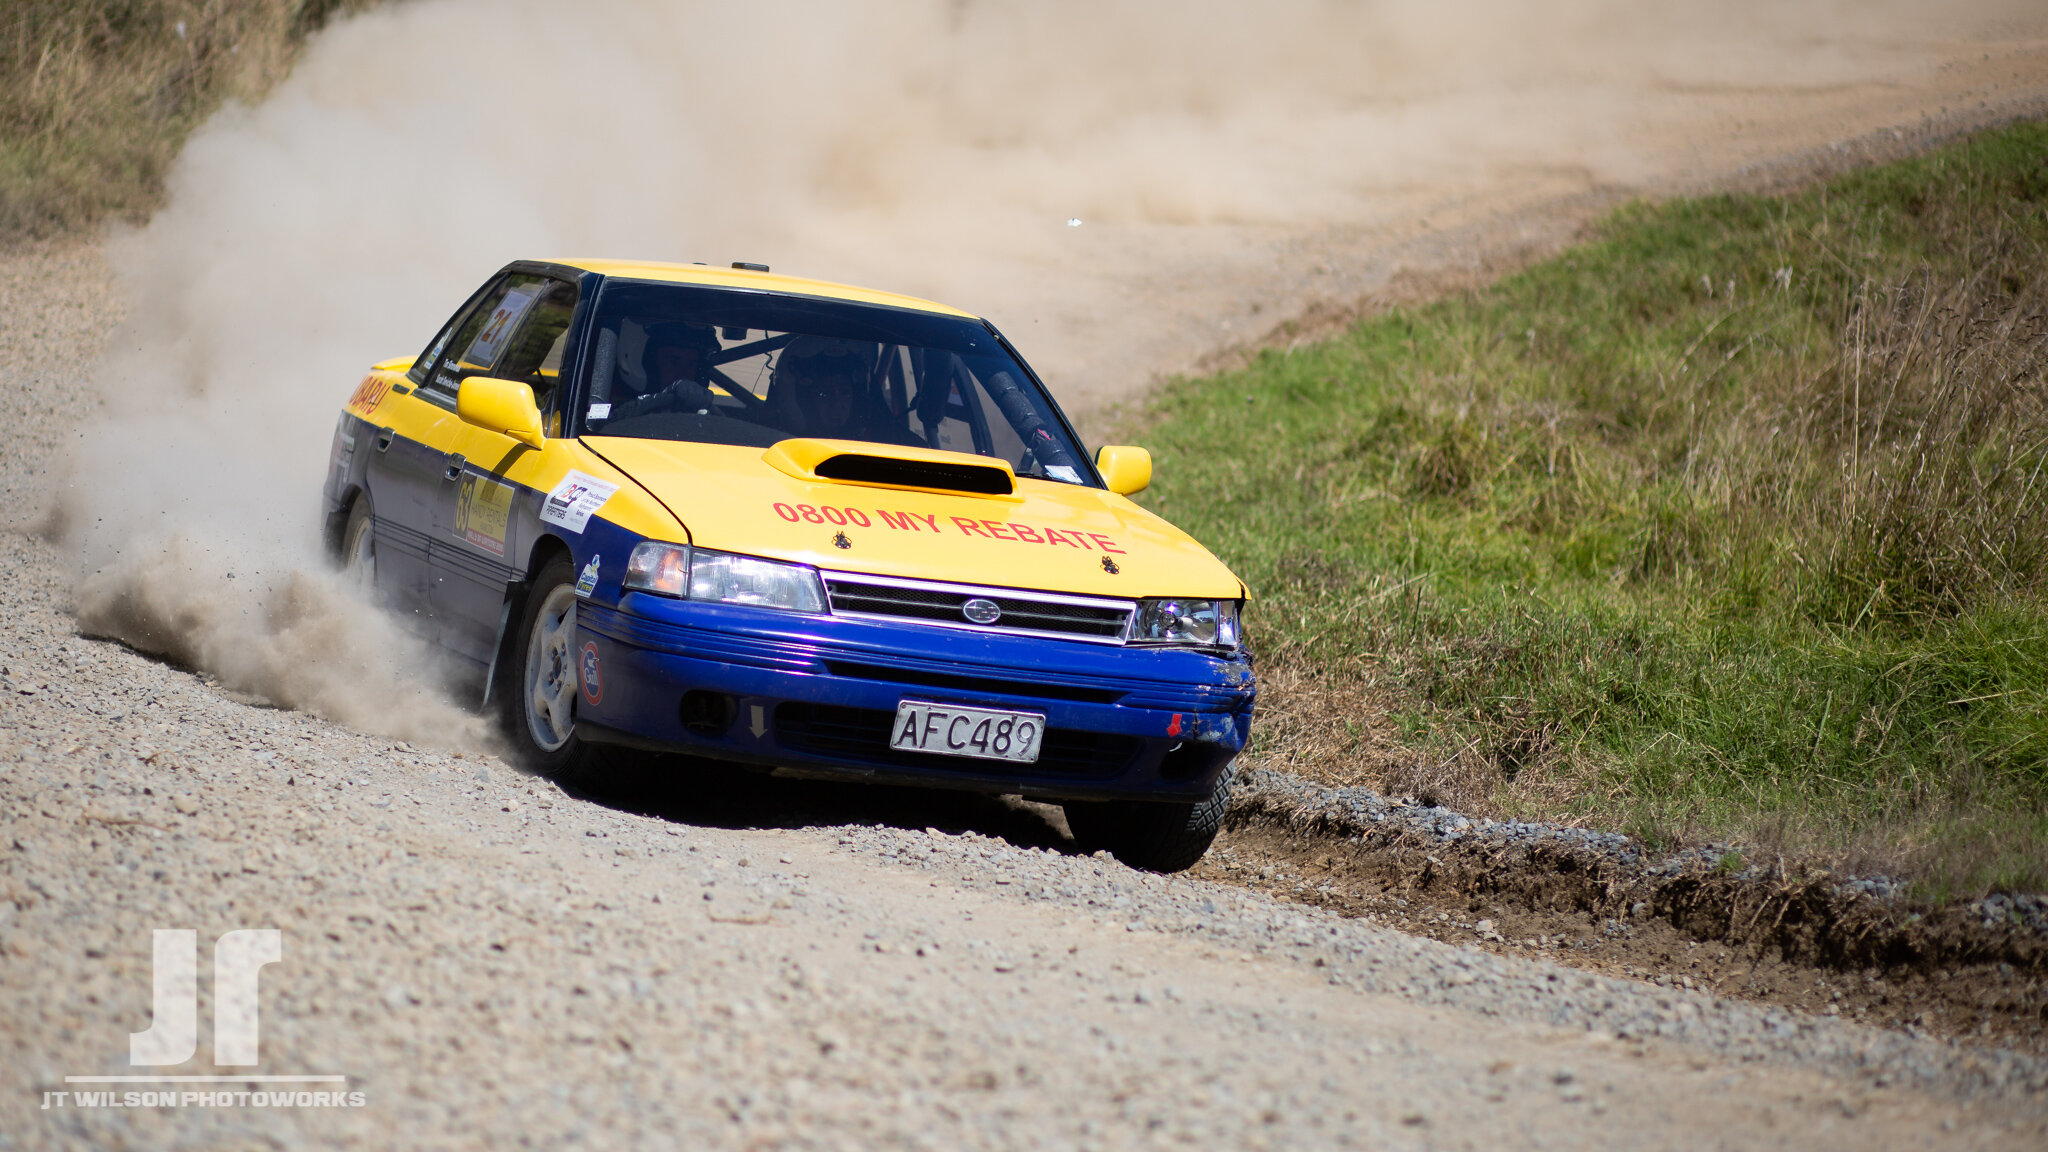
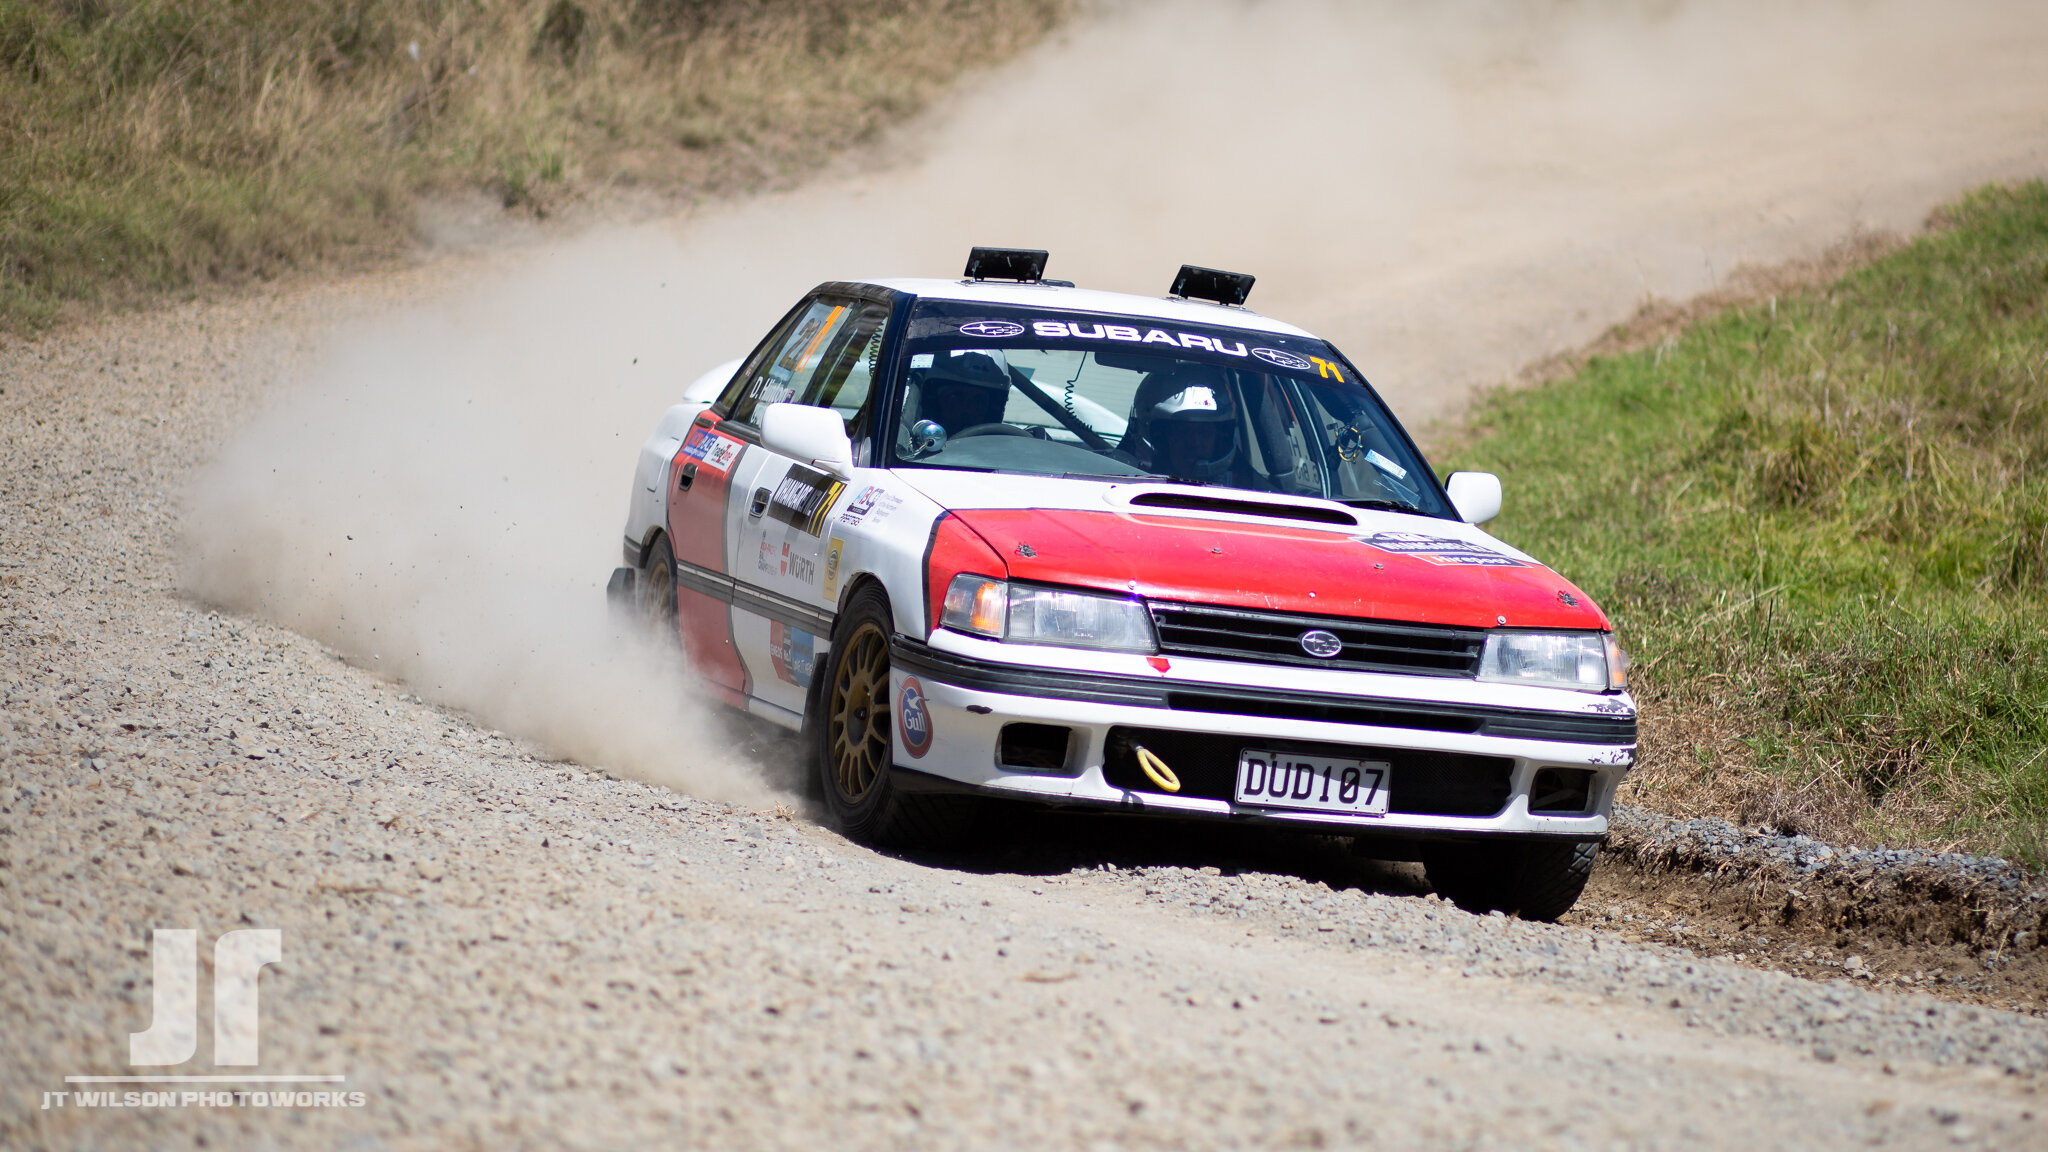
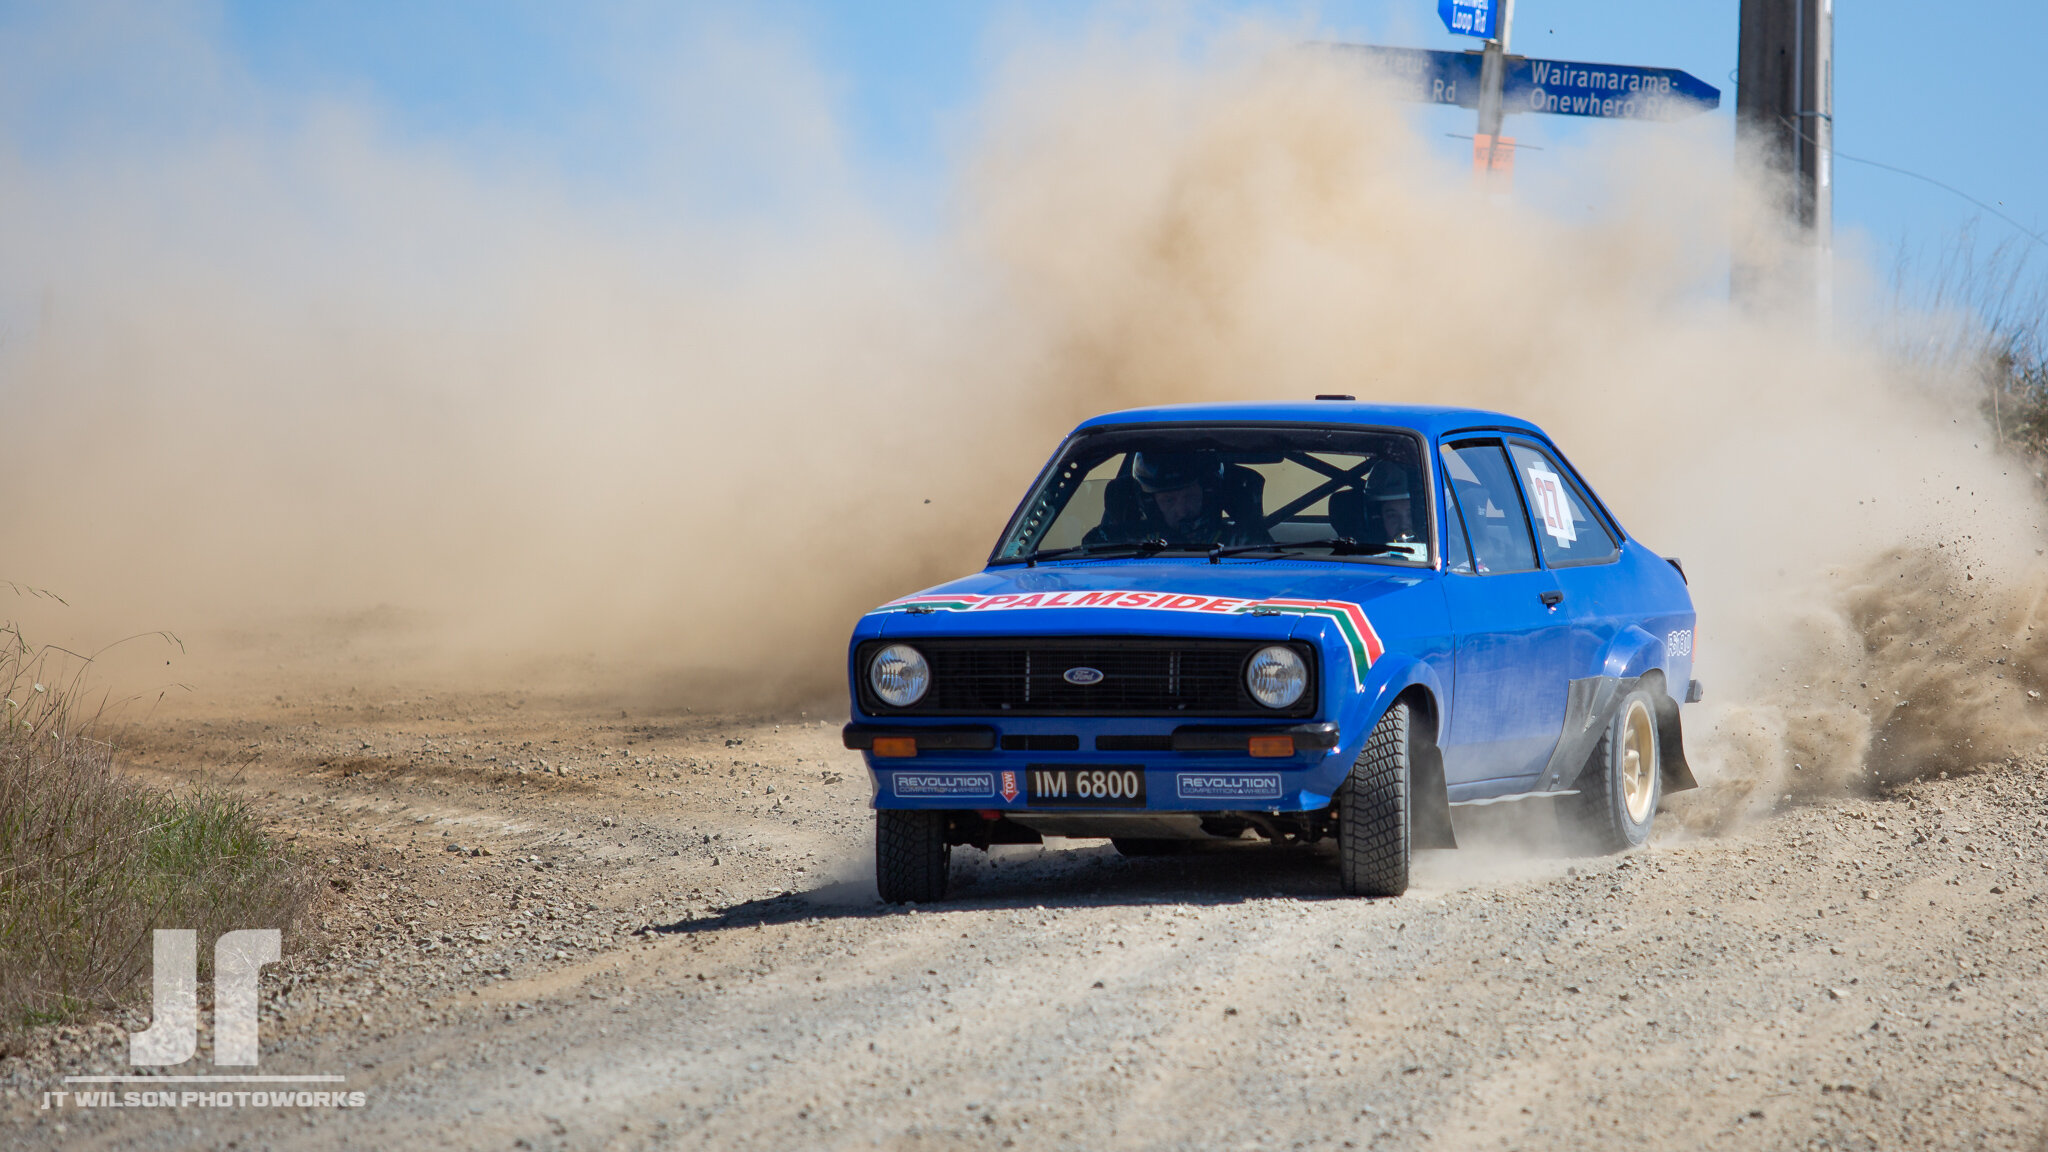
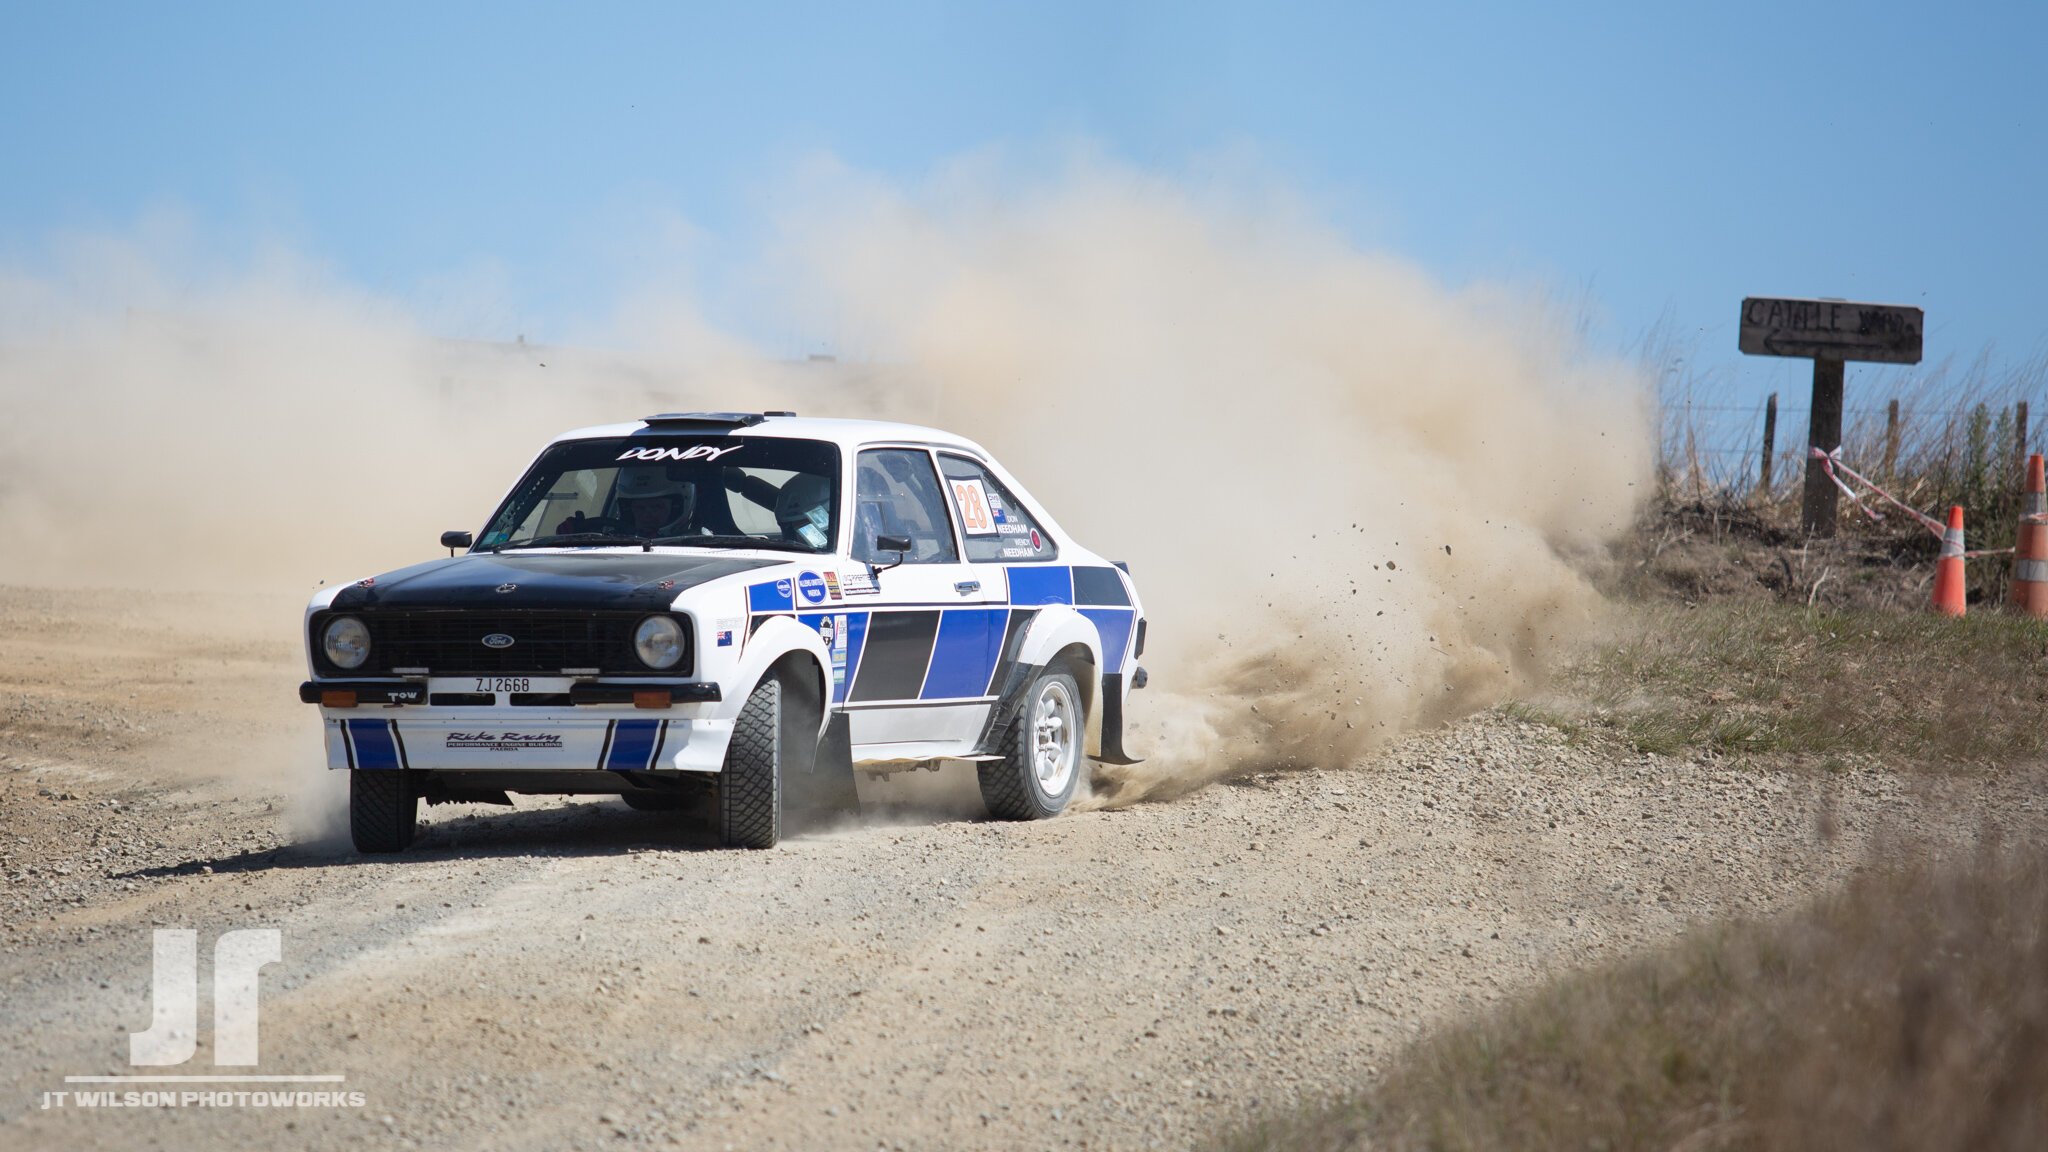
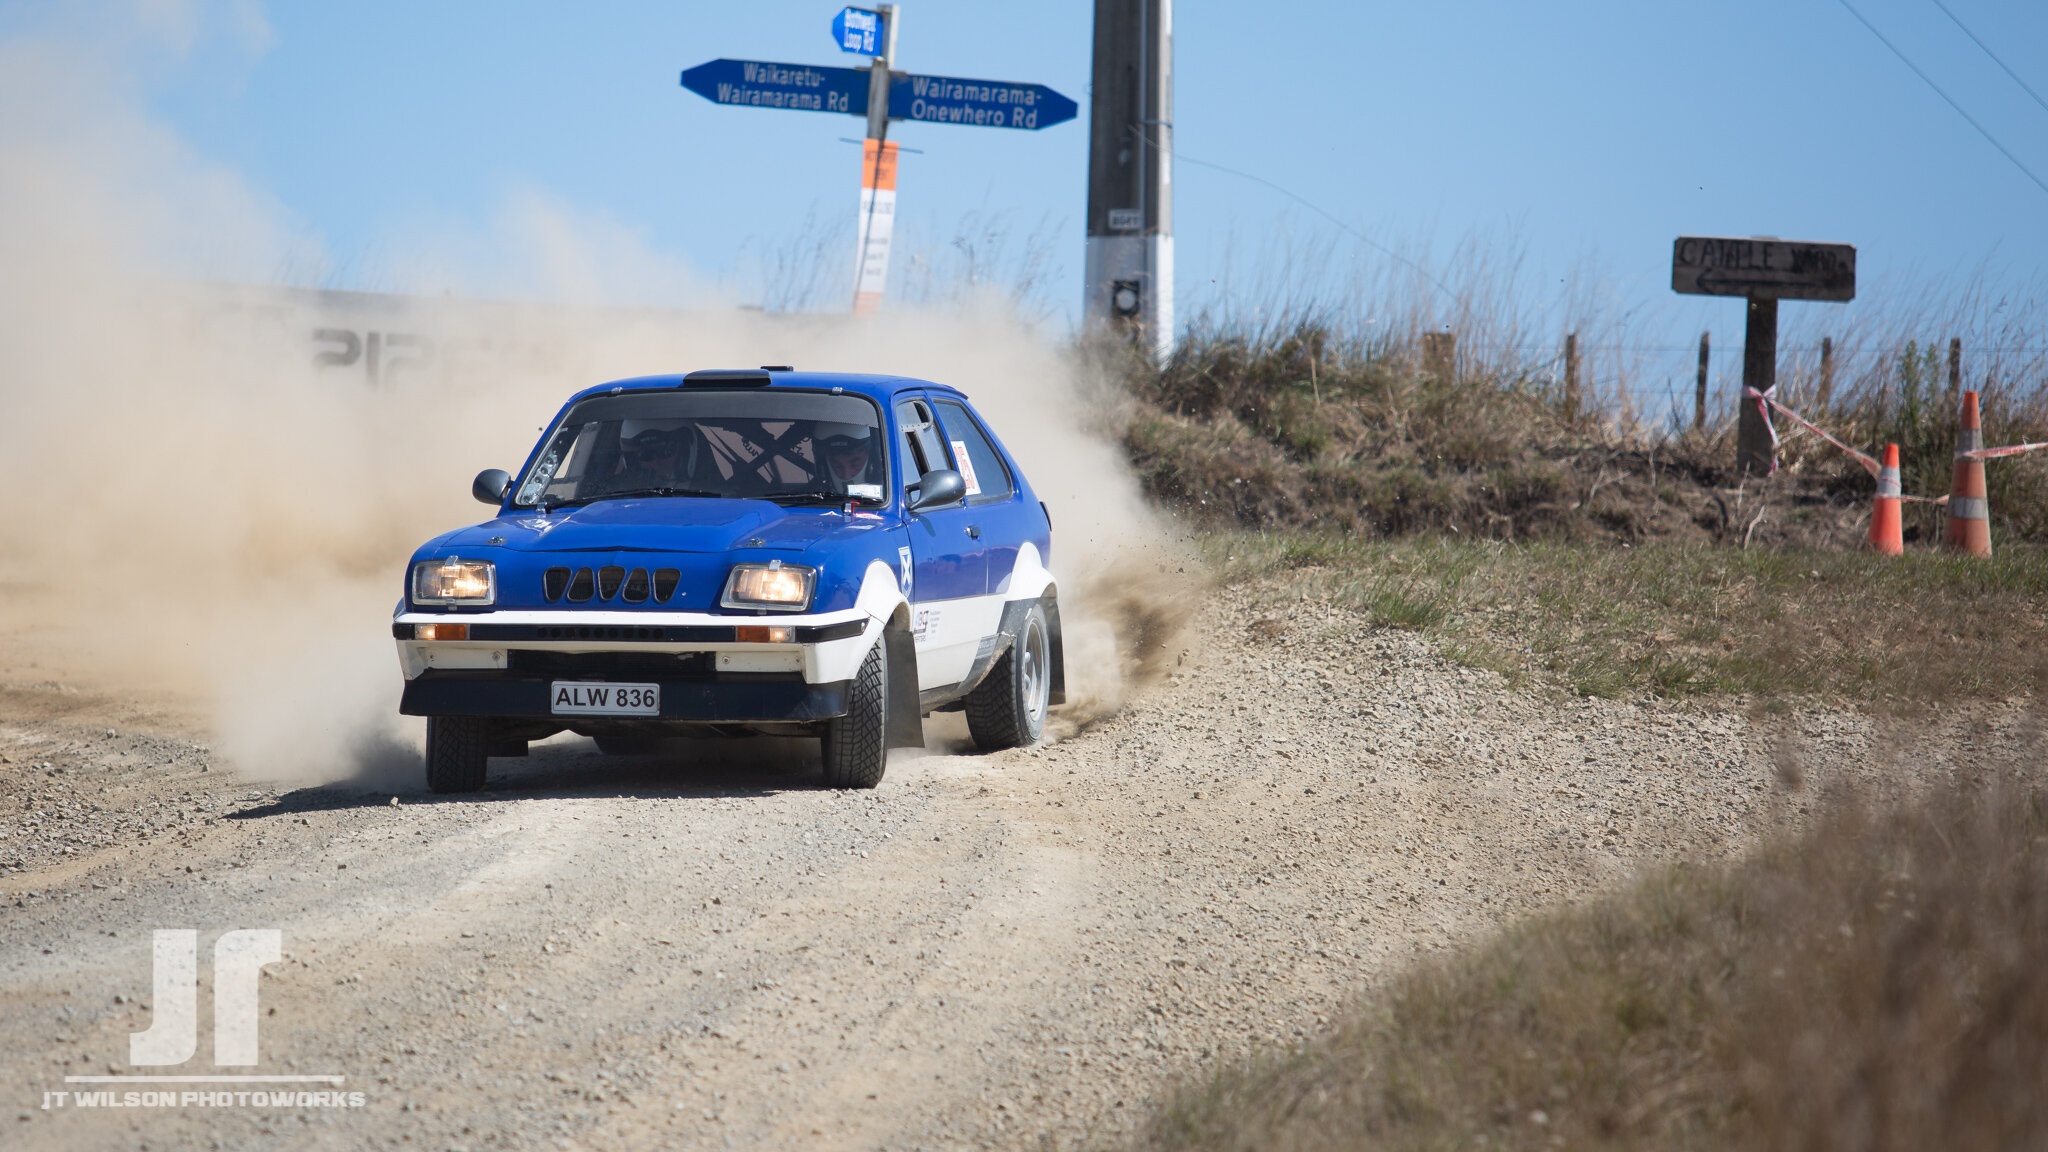
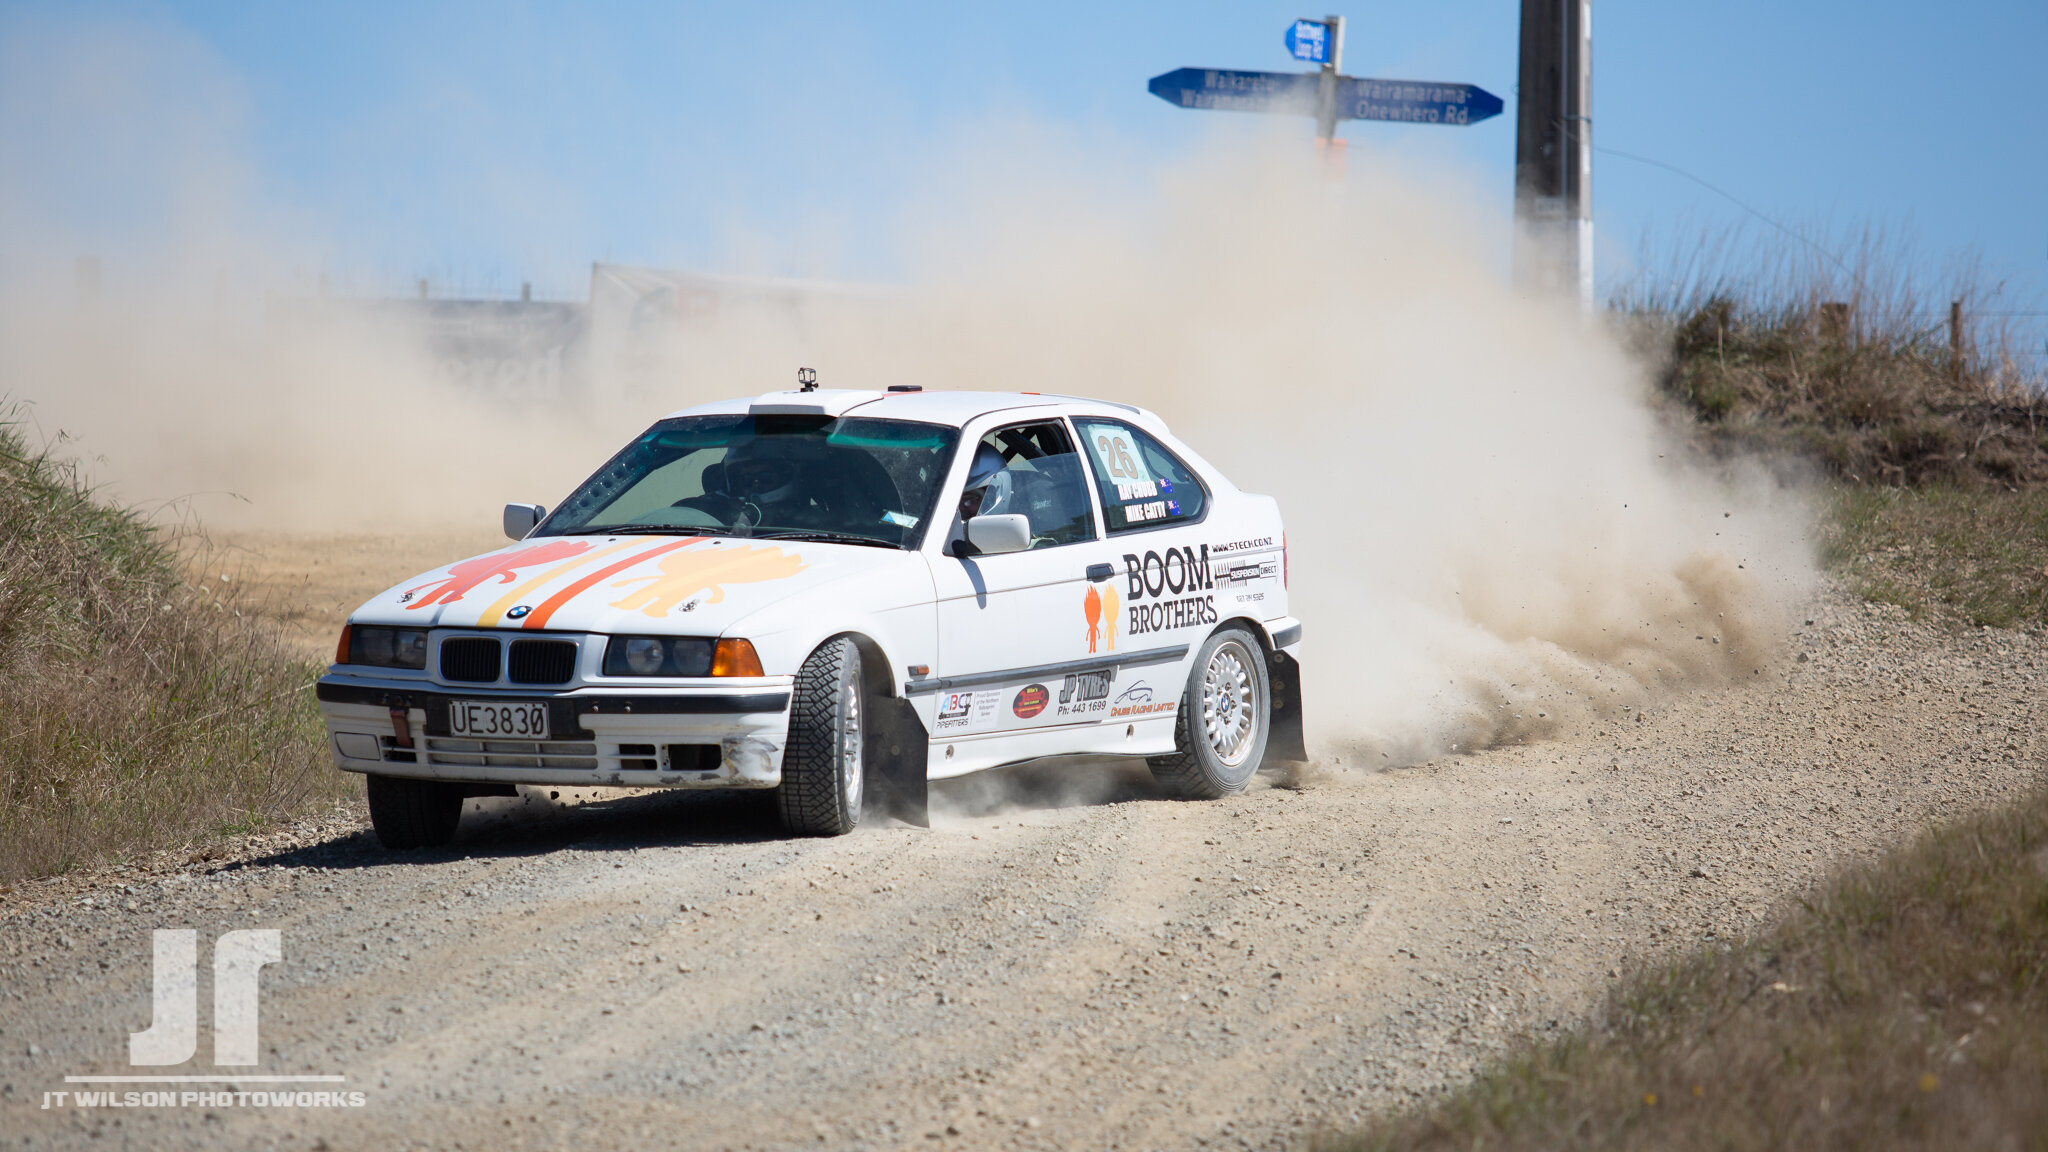
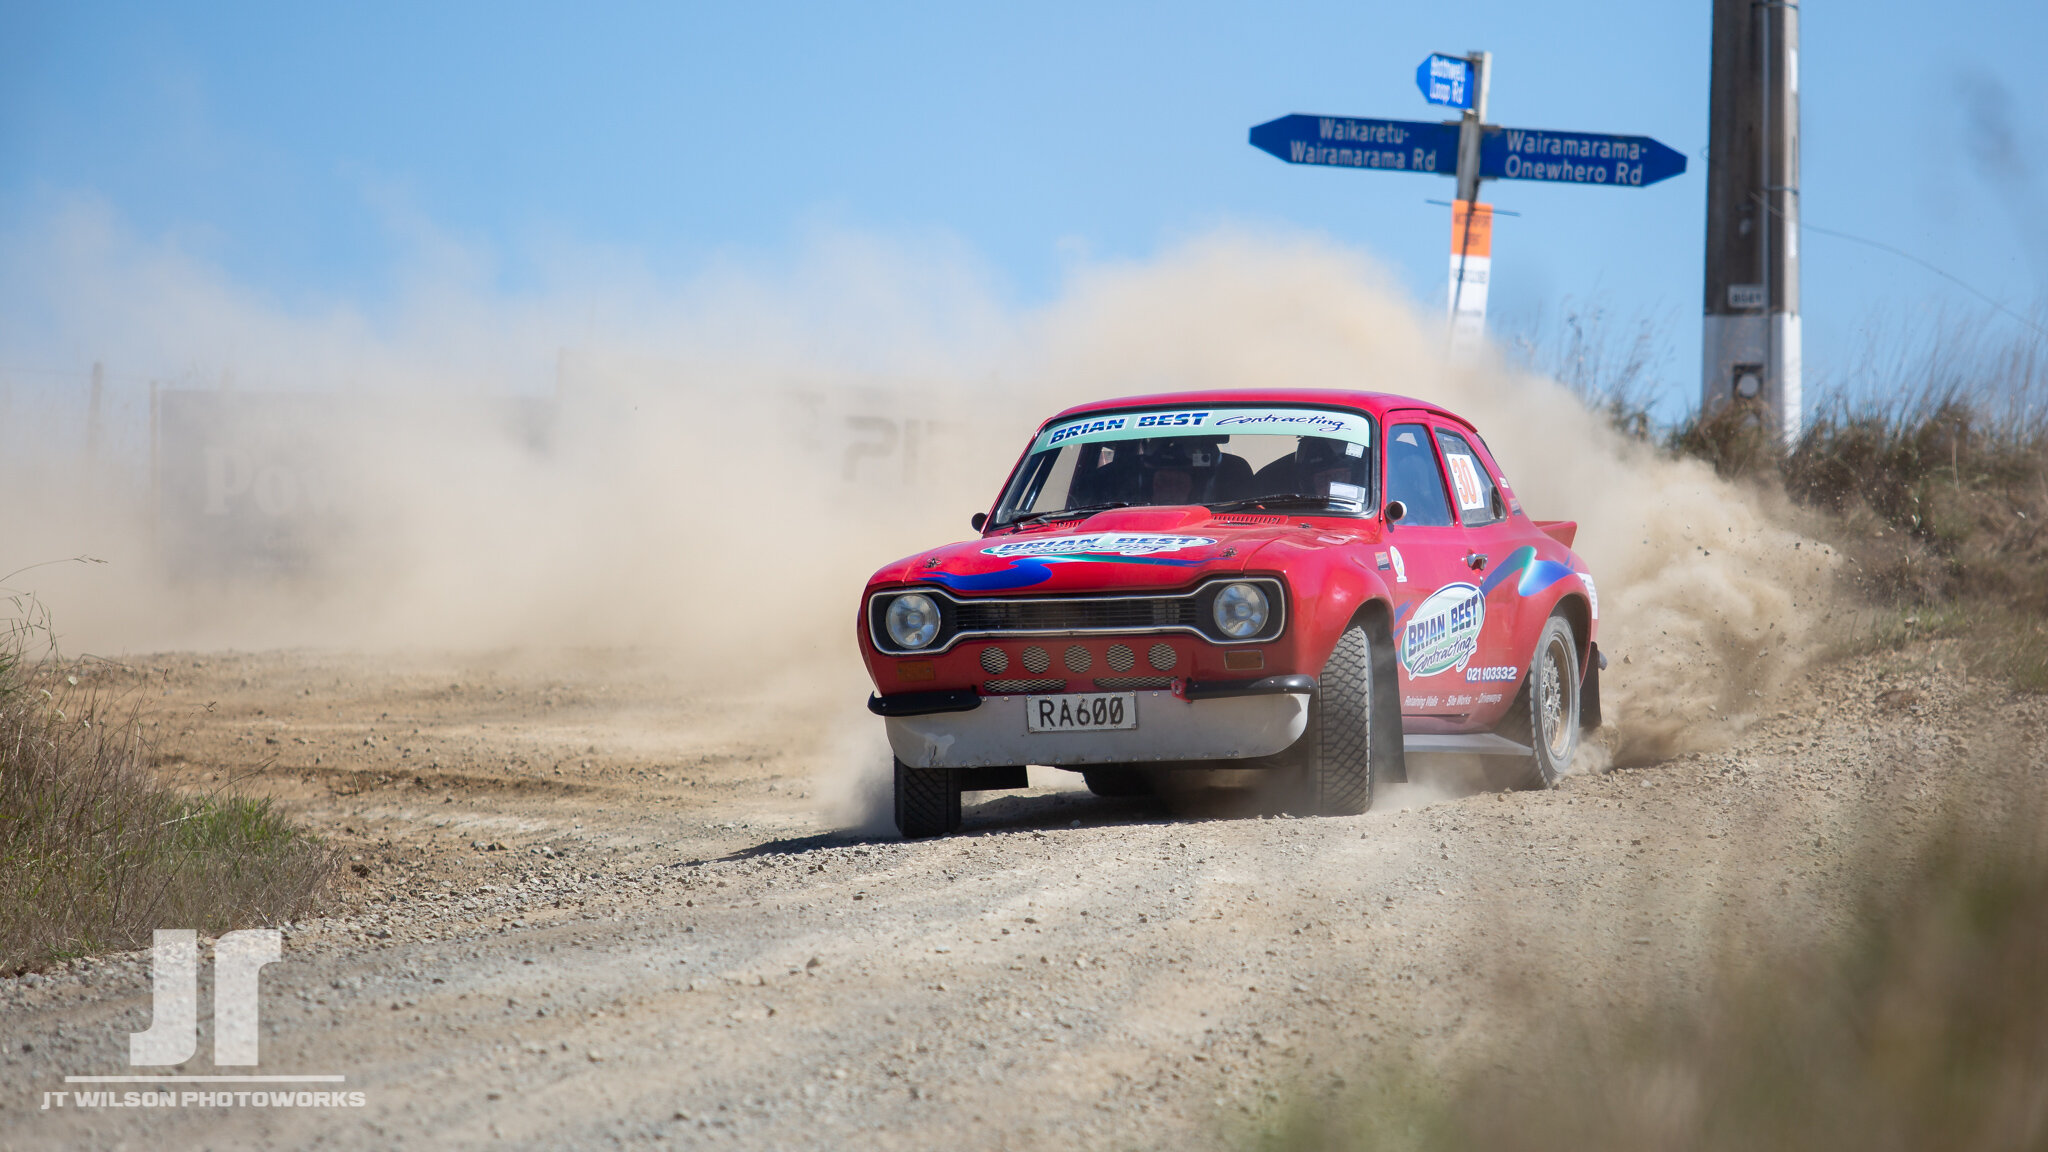
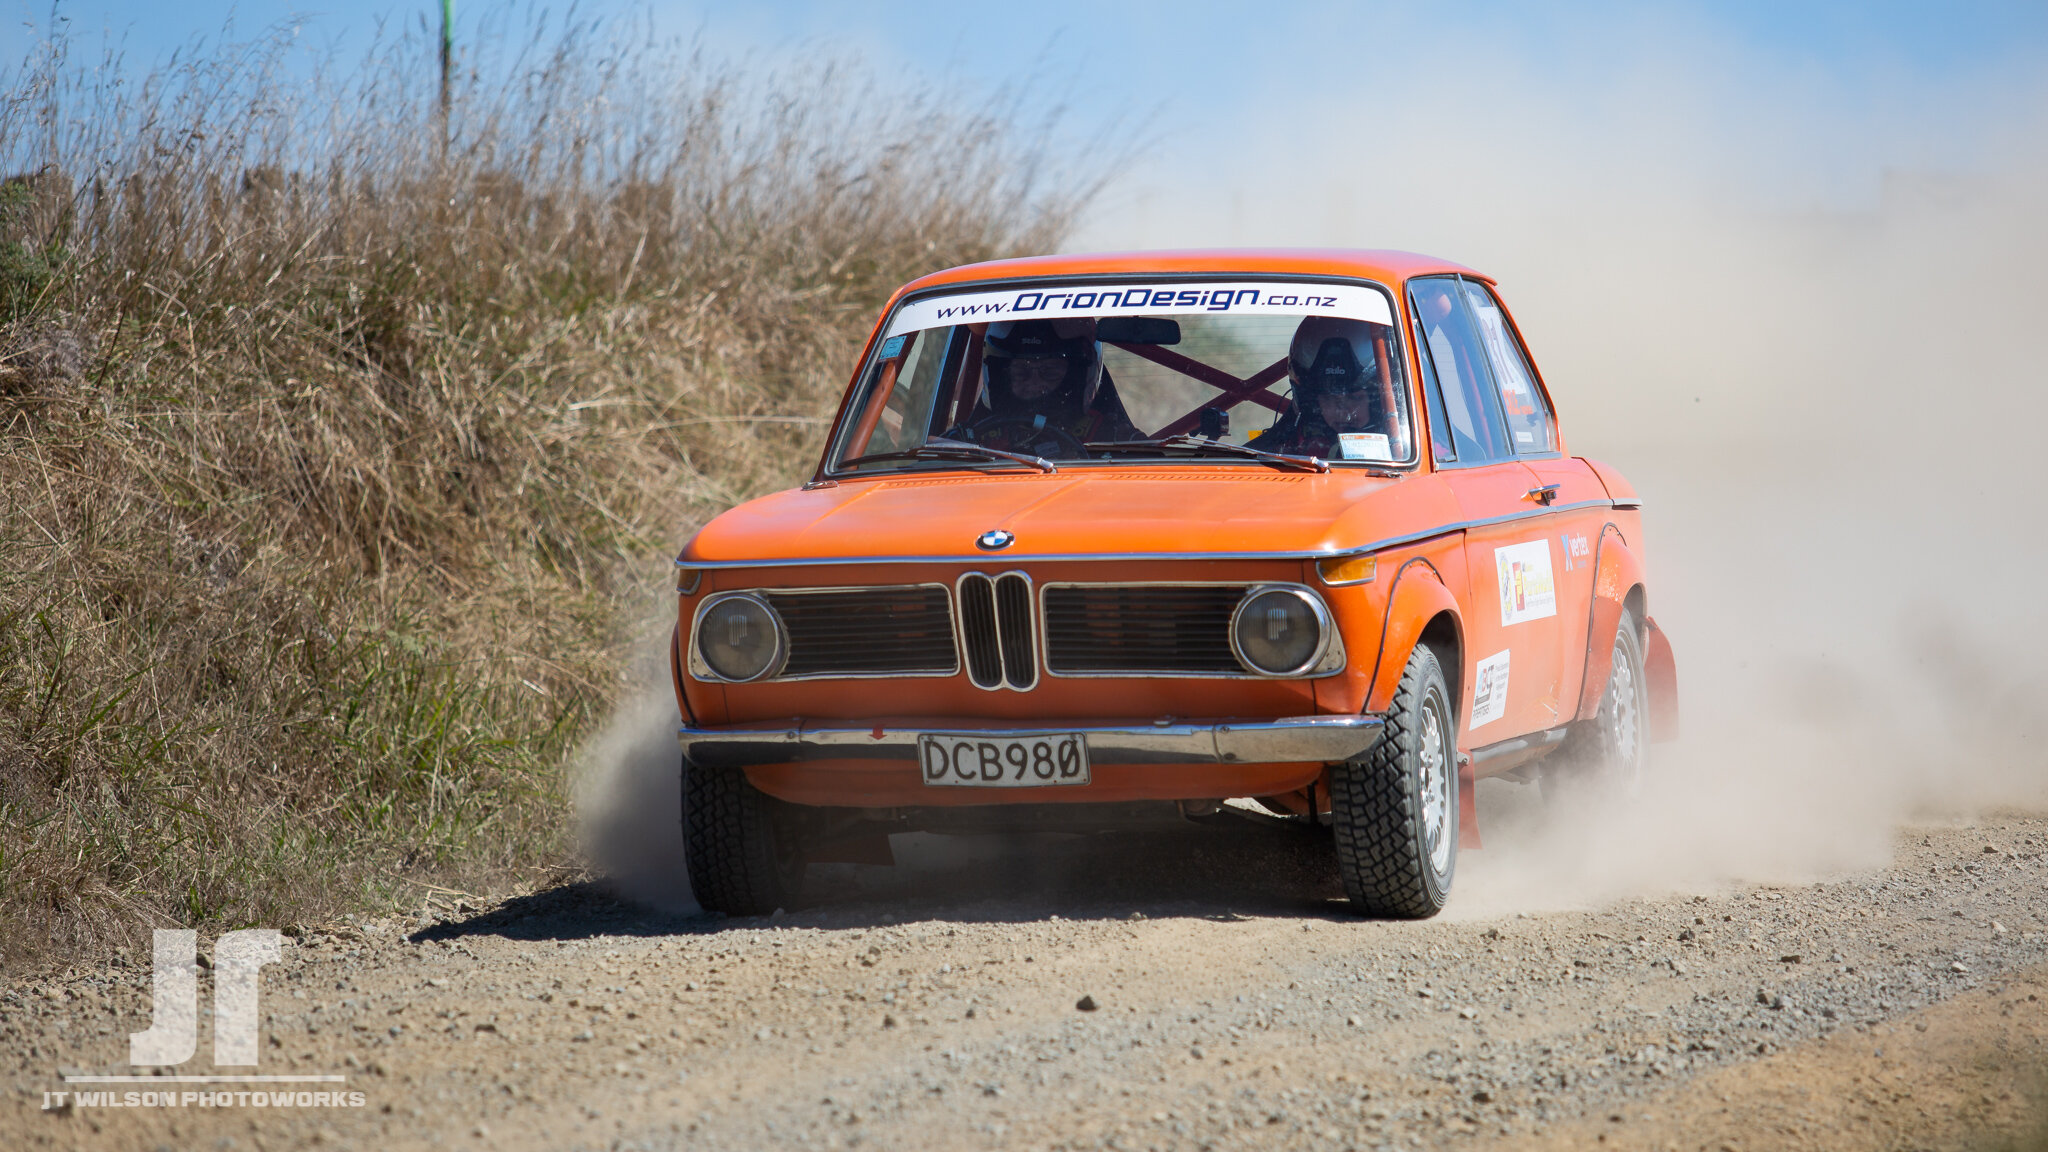
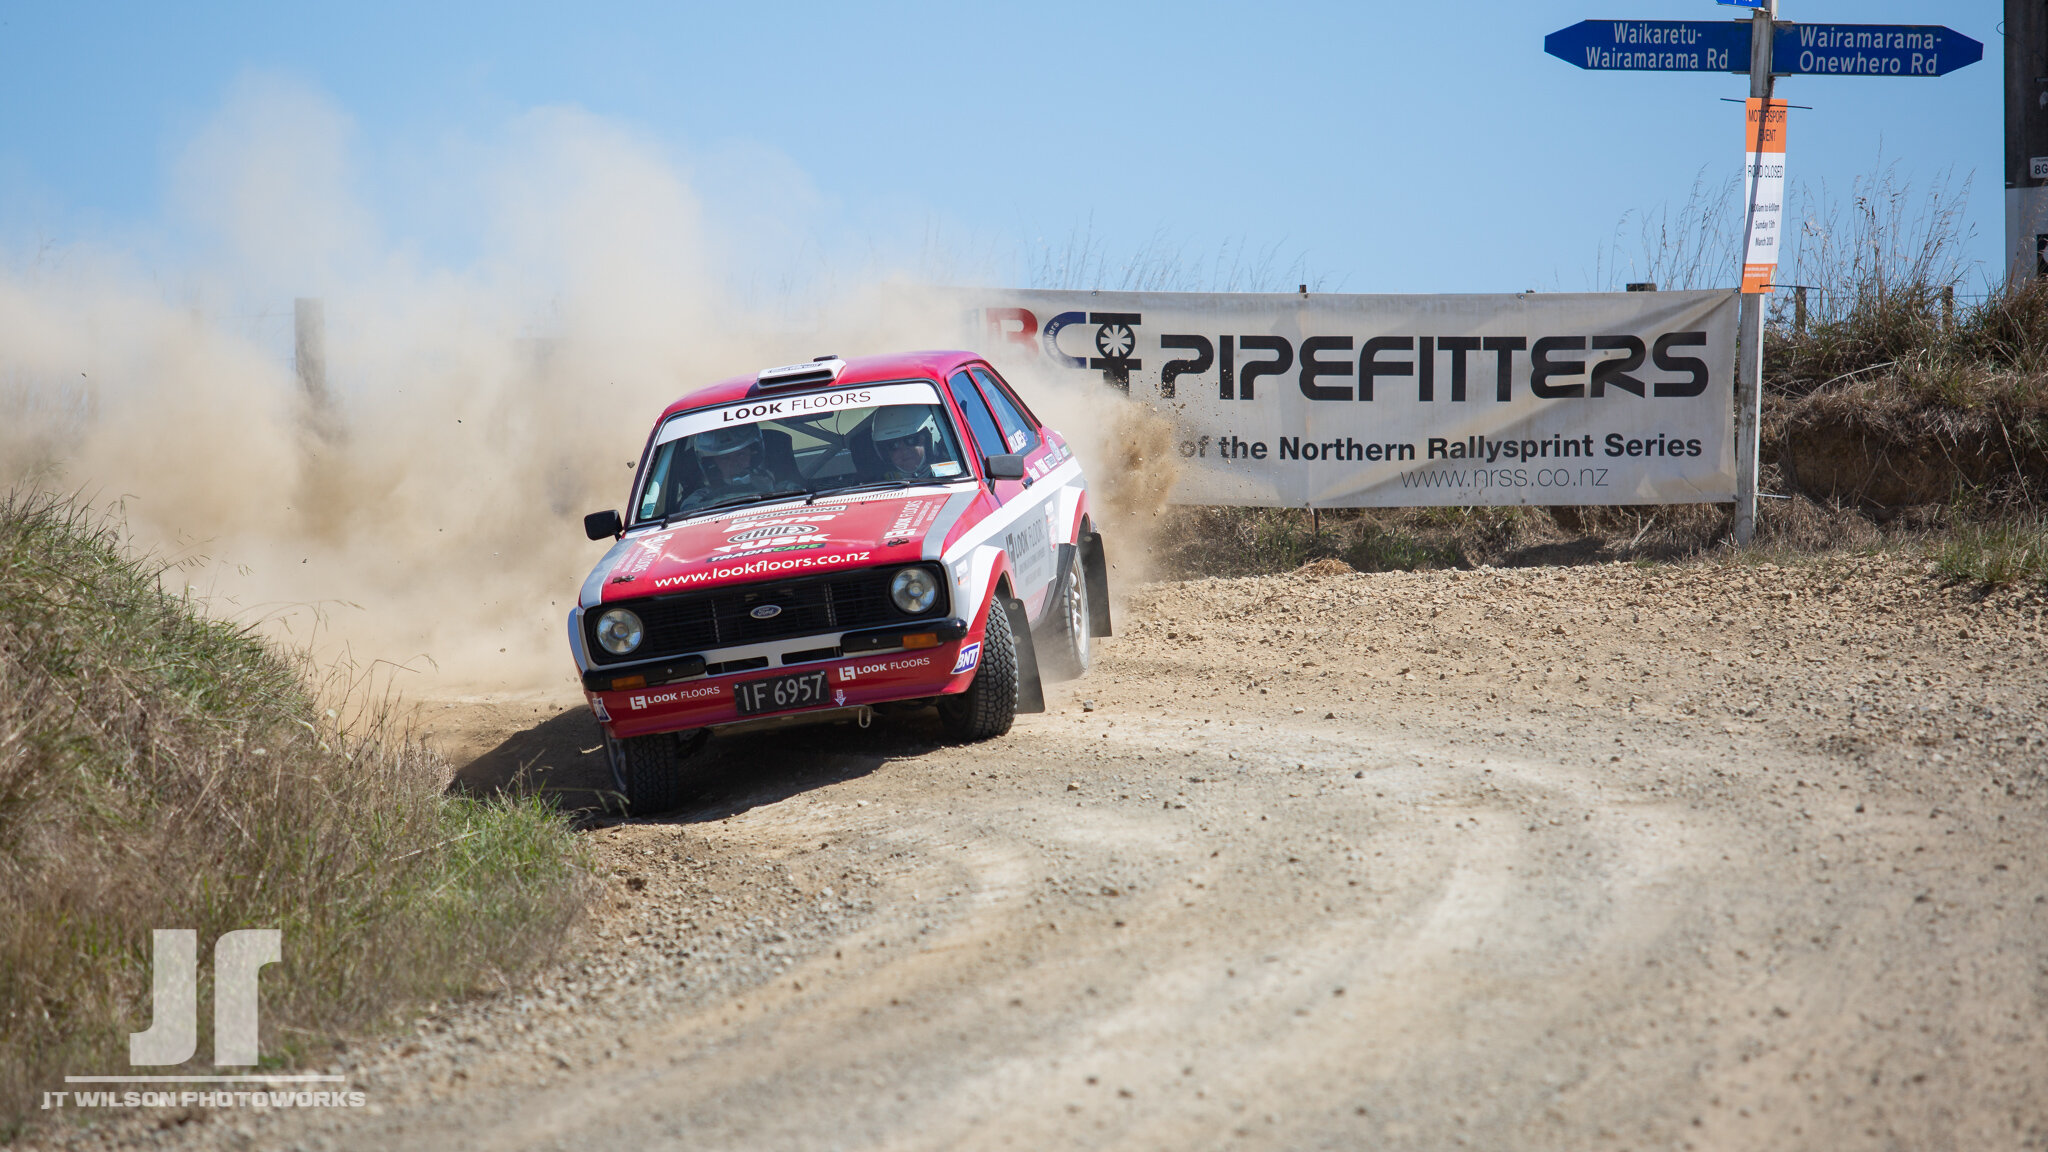
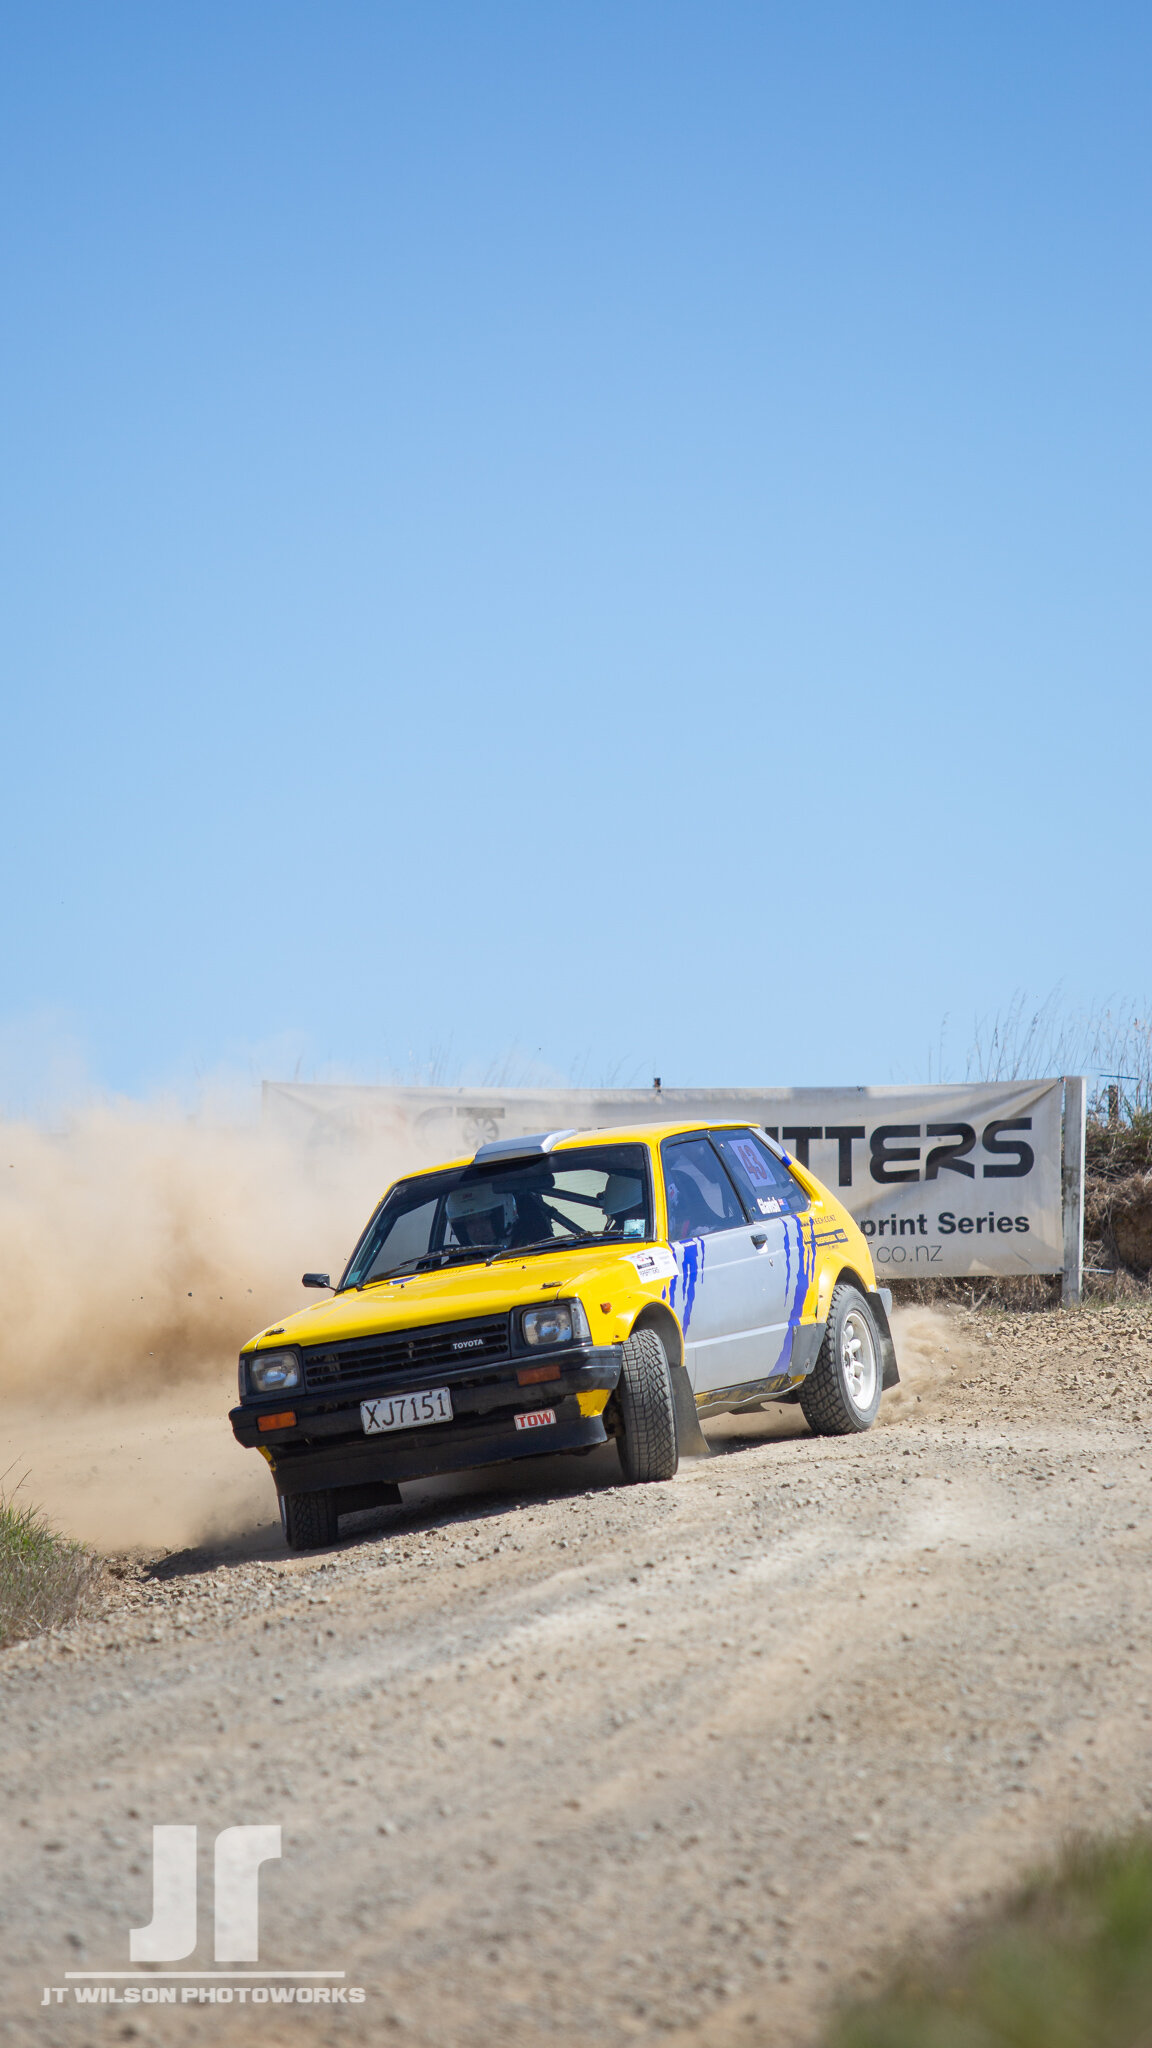
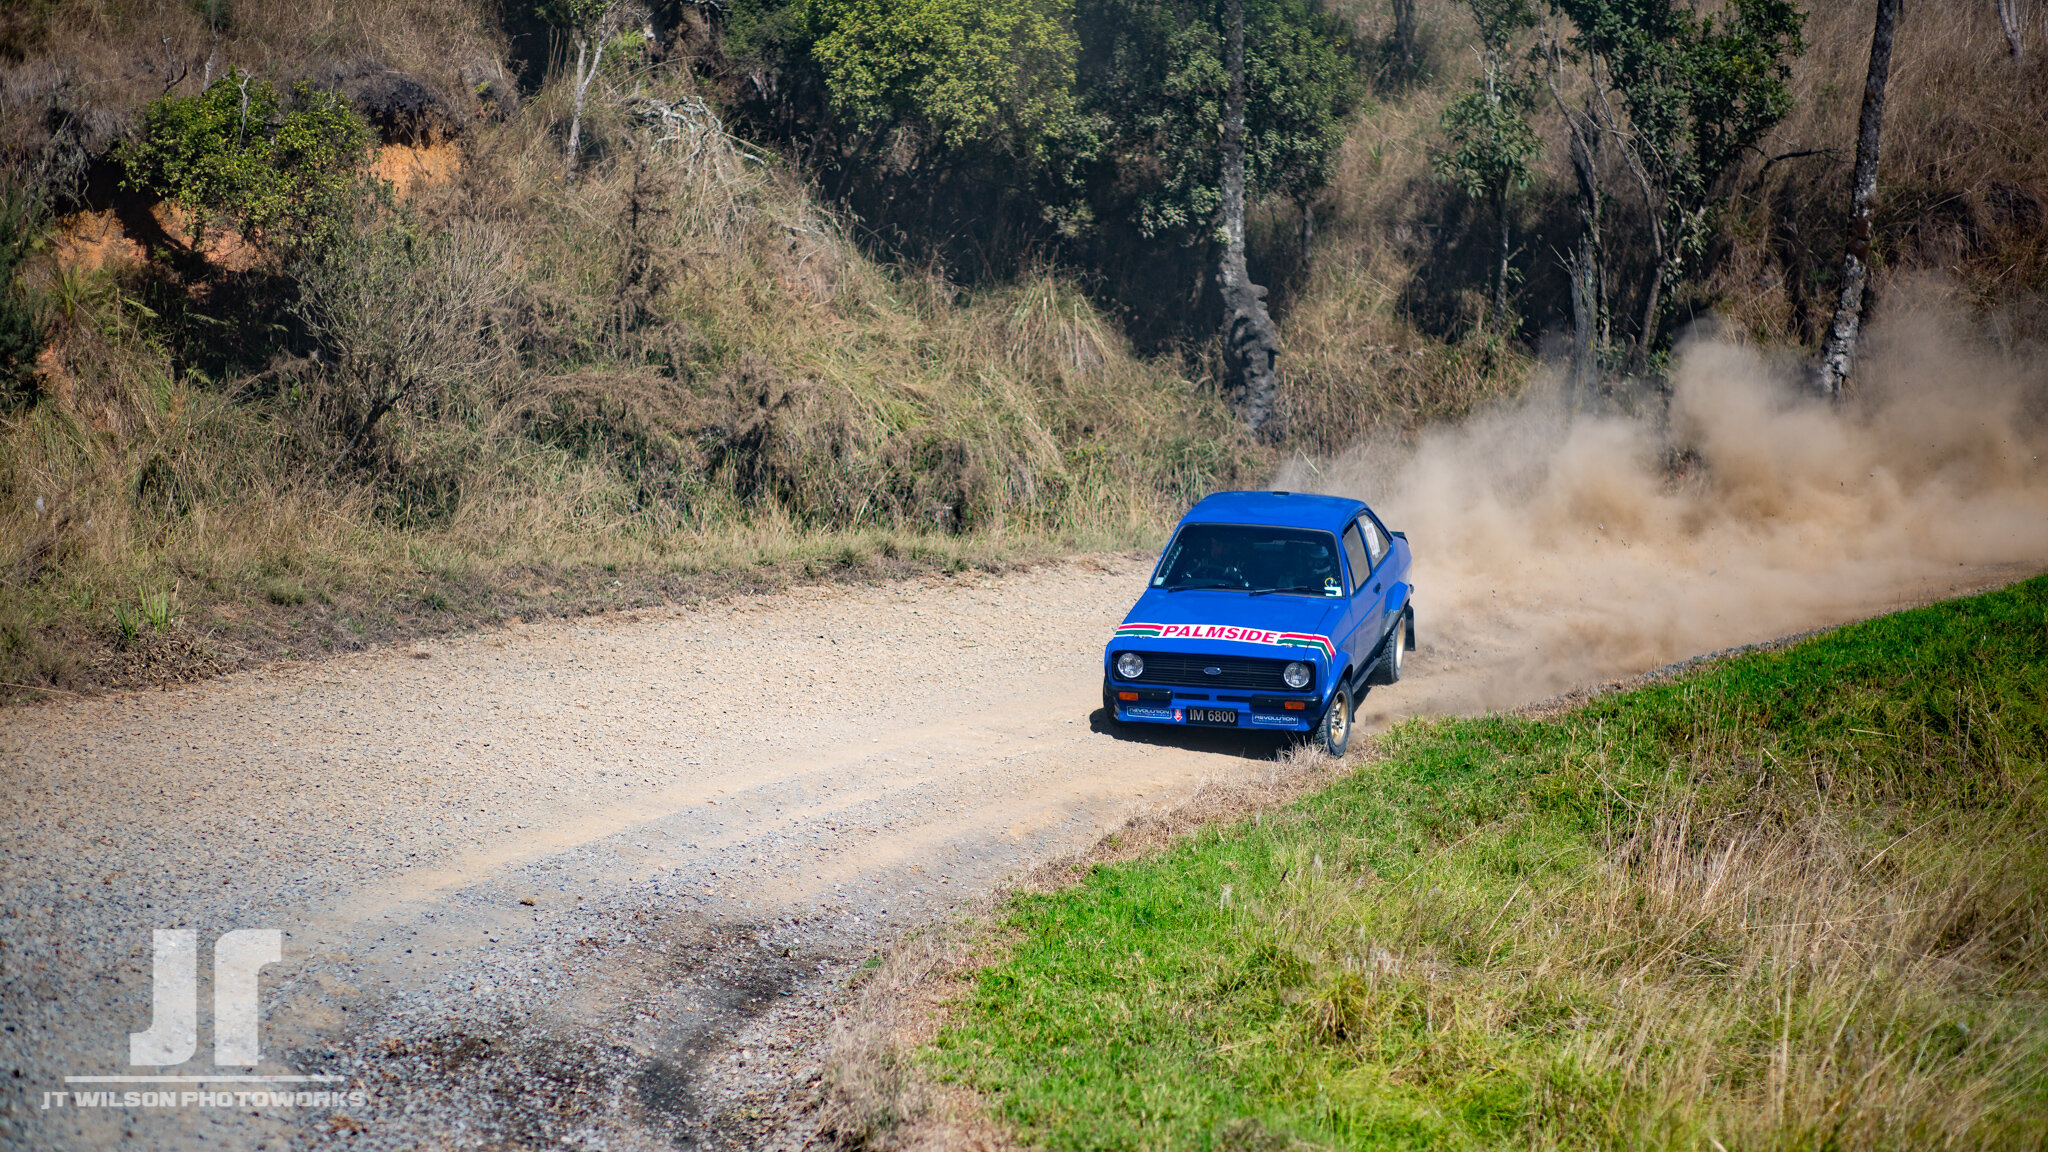
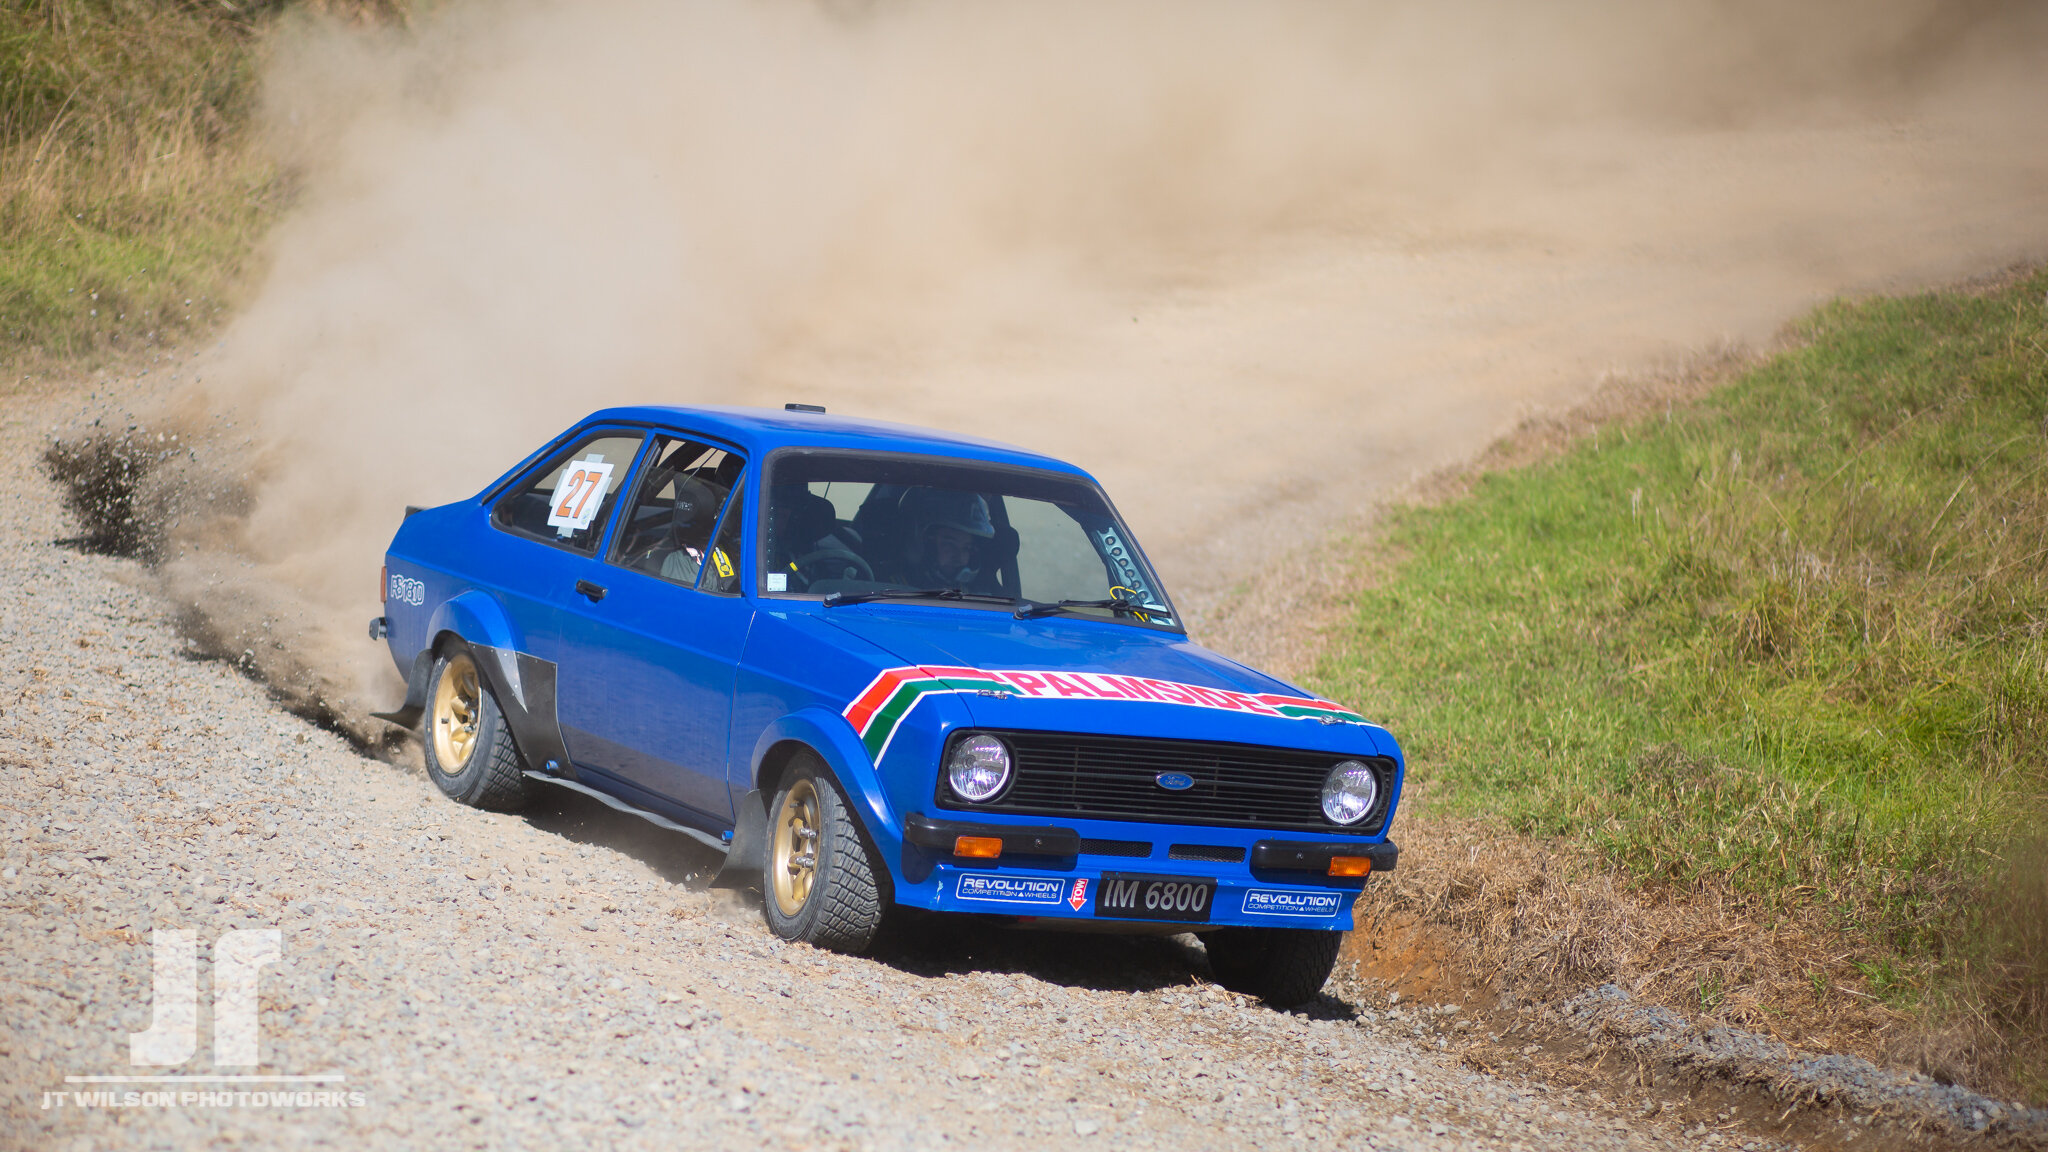
ABC Pipefitters Bothwell road Rallysprint 2020

Below are my images from the ABC Pipefitters Bothwell road RallySprint held 15 March 2020 by the Pukekohe Car club. All images are subject to copyright and Images are not to be downloaded or used on social media without permission from JT Wilson Photoworks. Images may be purchased for Social Media use at $10 per image, or at full resolution for print at $50 per image (Purchasing the full res image gets a copy of the Social media version). email contact@jarredwilsonphotography.com or DM via Facebook or Instagram

Project InSitu

in situ

/ɪn ˈsɪtjuː/

adverb & adjective

  1. in the original place.

    "frescoes have been left in situ"

    • in the appropriate position.

      "her guests were all in situ"

“If something remains in situ, especially while something is done to it, it remains where it is.”

HT2-5.jpg

This is a shot I took of AJ of Prime Artisan Knives last year while we were making a hammer in his shed. It was one of those moments when I saw a potential image in my head, and in the moment I made AJ sit on the floor and look out the door. Boom! Nailed it!
So after that the rusty cogs in my brain started to move and I came up with an idea to shoot a photobook featuring Kiwi craftspeople in their workspaces going about their business. Knifemakers, woodworkers, potters and other artisans I can find along the way. It'll be a "TFP" or "Time for Portfolio" type situation where both I and the person im shooting are simply giving our time to the project, and we each get the photos to use. Me for the book and them for their own use/marketing/website/whatever. That way the only thing it'll cost the participants is time and some travel on my part!

Now, Em (One of my patrons) suggested over on Patreon while I was talking about this idea, that I do it as a facebook or instagram account. Thus, Project_InSitu was born! I'll still be compiling it as a photobook, but while I shoot the project no one has to wait for the images and I can share the images in their own space on Instagram.

I like the definitions of In Situ: "in the original place" or "in the appropriate position". In a way it says that this is where this person belongs, doing what they love, in their own space.

Of course this is a daunting project, having to ask people to get in their space with a camera. For the mean time I'm going to keep it relatively local to me to keep travel costs down, but if/as the project gains some momentum I can start reaching out to more people around the country to get involved. Hopefully I can do them all justice!

I have created a Patreon tier at $3 a month for those who want to support this - there will be discounts and the like naturally, but if you know anyone who might be interested in participating send them here :)

So yeah, consider this an announcement of an incoming photobook I guess. Looking forward to getting this off the ground and getting about the place to shoot!

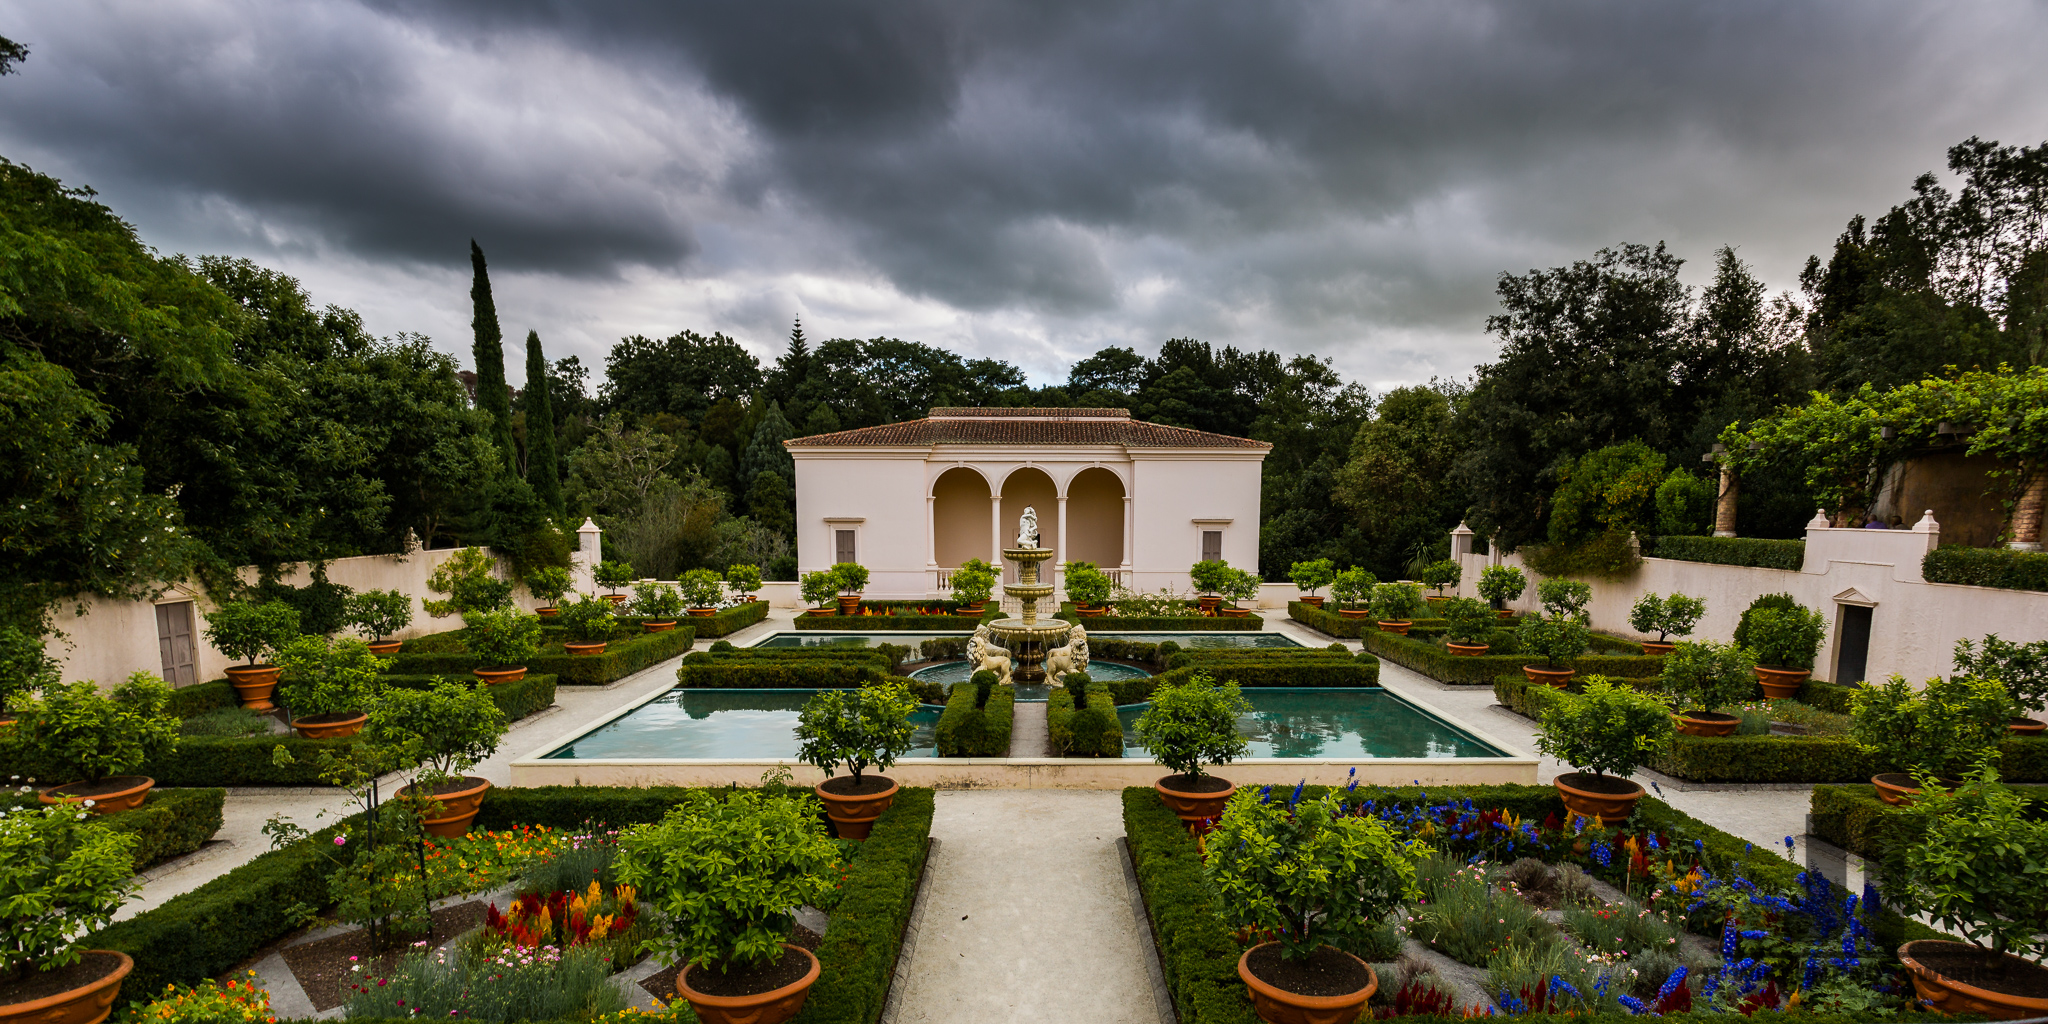
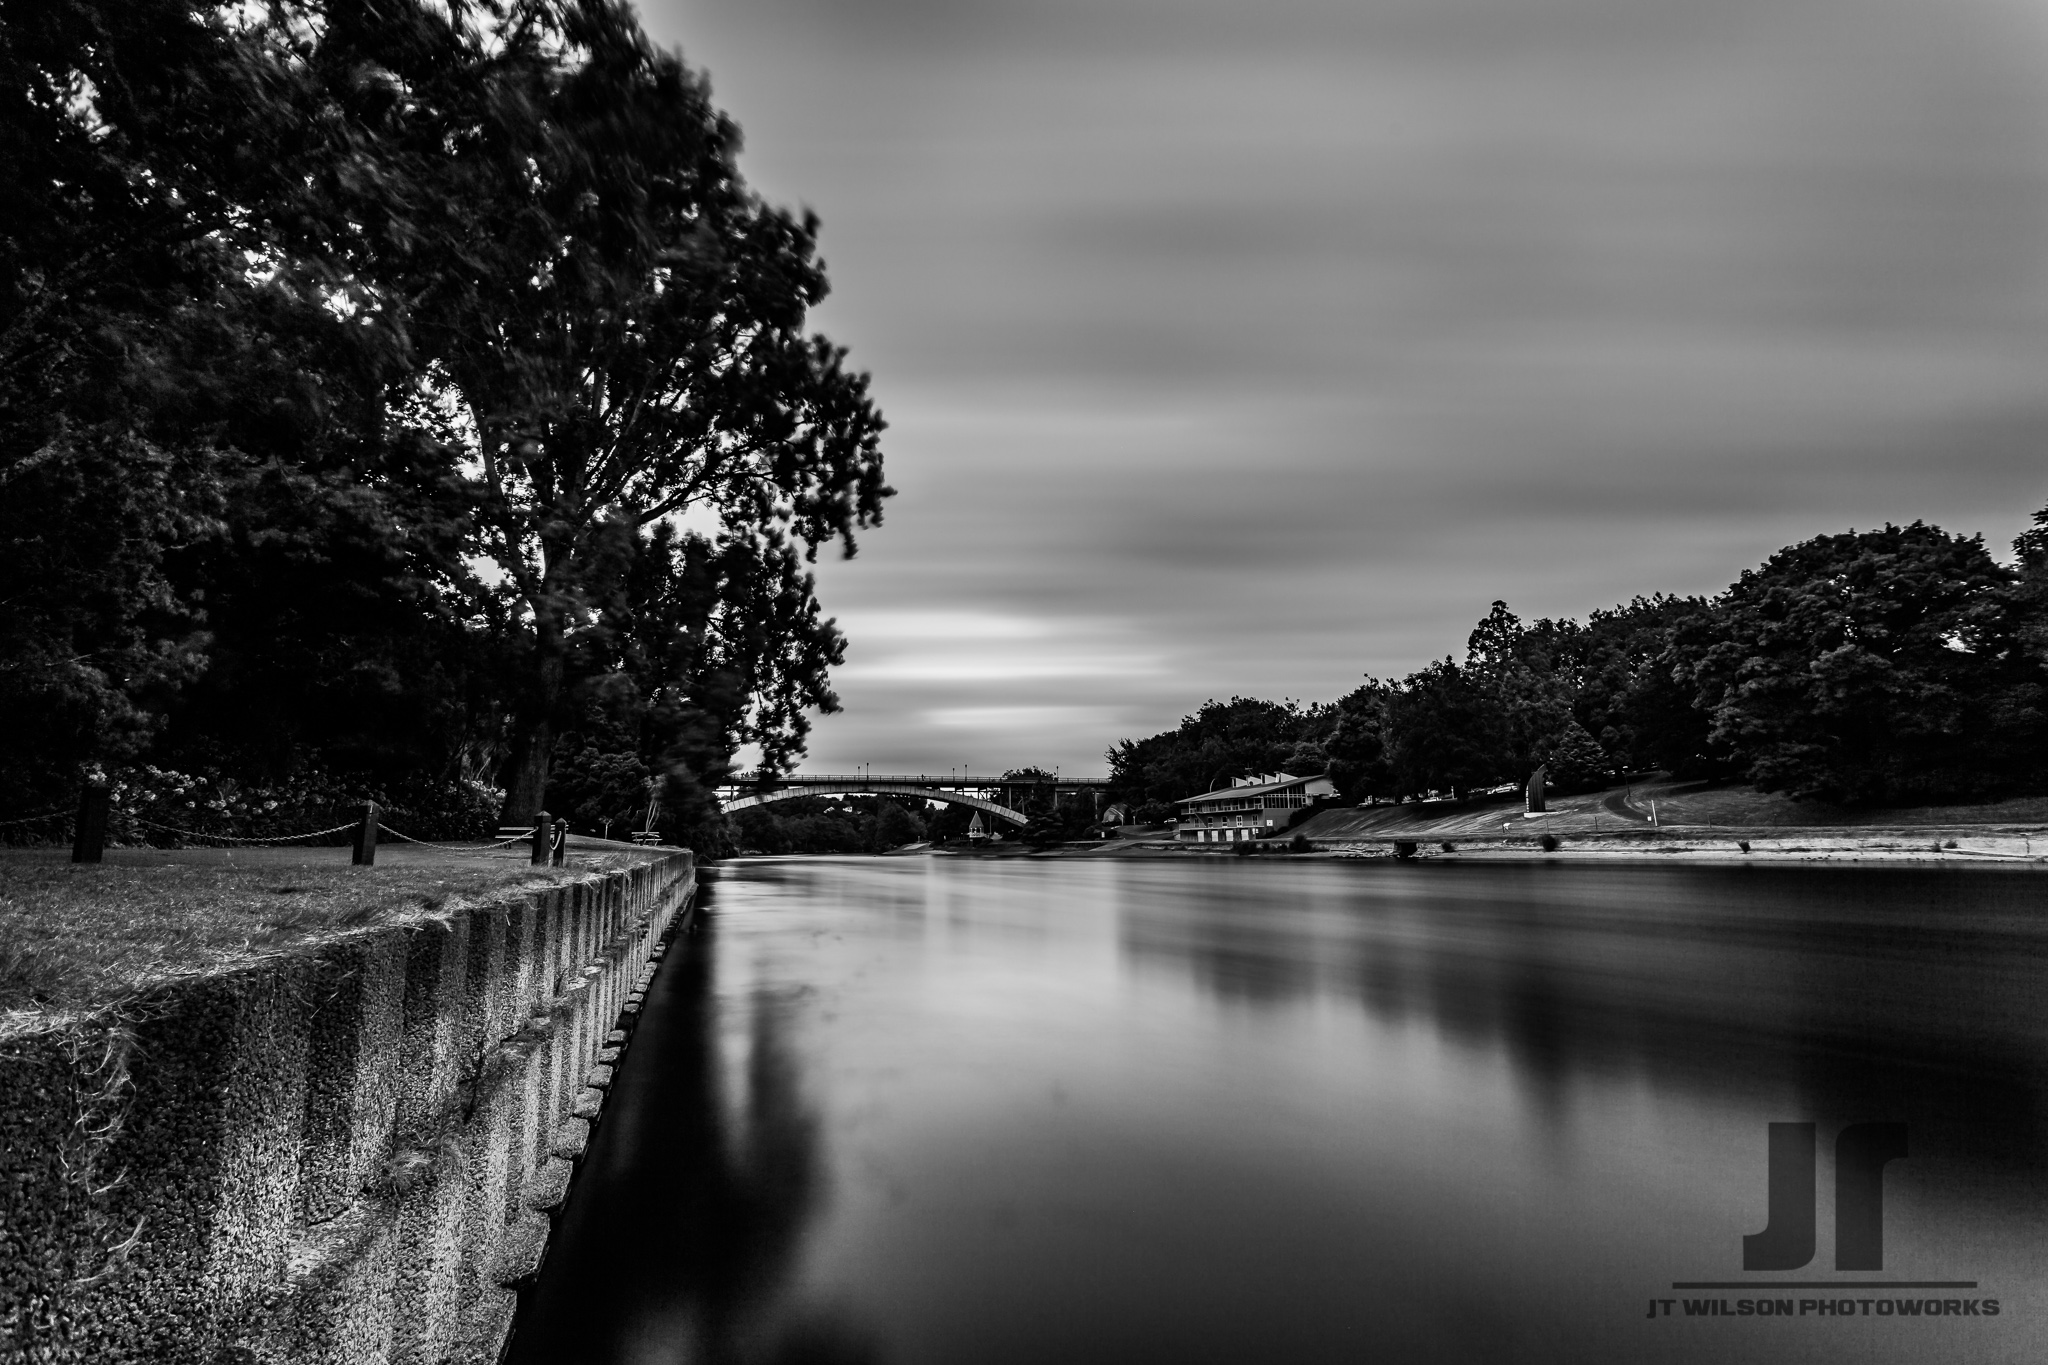
Hamilton Gardens and Waikato River

Following other local photographers can be a blessing and a curse. The curse is that you see them get shots in places you never thought of, or out-do you at a spot you’ve visited before! (The latter being fairly common for me hah).

The blessing part is that often its a good chance to get a group of people together to get some shots. Often it helps motivate an otherwise lazy bastard (Me), to get over to Hamilton and bust out the shooter!

So when Damian Rahmann (@daimianrahmannphotography on instagram) mentioned in his Instagram story that he was looking to do some shooting at the Hamilton Gardens this evening, I thought I’d drag my ass along! Also there, were @salsalphotography, @ianmackie and @rodin1960.

The place closed its doors at 7:30pm so I got in before 7 and fired off a few shots before eyeing up the little waterfall on the other side of Turtle Lake. After failing to cross paths with Damian and the others, it turns out they were off to Parana Park to have a look at the Anzac Parade Bridge lighting up. Hilariously, it didn’t.

So anyway, here is my crop of shots from the evening. Really digging the 2:1 aspect ratio at the moment.

PW0119-1.jpg
PW0119-2.jpg
PW0119-3.jpg
PW0119-5.jpg
PW0119-12.jpg
PW0119-9.jpg
PW0119-11.jpg

HOW TO COMPOSE EPIC PHOTOS (Part 1)

Below is the first part of a multi part series i’ll be blogging about over on Patreon. I’m in the process of writing part two for this but I thought I would give you guys a taste by posting the first post I made in the series here. You get access to this series, plus all of the other posts I make including reviews and general discussion for as little as $2 (USD - sorry I have no control over the currency Patreon uses) a month! Part two will be posted early February. Fell free to check out my work at patreon.com/jtwilsonphotoworks.

Welcome to a multi post series which I’ll be doing over the next few months (in between other posts here), discussing how to compose your photos to make them more interesting. 

These are sometimes referred to as “Rules of composition”. I really don’t like the use of the word “rule” as it asserts that they MUST be used. Instead think of them as ideas to consider when taking that shot.

This is a selection of my favourite rules to use, but they are not the only ones. I’ll talk about what I know best before I get into the other stuff.

Now, before we get into these we need to get into the mindset of taking photos. We’re not out to just take snapshots, we need to think about what makes an image interesting, or aesthetically pleasing to us. So before you click that button you need to decide what type of photo you’re trying to create, and then apply some of our composition guidelines to generate some interest in the image.

Depth of field

Everyones seen those “tilt shift” effects on Instagram blurring out backgrounds and foregrounds and Apples “depth effect” in portrait mode on their latest iPhones. In the photographic world we tend to refer to this sort of blur as “Bokeh”. In our cameras we create this by using a shallow depth of field either with a wide aperture, or longish lens (or both – more to come on how to achieve this in another post!). By using a shallow depth of field we can really isolate the subject of our photo and really make them pop.

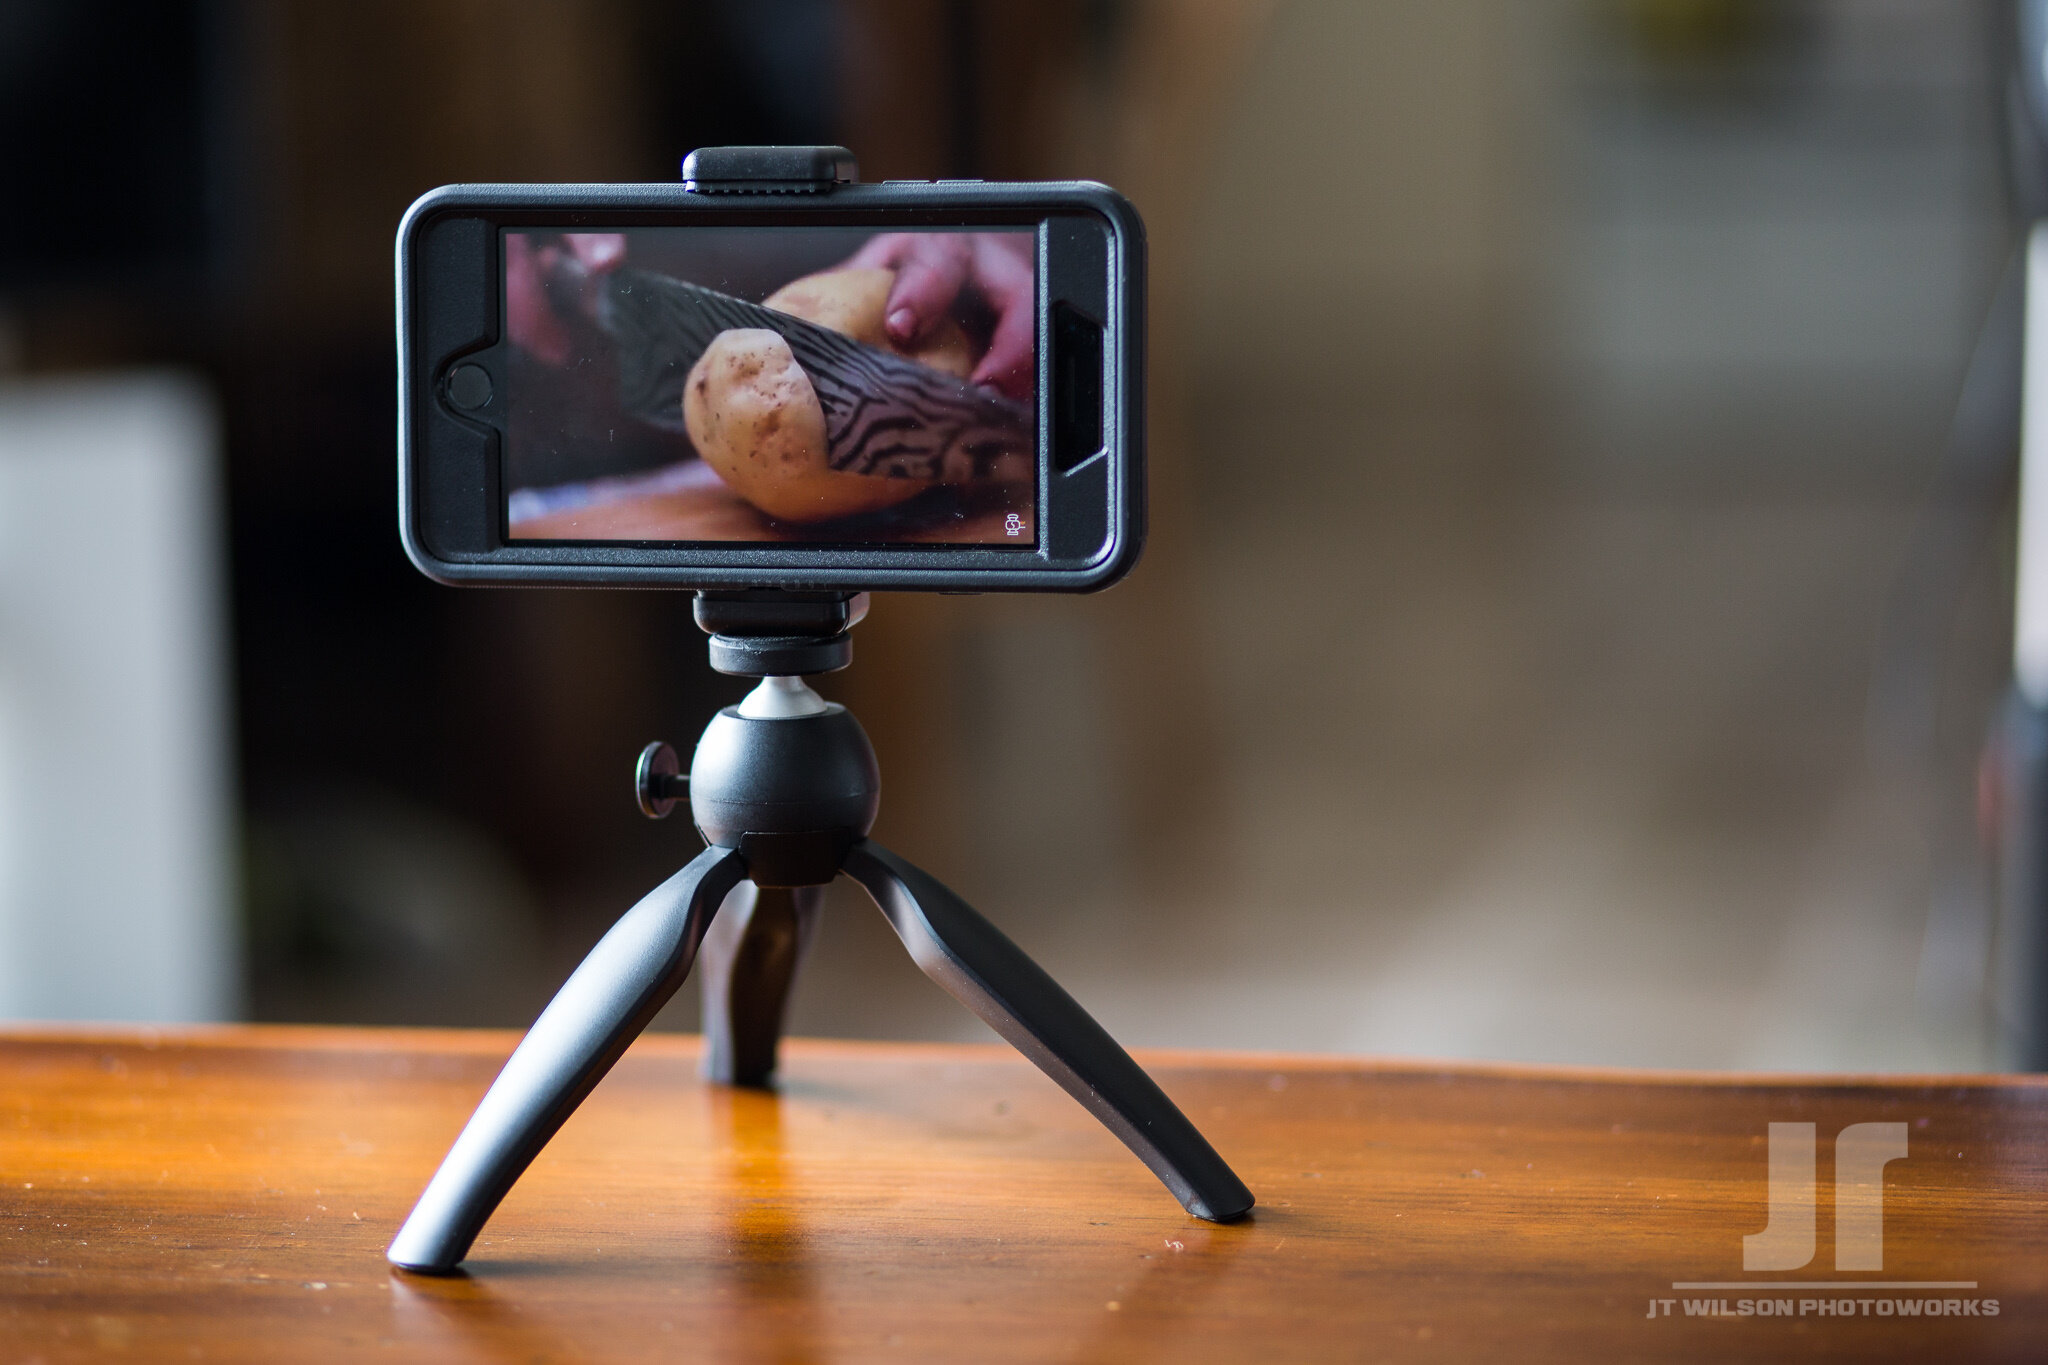
Tripod-2.jpg

.The tripod and phone are the subject of this photo, I have used a very shallow depth of field to isolate it from the background which we aren’t interested in. See these lil tripods get a quick mini review here! 

A shallow depth of field isn’t always a good thing of course. There are times where we want everything in focus, and that’s when we want a deep depth of field by using a narrower aperture on our lens or a wider angle. Landscapes are usually shot with wide angle lenses and medium to narrow apertures because we want everything in focus. We can also use this when we want to bring our subject into context with its background.

HMNZS Hinau.jpg

For this shot I wanted the shipwreck – the HMNZS Hinau to be in context with its surroundings. Therefore a narrow aperture and wide angle lens

“Rule” of thirds

Most of us would have heard about this one. It's been around for a long time - well before cameras were invented and it was used in painting. The theory is, by placing something off centre we have an image that is less static - our eye has somewhere else to go in the image. If our subject is in the middle with the same distance either side our eye kinda has nowhere else to go, so if we have that opportunity to grab that eye to hold it on our image for that little bit longer it'll make it more memorable. There are times to break this rule of course, using symmetry and negative space but we'll get into those later

So! We divide our frame into 9 equal sections by drawing two lines vertically and two horizontally. Now we place parts of our composition on these lines, OR at the points they intersect.

For example:

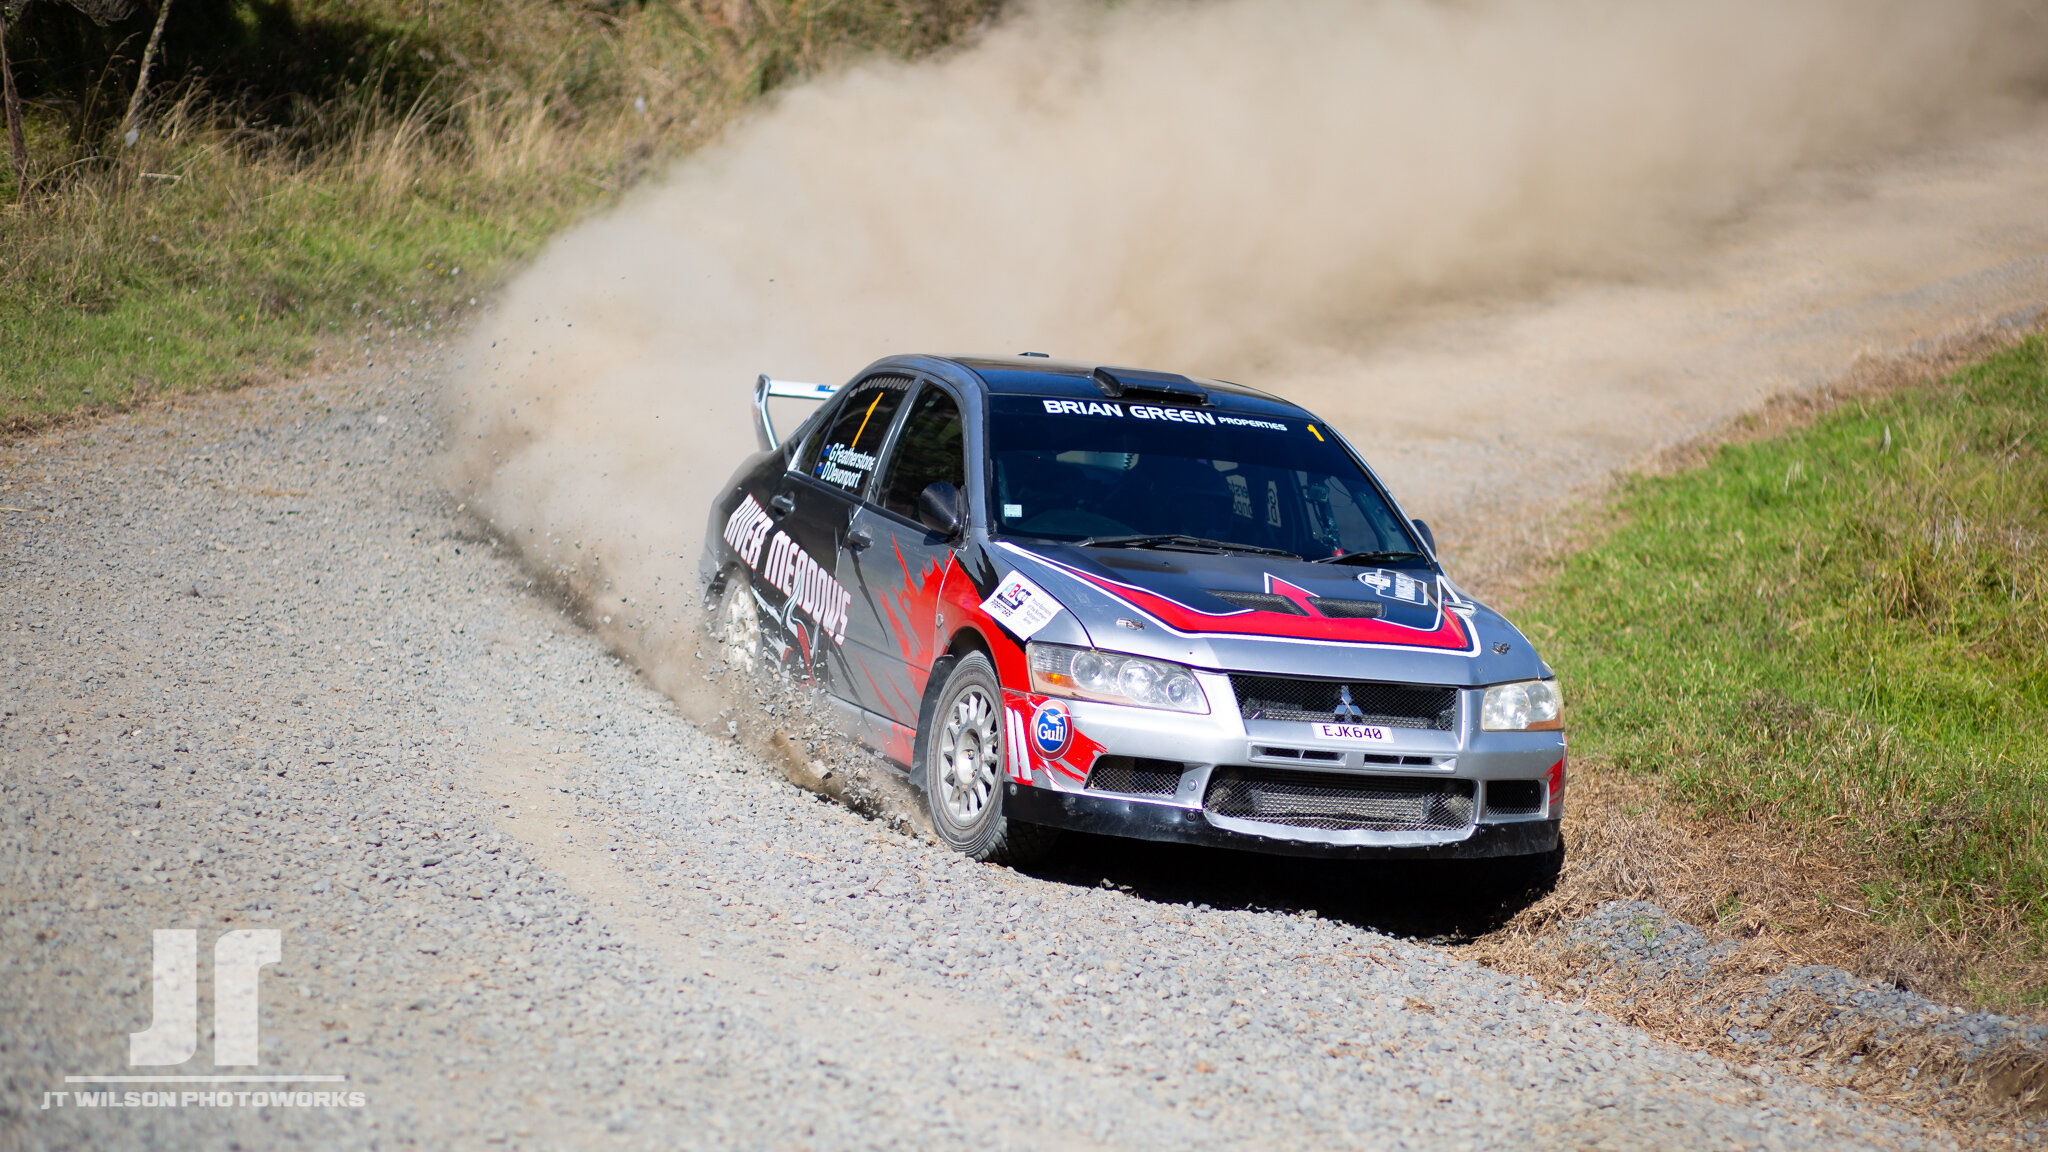
Paddon.jpg

Here is a very simple use of it. I have placed the rally car on the left hand side of the frame on the line of the grid.

Missy.jpg

One of my favourite shots of my gorgeous partner. A bit more complex this time, not only have I placed her face on the line, but her eye is right on the point where two lines intersect. This is also a good example of combining two of these composition elements by using the rule of thirds and a shallow depth of field.

1.jpg

Even more complex this time - Again, the Bunsen Burner is on the line (on the right this time) but the base of the Bunsen also sits on the bottom line, and the top sits almost where the lines intersect. You can take this further by adding counter points and using the rule of thirds along with Leading Lines (That one is coming too) to draw the eye to secondary aspect in the image resting on another part of the rule of thirds grid. Fancy stuff huh?

By using the rule of thirds we’re also using a technique known as “negative space” – which has more than just rule of thirds aspects to it. The rally car image above fore example has negative space to be used for sponsors and advertisers to place information/logos if required. More on that one in Part two!

A quick blog to start 2019!

Hey everyone. Its been a while since I’ve done the blog thing. But it’s the beginning of what i’m hoping to be a big year here at JT Wilson Photoworks.

First up: Prints!

Selling prints is something I really enjoy. The thought of my work hanging in peoples homes to be enjoyed makes me feel pretty stoked about this as a hobby and potential full time career. All images you see me post in the Galleries or on Facebook and in most cases Instagram are available to be purchased as prints in most formats, be it Canvas, Metal or on paper. I am working on a way to make it so they can be purchased directly through my website, but for the meantime, feel free to contact me on contact@jarredwilsonpgotography.com or message me via Facebook.

Second: Patreon!

I intend on using Patreon to help push this a bit further this year, i’ll be providing rewards for different tiers of support and appreciate every single $1 more than you would know! Keep an eye out as new tiers get added in the coming future along with some pretty cool little rewards :) But even at the basic level you get access to the entire feed of information i’ll be posting this year including tutorials on how I do things, my editing processes, how to use your camera etc etc.

Current tiers include:

$1/Month Support

Support at this level is a simple "Hey Jarred, I like what you're doing - keep it up!" For your support, you get access to my patron only feed. That means you can: 

  • Join in on any discussion. 

  • Read/View any reviews I do.

  • Read/View any tutorials I put up.

Not bad for a buck :)

$4/Month Support

Not even a cup of coffee! Support at this tier gets you access to the JT Wilson Photoworks dropbox folder. Once a month I'll drop a watermarked FULL RES image into this folder for you to copy and print to your hearts content. That means you can grab a deal on a canvas, or get it printed on metal or paper whenever you like and as many times as you like!

$10/Month Support

Contribute to this tier and You can take any photo you've seen me post and i'll print it on a 500x400 Canvas (or equivalent depending on the photo and whether it'll suit this size) and send it out to you with a personal thanks on the back. I will do this every year you contribute :)

I have a few more tiers in the works, but are not ready to be announced yet. One at $6/Month and potentially some at over $10/Month for some premium rewards like the Canvas print. By supporting me there you will get direct access to me in order to get the answers to your specific questions about your gear or what to shoot. If this sounds like a bit of you, please have a look at JT Wilson Photoworks on Patreon :)

Thirdly: Projects!

I have a few projects in mind, one for a photobook which will involve some much needed support via the aforementioned Patreon, but I also want to embark on some photo projects this year to push my creativity forward. Portrait photography is something I really want to add to my repertoire in a big way and would like to start talking with people to shoot some portraits with, initially as freebies, but as I get this sort of stuff better locked down a s a skillset it’ll become a service I offer :)

Thanks for reading!

Gold Rush Photo Challenge - Snapshot Hamilton

Well shit, 'spose it's been a while! There will be some more content happening here over the coming months as I ramp this up a bit. So here's a blog post about a recent excursion I took with a good mate Alan for Snapshots Gold Rush event on the 11th of June, 2017.

The event was based at Karangahake near Waihi and the focus was on the gold mining ruins and remnants in the area. We have 4 locations to shoot and the challenge was to submit our best shot from each site provided the photo included one or more of the following elements:

Rust
Water
Rails
Cyanide
Ruins
Dark vs Light
Nature vs Man
Gold

The first location was Victoria Battery.

Next up, we took a short walk to Owharoa falls

Its pretty tricky to get an interesting waterfall shot in the middle of the day in full sunshine without a tripod and a few ND filters to allow a slow shutter speed. (I did take my tripod, but am lacking a set of decent NDs - maybe later this year :D) After I grabbed this shot handheld (@ 1/8 of a sec might I add!) I got distracted by the Fantails fluttering about and pointed my attention and 70-200 in their direction instead.

Absolutely stoked with the above shot. The 7DII's 10fps helped of course :)

After lunch it was off to the Cornish Pump house in Waihi itself, located at the Martha Hill mine. I'm stuck as to whether I prefer the colour or B&W shot here. Leaning towards the colour. It's the shot I submitted anyway, (Let me know in the comments which you like best - also if you're actually reading this far hah)

Finally, we drove back into the gorge to have a look at the Rail Tunnel. In the tunnel itself. I pretty much had to max out the ISO @ 16000 to get anything. Naturally the colour noise was terrible so they got flicked to B&W straight away.

I snuck a couple of shots of Alan hard at work. Lets see if he sees this and lets me leave it up :D

Abandoned Laboratory

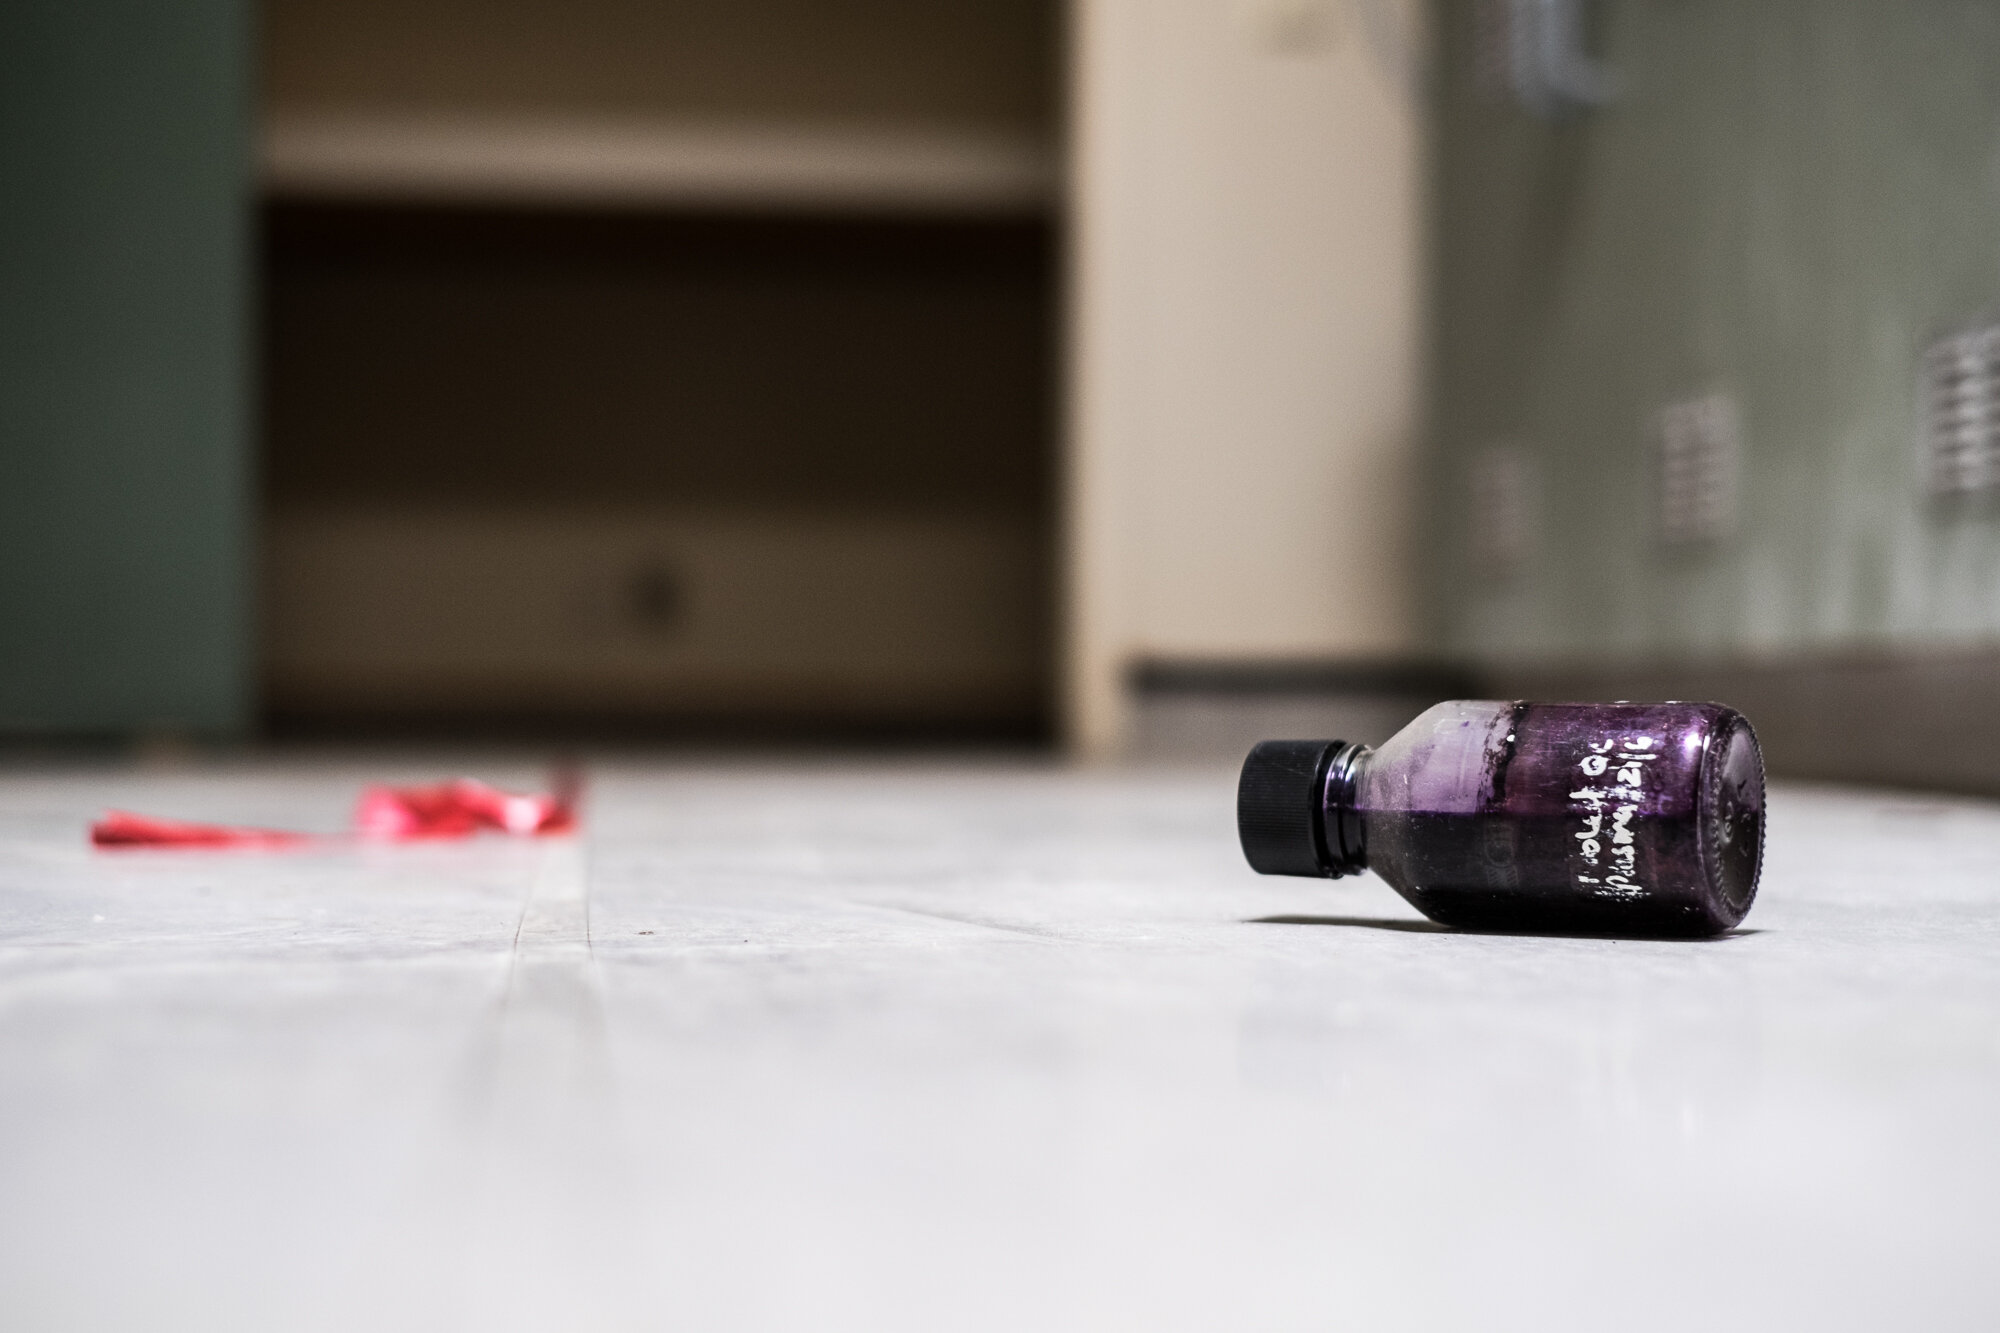
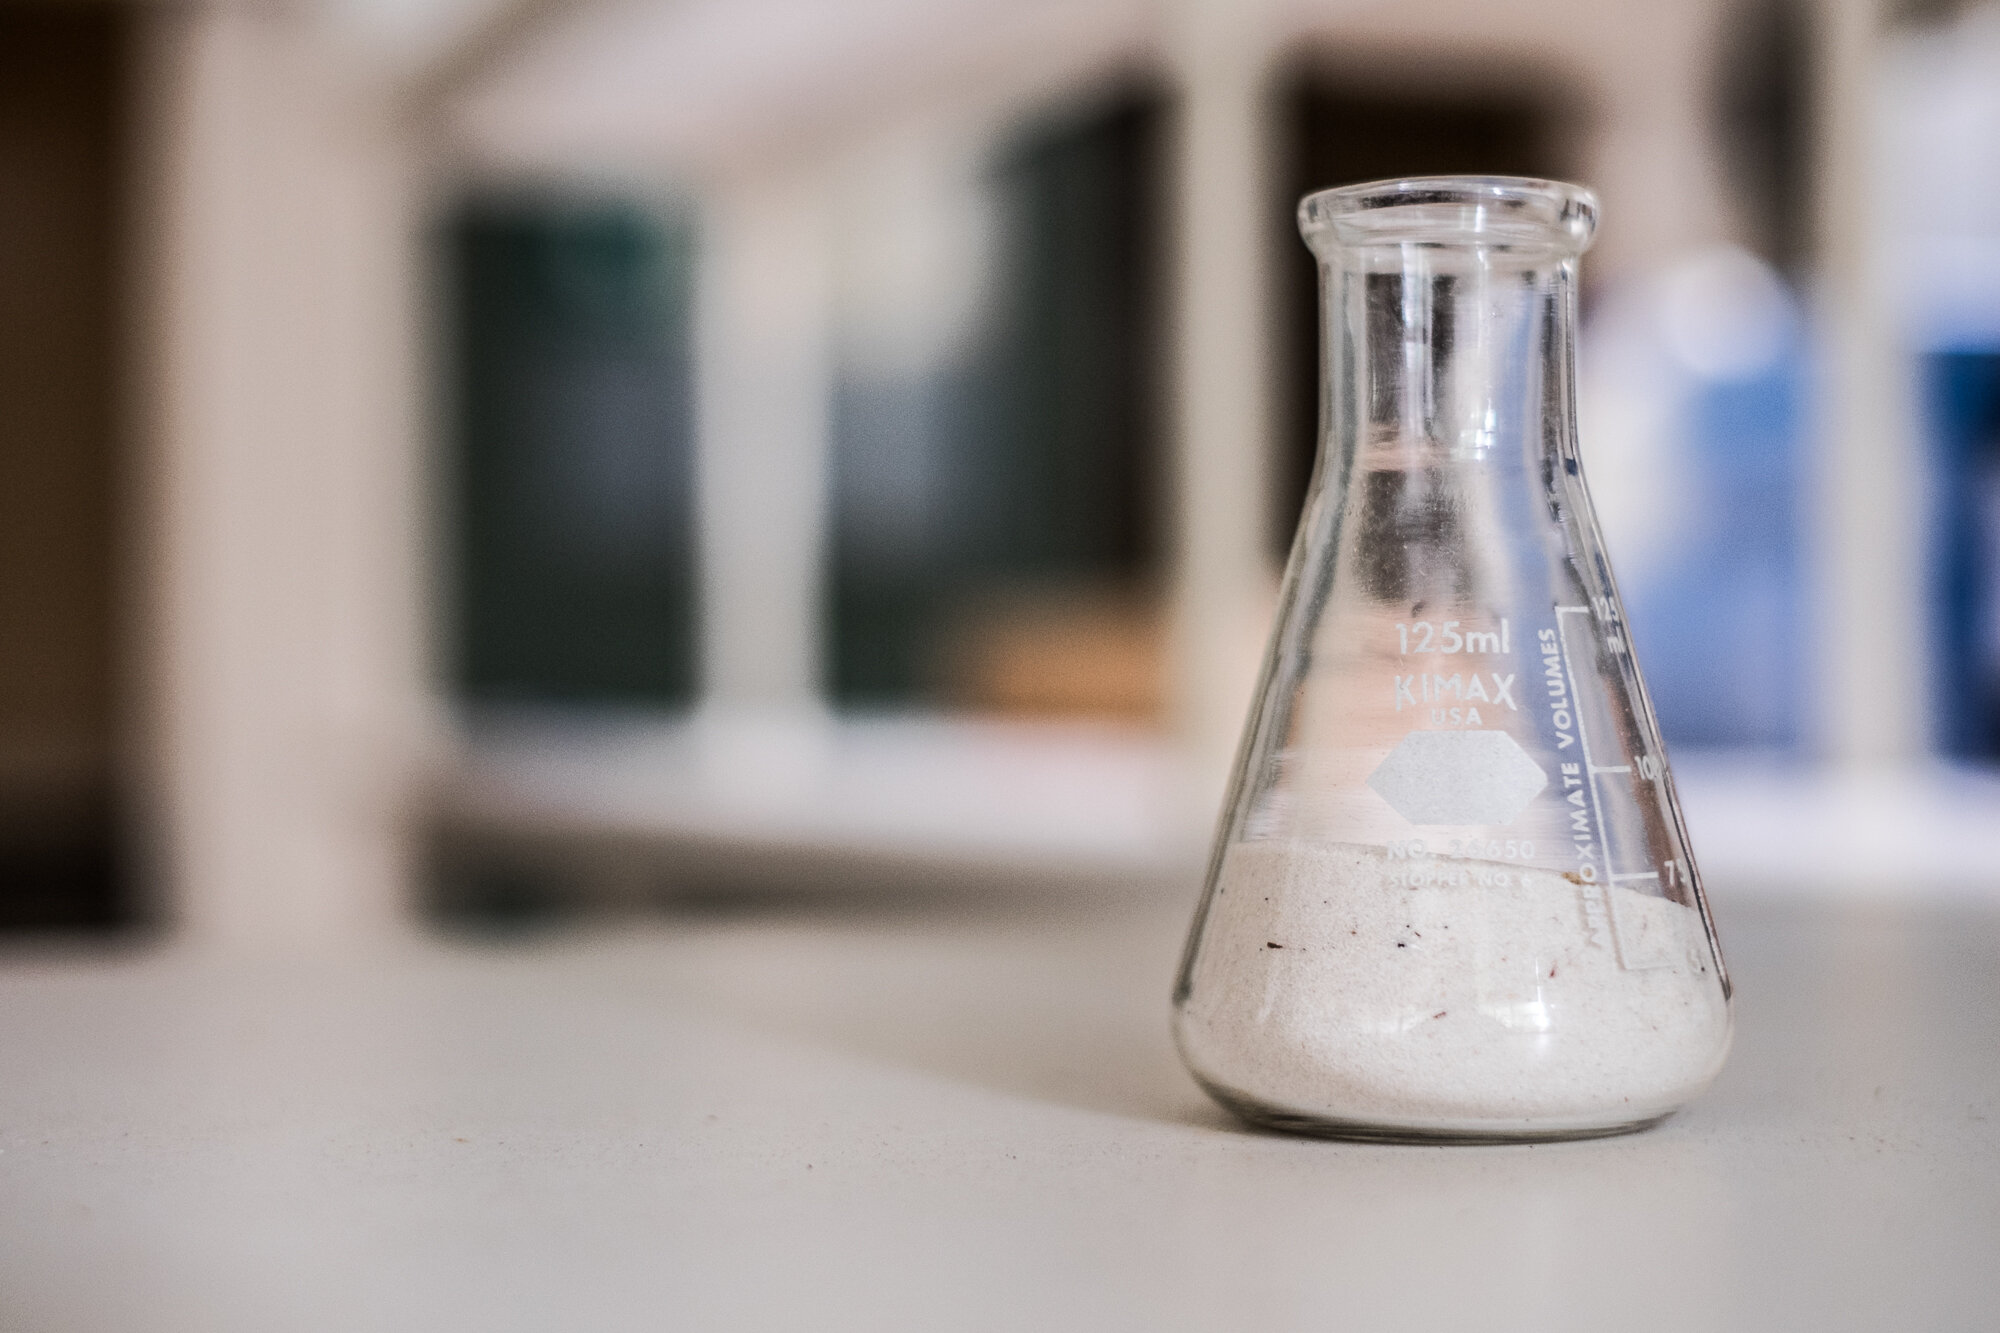
There's something eerie about abandoned places. back in 2014 I started a new job at a Laboratory in it's infancy, after three years I called it quits and moved on, fond memories of the team I worked with and mucking around with the camera in the abandoned areas in my down time

 My first week we started to move instruments into their new homes in a still occupied building - another company was in the process of moving their operation out over my first 6 months on the job. When they finally left, we had a largely abandoned building - only a small percentage of which we were using for our business.
I spent a bit of my spare time wandering through the place, poking at what was left behind, and admittedly looting some of the shelves, cupboards and some random glassware to be re-purposed into my own Lab.

After a while I realized there were some potentially cool images available to me while the place was still abandoned. So I brought my old Fuji X-T1 with me to work one day and had a bit of a wander through:

Those are some old school switches

Those are some old school switches

Yikes

Yikes

“DG” Cabinets

“DG” Cabinets

Abandones bunsen

Abandones bunsen

mmmmm Sanitary

mmmmm Sanitary

The E.bola cabinet

The E.bola cabinet

Uuuuhhh What?

Uuuuhhh What?

I wonder who their leader is. Also COMIC SAAAAAAAANS!!

I wonder who their leader is. Also COMIC SAAAAAAAANS!!

Lab-24.jpg
Lab-21.jpg
Lab-23.jpg
Lab-25.jpg
Lab-20.jpg
Lab-17.jpg

Raglan Photowalk with UpAnAdam

Adam Crouchley of UpAnAdam (You can calso check him out on Facebook), holds regular photowalks largely based in the Waikato region. This year he has been spending a lot more time around the country holding them in places such as Tekapo, Timaru and Wellington and a couple coming up in Rotorua and back in the Tron. He has been emphasizing low light and long exposure photography on these (as they are usually held in the evening).

This year he has begun a challenge to help 1000 people improve their photography which has led him to create an online series of videos as part of his Learn Photography course.

Anyway! The 4th of February was Raglans turn, so I jumped in the car to head along. 

URFR-1

"Down there are Fish and Chips"

URFR-2

A good mix of people showed up for this one. After an initial introduction Adam gives a brief outline of where we're headed and encourages everyone to point their camera at anything interesting. It was still half an hour before sunset so we had time to go for a walk before heading over to the Jetty.

URFR-4
URFR-3
URFR-15
URFR-6
URFR-7
URFR-8
URFR-9

Once the sun dipped below the clouds we were able to begin leaving our shutters open a little longer.

URFR-10
URFR-12
URFR-11
URFR-13

Some of the attendees playing with light trails on the right here. Adams been getting some awesome shots with the location spelled out in light from each photowalk. Will be cool to see what people got this time.

URFR-14

My final shot for the evening. The Raglan footbridge gets lit up every night :)

If you're a new visitor I invite you to have a look at my Facebook page,  and have look at my Instagram feed. If you're into food I also run a food blog called Pot Over Fire which can also be found on Facebook and Instagram.

Lab Shoot

I was asked by the boss at work to get a few shots for a newsletter that will be going out to clients and some detail shots for future use. So I tried my best to treat this as paid work and get the shots he asked for:

1: A shot of Chris in the Spot Test lab (Chris is the first point of contact for a lot of our clients)

2: Some action/detail shots in the Prep Lab

3: Some detail shots in the Chemistry Labs

The shot of Chris in the Spot Test lab was tricky as it was fairly cramped for space and had pretty boring light. Its a fairly average shot but it'll do for what the boss needs for his newsletter. I made sure to get a semi action shot of some chemical being sprayed for the spot testing while I was at it.

The Prep Lab is essentially a small woodworking shop with some bandsaws, a tablesaw and a couple of mills. The Bandsaws and Mills are the mainly used bits of equipment so I made sure to grab a couple of shots of those in action.

The Chemistry Lab is where my responsibility as a Technologist lies. I found it easier to grab a few more shots in here.

The Spray Chamber and Torch for our ICP-OES. My initial job at the lab was to develop the first methods we ran on this instrument.

Samples being digested into solution. The brown fumes are from the Nitric Acid

MaryAnne at work in one of the fumehoods

One of the pumps for one of our two uHPLCs

The Autosampler rack for our original uHPLC named "Veteris" - latin for "Old", our second instrument is called "Novus", for "New". Incidentally our ICP-OES is named "Heisenberg". When I successfully argue to get a 2nd one it'll of course be named "Pinkman" or "Cap'n Cook" :D

I actually really liked this type of work, I could see myself doing this more often given the opportunity :)

Hamilton Municipal Pools

Sometimes you just have to ask.

A couple of years ago I fired off an email to the Hamilton City Council requesting access to the closed Municipal Pools site to take a few pics for my old blog. I naturally assumed it'd be denied or flat out ignored, but to my surprise they granted me an hour to shoot as long as I was supervised by someone from the HCC while I was there. I was stoked to be able to grab the rare chance to photograph something not many people have access to.

Originally built in 1912, they were initially dubbed the "Coronation Baths" and feature the oldest in-ground pool in the country. Lobby group Sink or Swim unsuccessfully attempted to get the council to fund the required repairs to return them to a state where they could be used again. About 2 months after I took these photos the HCC made the decision to not put any money in to refurbish the site which remains as it is today, abandoned and occasionally used for parties by some of Hamiltons Homeless population.

So! pics below. Enjoy!

Paterson Burn Excellence in Art exhibition at Creative Waikato

The Excellence in Art Competition sponsored by Paterson Burn is a yearly competition for Year 12 and 13 students from the Waikato, Coromandel and Central Auckland Suburbs. All participating students are challenged to create a painting or mixed media artwork which they believe captures the essence of a theme, which this year was: "An Eye to the Future".

This years competition drew a record turnout with 73 artworks being submitted. My cousin Narelle Waite (who organizes the competition), asked me to take some photos of the artwork in their display space at Creative Waikato for their newsletter and facebook pages. Most of the artworks produced are up for Auction with proceeds going to Diabetes NZ Waikato for the third year. The Artworks and auctions can be viewed here: www.patersonburn.co.nz/artwork. The auctions closed on the 3rd of May.

So! On to the photos. The lighting was pretty tough having to knock the ISO up to 1600 and 3200 on occasion. Thankfully the X-T1 is one of the better crop sensored bodies out there for higher ISO performance. Had to rope my cousin and a couple of Staff there to "inspect" the artworks for a few shots to add a people element to a few shots.

I wouldn't mind getting in again and popping a flash off with a nice grid on it to make some more dramatic images for a bit of experimentation. Something I might try at home anyway :)

Welcome!

So I have updated the website! Moving providers was a bit tricky, but I really do prefer this new layout. I'll be working on a few things in the coming months so will hopefully have a bit to say. Watch this space :)